In today’s post I’m sharing how to create a box & 4 cards from one 12×12 piece of pattern paper. This is my version of a one sheet wonder. I say my version because I do things a little differently. The end result is still several projects created using 1 sheet of pattern paper but the projects aren’t always cards and the pattern paper isn’t always just used on the outside of the cards.
If you love getting good use out of your pattern paper, you can find a few other one sheet wonders linked below.
You can find a video where I walk you through cutting the pattern paper and assembling the projects below.
The Box…
The box fits 3 of the note cards and envelopes nicely but you could also tuck in a gift card, some tea or little treats.
Measurements:
- A Little Latte DSP: 7-1/8″ x 12″ scored at 1/2″ and 1″ from both short sides and 3-1/2″ , 4″ , 7-3/4″ and 8-1/4″ along the long end. Follow the steps in the video linked below to find out where to cut and how to assemble.
- Calypso Coral: 4″ x 5-1/2″ (save leftover piece for the next project)
- Vellum: 2nd and 3rd largest circles from the Stylish Shapes dies
- Basic White: 2nd smallest circle from the Stylish shapes dies and 2-3/4″ x 2-3/4″ for stamping
- Ribbon: 3″
- Twine: 8″
- Magnet
Gift Card Holder
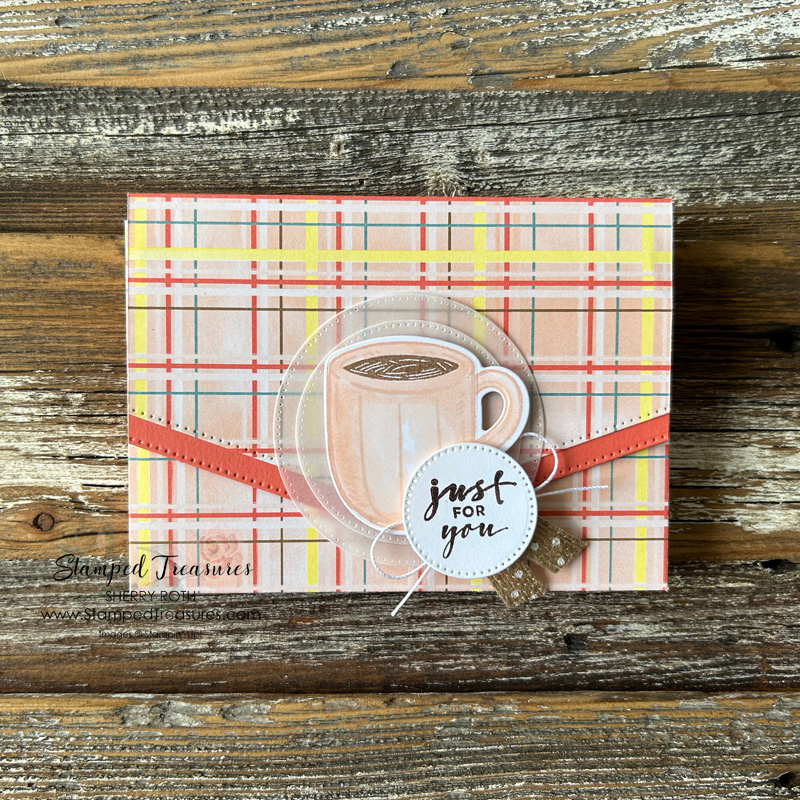
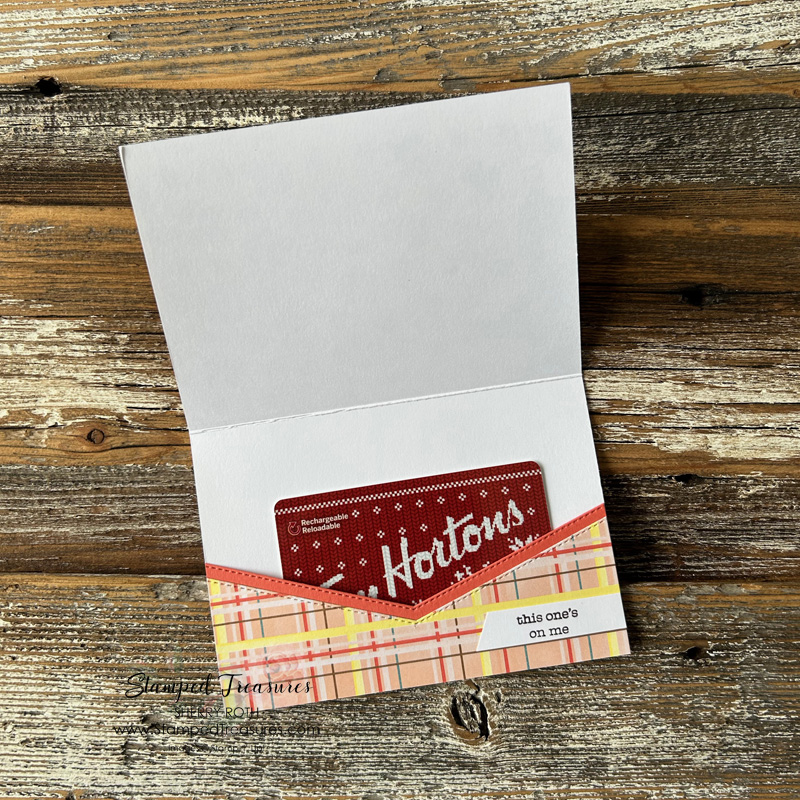
When I saw the leftover pieces from the box, I thought they would make a great gift card holder so I added a pocket inside this first card.
Measurements:
- Notecard & Envelope
- A Little Latte DSP: 3-3/8″ x 4-7/8″ and leftover from the box
- Vellum: 1″ x 4-1/4″
- Basic White: 2nd largest Stylish Shapes circle and scraps for stamping
- Calypso Coral: leftover from box
- Linen Thread: 8″
- Ribbon: 4-3/4″
- Dots: x3
Here’s a look at the inside of the card. The leftover pieces from the box we created make a perfect gift card holder.
Note Cards
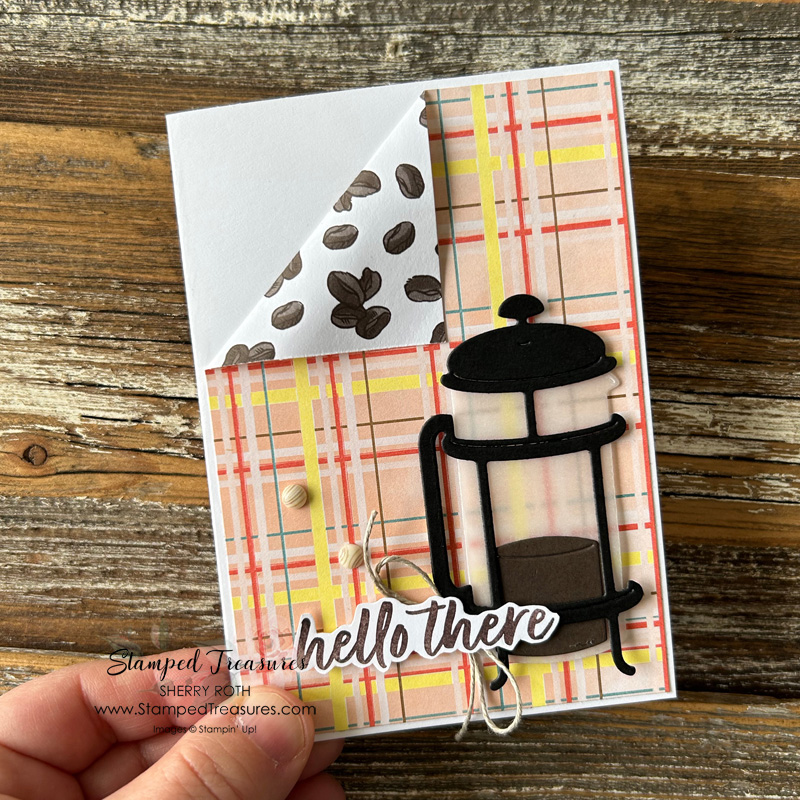
I’m not a huge fan of the B side of this plaid pattern so I didn’t use much of it. This was the only project that shares a peek at the back side.
Measurements:
- Notecard & Envelope
- A Little Latte DSP: 3-3/8″ x 4-7/8″ and 1″ x 5″ (scrap from box)
- Basic Black: 2″ x 31-1/2″ (die cut coffee press)
- Vellum: 1-1/2″ x 2-3/4″ (die cut glass part of coffee press)
- Early Espresso: 1″ x 1″ (for die cutting coffee)
- Basic White: 1″ x 3″ for greeting
- Linen Thread: 6″
- Dots: x2
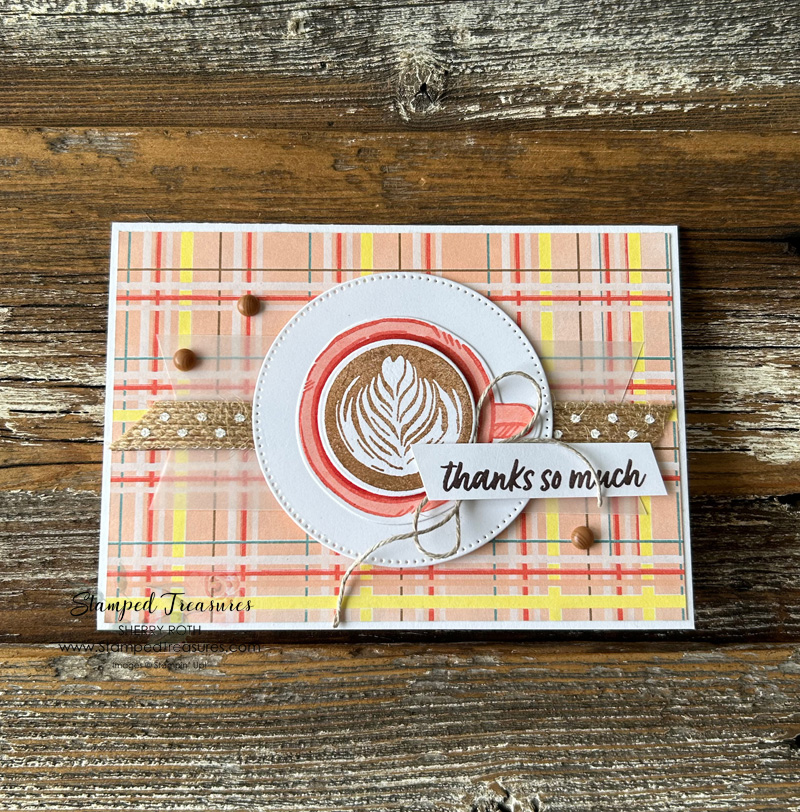
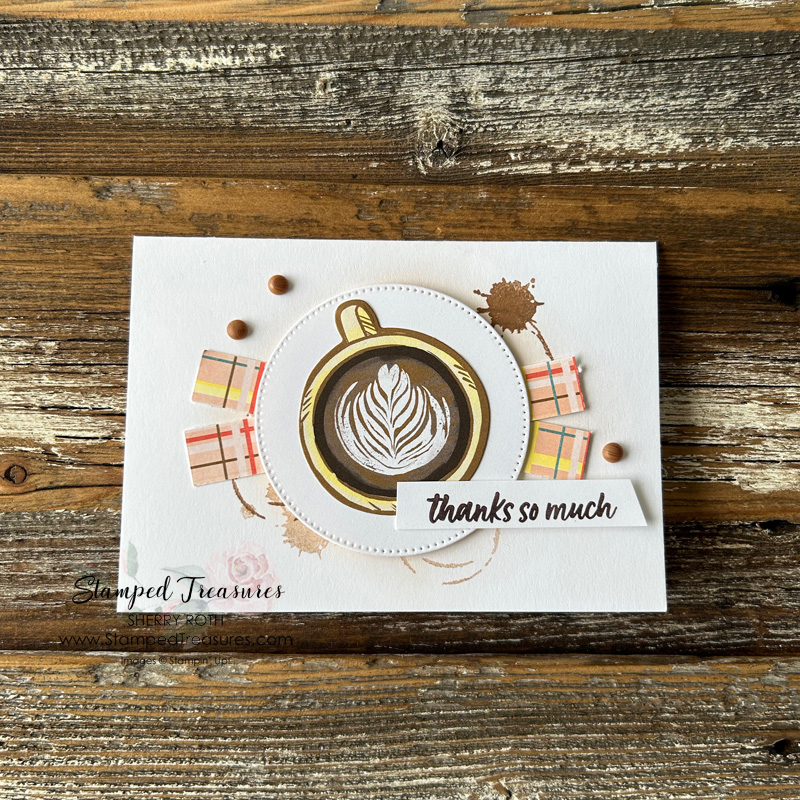
Measurements:
- Note Card & Envelope
- A Little Latte DSP: 1/2″ x 3-3/4″ (x2) leftover from box; about a 2″ strip for the envelope flap; die cut coffee cup from another sheet
- Basic White: 2nd largest Stylish Shapes circle; scrap for greeting
- Dots: x3
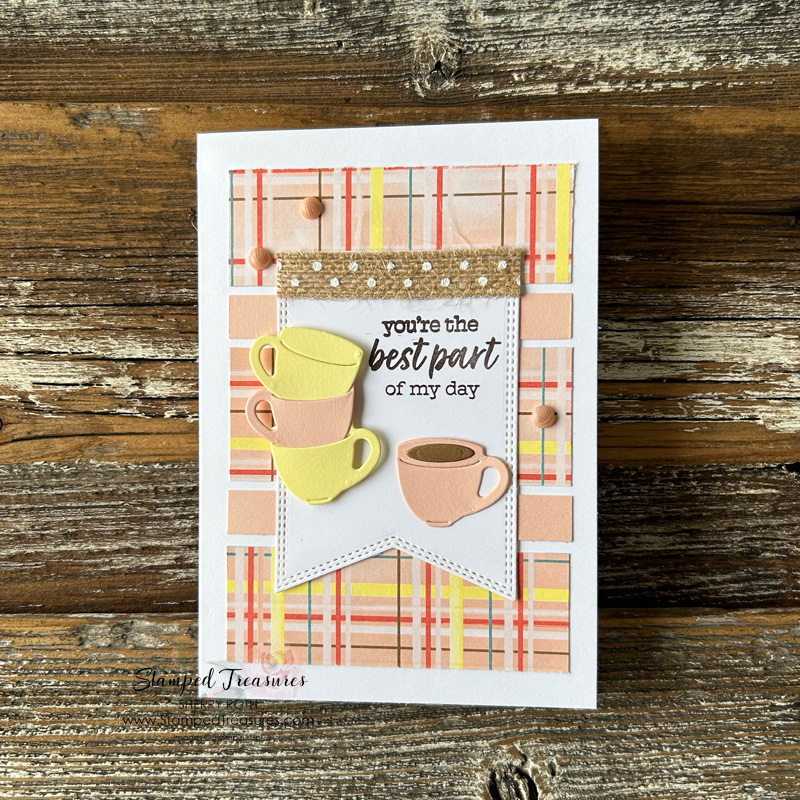
The final card is basically just using up the scraps we have left.
Measurements:
- Note Card & Envelope
- A Little Latte DSP: about a 2″ strip for the envelope flap; 1″ x 3″ (x2) left from the box; 1-1/8″ x 3″ and scrap for inside
- Petal Pink: 3/8″ x 3″ (x2) and 1″ x 2″ for die cutting cups
- Lemon Lolly: 1″ x 2″ for die cutting cups
- Pecan Pie: 1″ x 1″ for die cutting
- Basic White: 2-1/2″ x 3-1/4″ cut with largest Nested Essentials banner die
- Ribbon: 2-1/4″
- Dots: x2
Although I’ve used the A Little Latte suite to create these cards, these ideas can be used with any products from your stash. So grab a piece of double sided pattern paper, some stamps & dies and have fun with it!
And if you love this suite, be sure to check out the March class to go. All the details can be found here.
Until next time,

Shopping List
Click on any of these images to shop my Canadian online store or to find out more about any of these products. In addition to these items I’ve also used the following:
- Latte Love Bundle (163461)
- A Little Latte DSP (163453)
- Adhesive-Backed Swirl Dots (163464) and
- Natural Polka Dot Trim (163465) – these 4 items will be available to order beginning March 5th, 2024



So many exceptional cards using the one DSP!
Thanks! It’s fun to challenge yourself to use an entire sheet of paper:)