
Welcome to the monthly APPT blog hop where we will showcase alternate projects using the October 2024 Nests of Winter Paper Pumpkin kit. Check out my project and then hop along to all the other blogs for additional creative ideas.
For those of you not familiar with Paper Pumpkin kits, they are a subscription kit that get delivered right to you. Inside are all the supplies you need AND directions for assembling the kit cards/projects for that month.
I love to scrapbook using the monthly kits. Shortly after my kit arrived, I shared this layout using the October kit, today I’m sharing a little mini album.
Let’s take a look…

It’s been awhile since I’ve made a mini album using the contents of a Paper Pumpkin kit so I decided it was time. I used three of the envelopes that come in the kit and some pieces from a couple of the card bases. To bind the album, I used 1″ binder rings that I picked up on Amazon.
For the cover I started by adding a bit of pool party ink with my blending brush and splattered with my pool party Stampin’ Blend. It’s really subtle but if you look closely you can see some fine splatters. Then I used the leaf stamp in the stamp set that came in this months kit, and shaded spruce ink to add a few leaves. I then layered the two die cut pieces, adding a bit of white baker’s twine behind the cardinal. The word ‘Christmas’ is from the kit stamp set and the word ‘memories’ is from the Snow Day stamp set. To finish it off I used my black Stampin’ Write Marker to add little trios of dots. This is such a simple way to add some detail to a project.
The inside

For this first page I kept the envelope flap out of the envelope so that it would lift up. It’s fun to have interactive elements to your albums. I used some of the coordinating dsp from the Nests of Winter paper pack to cover the inside of the envelope.

The second page is another envelope but I tucked the envelope flap into the envelope. You could also cut it off but I like the cleaner look of it tucked in. You could also seal the envelope. However, by not sealing it, you create a pocket so that you can add more photos or some tags.

I die cut two tags using the Greetings of the Season dies – one from one of the card bases and the other from white card stock. Then I held them together using a scrap piece of ribbon and some twine. The white one will be perfect for adding a bit of journaling.
The smaller insert on the right is popped out of one of the card bases. It’s white on the back but I wanted a bit more colour so I backed it with part of another card base.

This next page was created using one of the card base frames. I added it to the back of another piece of a card base (see next photo for the back) but only added a bit of adhesive around the left, bottom and right so that it creates a pocket for a photo to be slipped into.

The final page is another envelope with the flap tucked in and an insert that could be used for photos and/or journaling.
Unfortunately, this kit, and the refill, are sold out. However, you could recreate something similar using our medium white envelopes and products from the Nests of Winter suite.
Don’t miss out
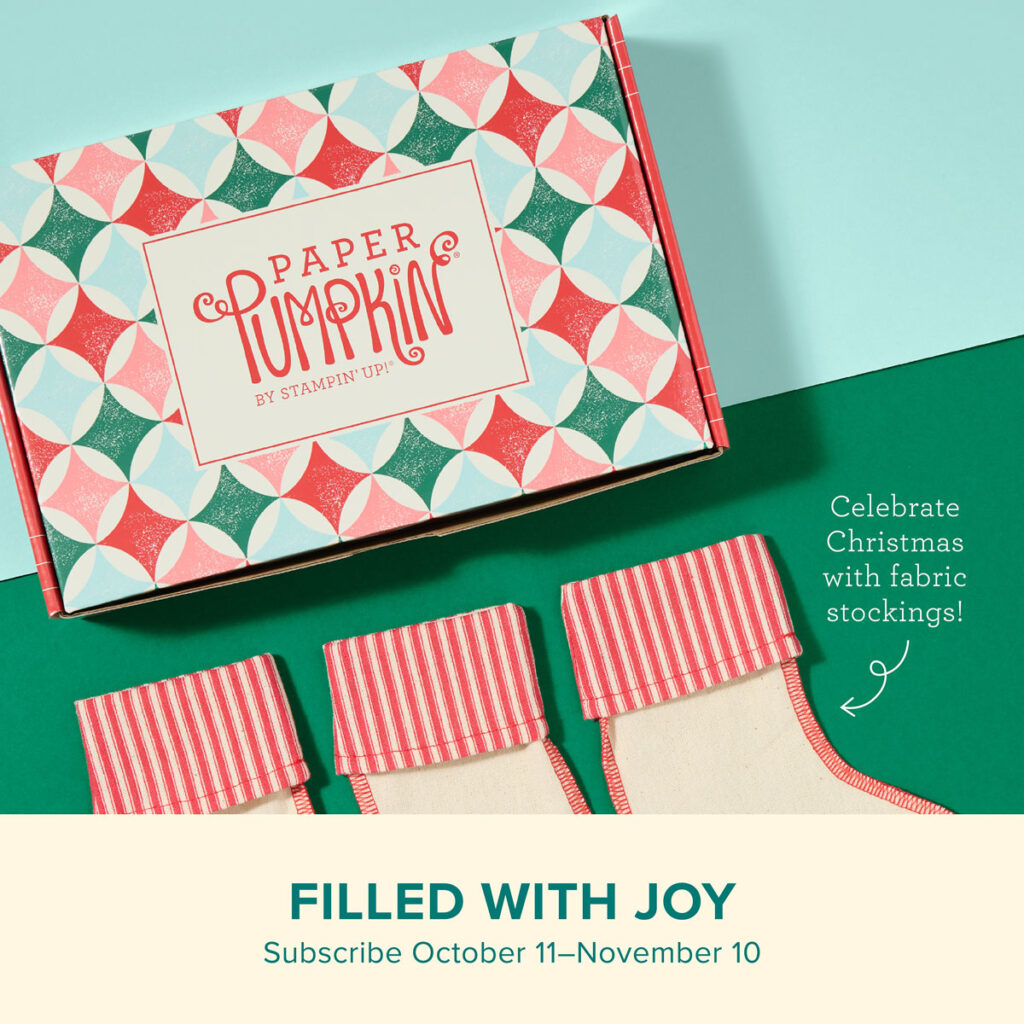
Don’t miss out on any of our future kits. If you are not yet a Paper Pumpkin subscriber and live in Canada, you can subscribe here. Here’s a peek at the November kit. Subscribe my November 10th to receive this months kit.
Thanks for stopping by! For additional inspiration be sure to click on the names below to continue on the hop.
Until next time,

Shopping List
Click on any of these images to shop my Canadian online store or to find out more information about any of these products. In addition to these, I also used a 1/8″ handheld punch and some 1″ binder rings.
")
")


 Designer Series Paper")
 Metallic Edge Cotton Ribbon")


Leave a Reply