
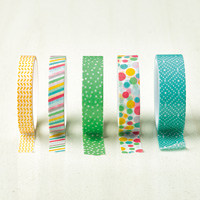
Good morning! I hope you all had a wonderful weekend. Today I’m sharing a quick and simple use for washi tape! I LOVE washi tape. I must admit that it took me some time to figure out how to use it and to START using it but now that I’ve started, I use it for everything. It’s such a simple way to add a splash of color to so many things:
- envelopes
- inside of cards
- around the metal part of tealights
- label storage bins
- identify cords
- scrapbook pages
- cards
- planners
- notebooks
I know there are probably hundreds of other uses for washi tape, just search it on Pinterest and you’ll be inspired to use it! Here are a few samples of how I’ve used washi tape in my paper crafting:
- Washi tape Christmas tree
- Background on a card
- Travel Journal
- Build a Birthday Cake
- Scrapbook Layout

Here are the steps to create this card – I have attached a video below, if you are more of a visual learner.
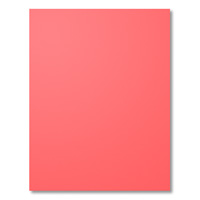
- Card base is a piece of 5-1/2″ x 8-1/2″ watermelon wonder cardstock, scored at 4-1/2″.
- Mat measures 4″ x 5-1/4″.
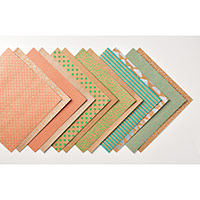
- Shine on dsp measures 3-3/4″ x 5″.
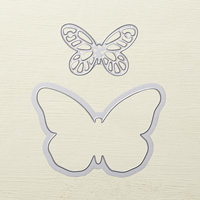
- Use the Big Shot to cut out desired shape. The bold butterfly framelit set is used in this sample.
- Without using adhesive, position the dsp on the white cardstock so you can determine where you need to add your washi tape. Slide the dsp off and add strips of washi tape, keeping in mind that you want to leave about 1/8″ of white space all around the edges for the mat.
- Flag the ends of a 3/4″ x 5-1/2″ piece of vellum.
- Add desired greeting.
- Create bow – see video on how to create this fibrous bow!
Here’s the exact same card, just in a different color.

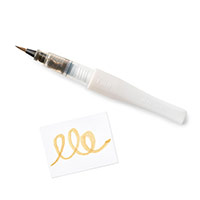
The only difference between this one and the watermelon card, apart from the patterned paper is that I brushed the wood elements with the gold Wink of Stella brush. You can’t tell in the photo but it has a beautiful shimmer to it.
Have a creative day!
Sherry

Supply List:
Click on any of the photos to find out pricing, product information or to place an order.


Leave a Reply