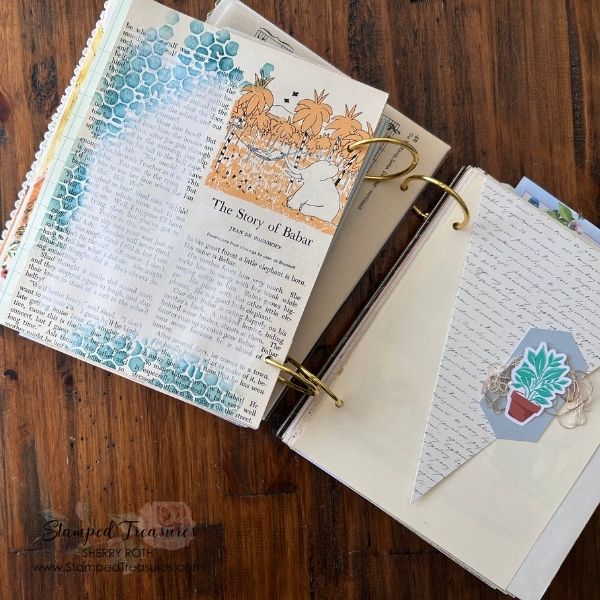
Decorating, Filling Pockets & Adding Tuck Ins
We’re getting to one of my favourite parts of altering a Little Golden Book—the decorating! In Part 1 of this series, we gathered supplies from our stash and carefully disassembled the book. In Part 2, we created pockets, prepared our pages and started putting the book back together. Now the basic structure is finished, and it’s time to add all those little details that make an altered book feel special.
But there’s something important I want to share before we get started: I like to keep my decorating fairly simple. That might seem a little surprising when you’re making an altered book, but there’s a reason for it.
Leave Room for the Story to Continue
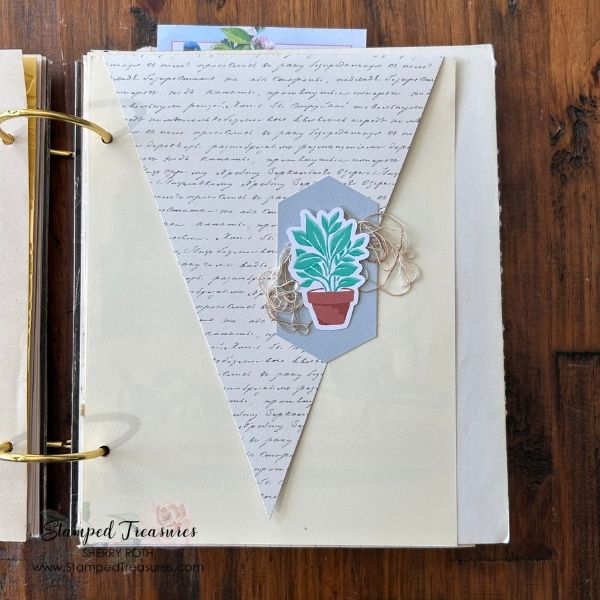
When I make an altered book that will eventually be used by someone else, I want to leave room for them to make it their own. Rather than filling every available space with embellishments, I like to add enough decoration to give the book personality while leaving plenty of room for the person using it to add their own photos, memories, journaling, artwork and treasures. I think of it as creating a starting point rather than a finished destination.
The original Little Golden Book illustrations are already doing a lot of the decorating for me, so I don’t feel the need to cover every inch of the pages. A little bit of paper, a small cluster, a label or a piece of ephemera can be all a page needs. Of course, if you’re making an altered book for yourself, throw that rule right out the window! Add all the layers. Use all the embellishments. Make it as full, funky, colourful and over-the-top as you want. There are no rules here!
Decorating With What You Have
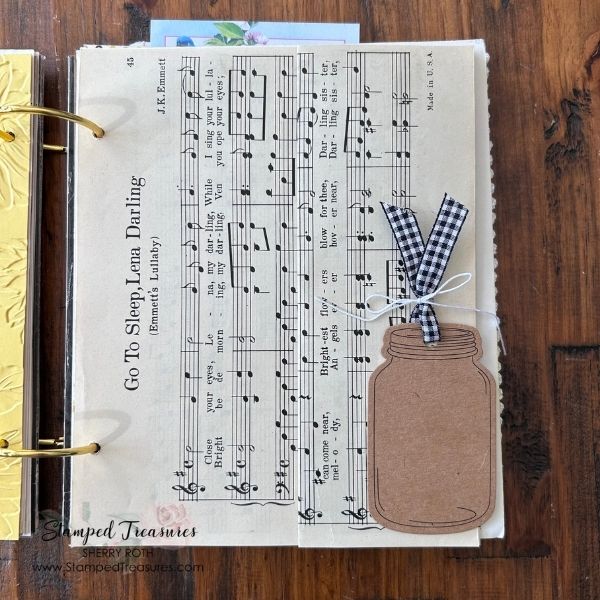
As with the rest of this project, I’m continuing to shop my stash. I love combining new supplies with things I’ve collected over time. Scraps, leftover pieces from other projects, vintage papers and bits of ephemera can all find a home in an altered book. Some of my favourite things to add are:
- Small scraps of patterned paper
- Labels and tags
- Die cuts
- Small ephemera pieces
- Clusters that I’ve created
- Ribbon and twine
- Tickets, receipts and found papers
- Stickers
- Small collage pieces
- Journaling cards
You don’t need a matching collection of supplies. In fact, I think some of the charm comes from mixing things that weren’t originally designed to go together. Look at the colours in the storybook illustrations and use those as your jumping-off point.
Filling the Pockets
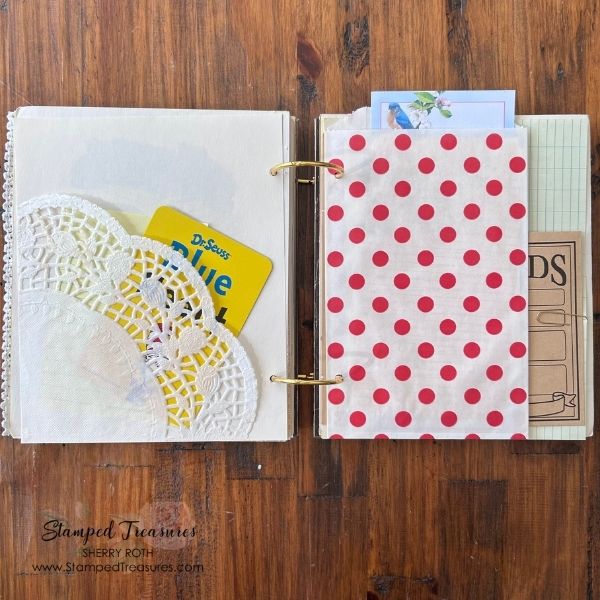
Pockets are a great way to add interest without permanently attaching everything to the page. And because the contents can be removed, rearranged or replaced, they give the person using the journal lots of flexibility.
You can also leave some pockets empty. That gives the end user a place to add their own treasures as they use the book.
Adding Tuck-Ins
Not everything needs to be a traditional pocket. I also love adding tuck spots—little areas where a piece of paper or ephemera can simply slide behind another element. A tuck spot can be as simple as a piece of patterned paper adhered to a page along just one or two edges. You can tuck a tag behind a piece of ephemera, slide a journaling card underneath a strip of paper or create a little layered cluster that naturally becomes a place to tuck something. These small details add functionality without making the journal feel too bulky. And they’re another perfect way to use scraps!
Let the Little Golden Book Do Some of the Work
One of the best things about this project is that the original book is still such an important part of the finished journal. The illustrations don’t need to be covered up. They don’t need to be embellished heavily. Sometimes they just need a little something beside them to make them feel at home in the new journal.
When you’re decorating an altered book, don’t be afraid to leave some breathing room. Let the original pages shine. Let your beautiful papers show. And give the person using the journal somewhere to add their own creativity.
Making It Your Own
There really are no rules when it comes to decorating an altered Little Golden Book. If you love lots of layers and embellishments, go for it. If you prefer a more minimal, vintage look, keep things simple. If you’re making the book as a gift or to sell, think about how the eventual user might want to interact with it. And if you’re making it just for yourself?
Decorate until you’re happy!
This is your creative playground.
Watch Part 3
In Part 3 of my Little Golden Book Altered Journal series, I’m decorating the pages, filling the pockets and adding tuck-ins throughout the book.
I’m keeping my decorating fairly simple because I want to leave room for the eventual user to add their own personality. But you’ll also see plenty of ideas that you can take much further in your own journals.
Remember: there’s no such thing as too much or too little decorating when you’re making something for yourself. Make it yours!
Until next time,


Leave a Reply