Altering a Little Golden Book – Getting Started & Preparing Your Book
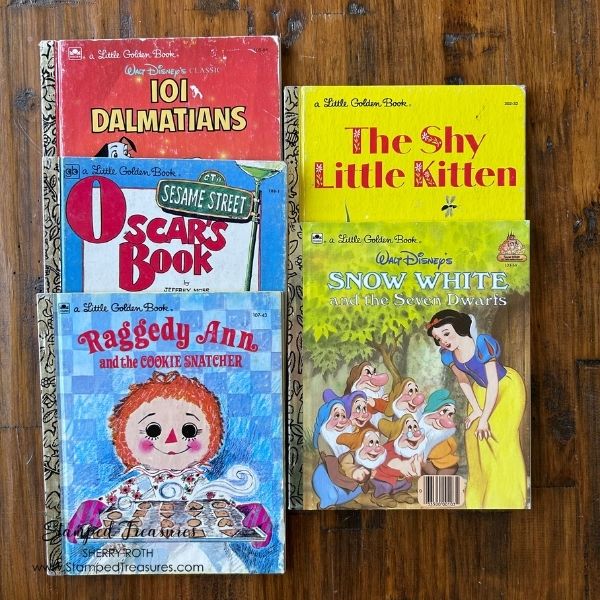
There’s something special about taking a well-loved Little Golden Book and giving it a whole new life. The familiar illustrations and sturdy little pages make such a wonderful foundation for a handmade journal—and the best part is that you can mix the original story with papers, scraps, ephemera, and treasures from your own stash.
I’m starting a new video series where I’ll take you along as I alter a Little Golden Book from beginning to end. I’ll share the process, the decisions I make along the way, and lots of ideas for using what you already have in your craft room.
In this first video, we’re starting with the basics: gathering supplies and carefully taking the book apart while keeping as much of the original book intact as possible.
Start With Your Stash
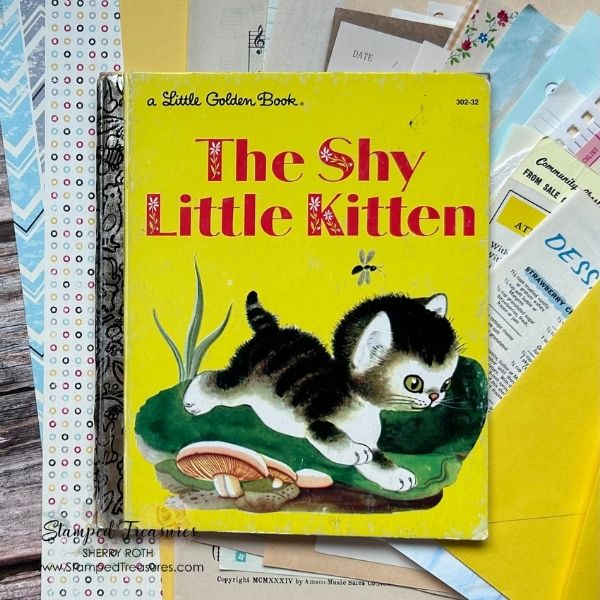
Before buying anything for a project like this, I always recommend shopping your own craft room first. An altered book is a perfect opportunity to use those papers and little treasures that you’ve been saving because they’re “too good to throw away.”
For this project, I pulled together a variety of things that I thought would work alongside the original storybook pages. These are the things I include in every book:
- Patterned paper (x2) and a piece of coordinating cardstock – I like them to coordinate with the book if I can swing it.
- Book pages – an assortment – some with colourful or plain
- Dictionary or encyclopedia pages
- Sheet music
- Pages from notebooks, sketchbooks and notepads
- Envelopes
- Doilie
- Ledger Paper
- Paper Bag
- Textured Paper
- Packaging
- Divider
- Gift wrap
And then I like to pull out things to tuck into the pockets and use to embellish the pages. These may vary from book to book, depending on the book and what I’ve got on hand. Here are some ideas
- Scrap pieces from previous projects
- Journaling cards or index cards
- Ribbon, lace and twine
- Buttons and other small embellishments
- Die cuts and punched pieces
- Stickers and labels
- Collage pieces and masterboards
- Game cards
- Score sheets
- Anything else that fits the colors or theme of the book
You definitely don’t need all of these things. I also like to gather a fairly generous selection at the beginning without deciding exactly where everything will go. Once I start working through the book, the story and illustrations usually help guide my choices.
Let the Story Guide You
One of my favourite things about altering a Little Golden Book is that you don’t have to completely cover or remove the original story. Instead, think of the existing pages as part of the design. I usually leave the illustrated pages untouched, add in pockets and decorate some of the pages I add. That gives the person who receives the book the choice to cover the book pages or leave them as they are.
I want this altered book to still feel like a Little Golden Book when you flip through it—but with lots of additional layers and places to journal, tuck things away and add your own memories.
Carefully Disassembling the Book
The next step is taking the book apart. This is one place where I recommend slowing down. The goal isn’t necessarily to completely dismantle the book. I want to preserve as much of the original structure, pages and illustrations as possible. Depending on the particular Little Golden Book you’re working with, the construction can vary a little, so take your time and pay attention to how your book is assembled.
The first step is to use a heat tool to carefully remove the gold spine. Then there are usually 2 staples that need to be removed. You want to carefully remove the staples, some are more difficult to remove than others. Be careful not to damage the book covers when removing the staples. Once the staples are removed, the front and back covers will come off easily. Then you’ll notice the pages are usually organized in two signatures. Separate those signatures and trim just a sliver off the fold side so that all the pages are individual. Keep the original pages together, in order. This makes it much easier to put everything back together and keeps the story in the correct sequence.
A few tips:
- The heat tool part doesn’t take long. You’ll notice that the gold spine will start to lift off the cover as the glue softens. I like to use the spatula tip of my Take Your Pick tool to get under it as I move up the spine.
- Once the spine is off, set it aside, we’ll use it later.
- A paper piercing tool works great to get those staples started.
- A staple remover works well to remove the staples.
Don’t worry if the book isn’t perfectly pristine. A little bit of wear and imperfection is part of the charm!
What’s Coming Next
This is just the beginning! In the upcoming videos, I’ll continue working my way through this Little Golden Book and show you how I create pockets and tuck spots, how I incorporate scraps and ephemera, and how all of those individual pieces eventually come together into a finished altered book.
I’ll also share plenty of ideas that you can adapt to your own journals and projects—even if you don’t have a Little Golden Book waiting in your stash.
So grab a book from your own collection, start digging through those scraps and come alter a Little Golden Book with me!
Watch the First Video
In the first video of the series, I’m sharing exactly what I pulled from my stash and walking you through how I carefully disassemble the book while keeping as much of the original book intact as possible.
And don’t forget to subscribe to my YouTube channel so you don’t miss the rest of the series. There are lots of layers, pockets, scraps and creative surprises coming!
Until next time,



Leave a Reply