Today I’m sharing how I used my scraps that were leftover from the Snow Day scrapbooking workshop kit. This is part 6, and the final share, of my series on using this kit. If you missed out on the previous posts, I’ll link them below.
A First Look at the Snow Day Scrapbooking Workshop Kit
Snow Day Scrapbooking Workshop Kit – Part 2
Snow Day Scrapbooking Workshop Kit – Part 3
Travellers Notebook Layout
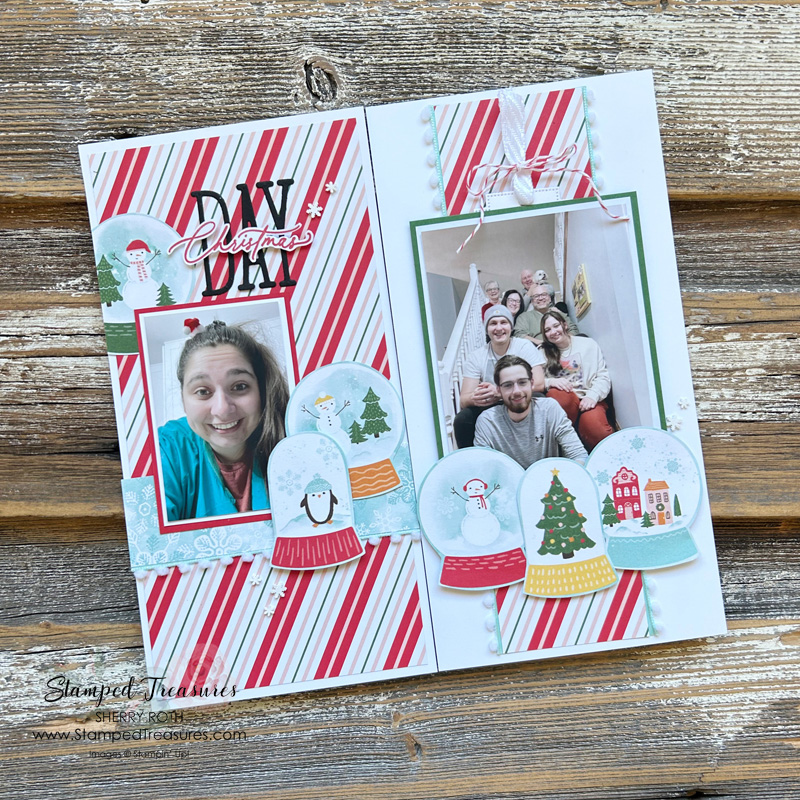
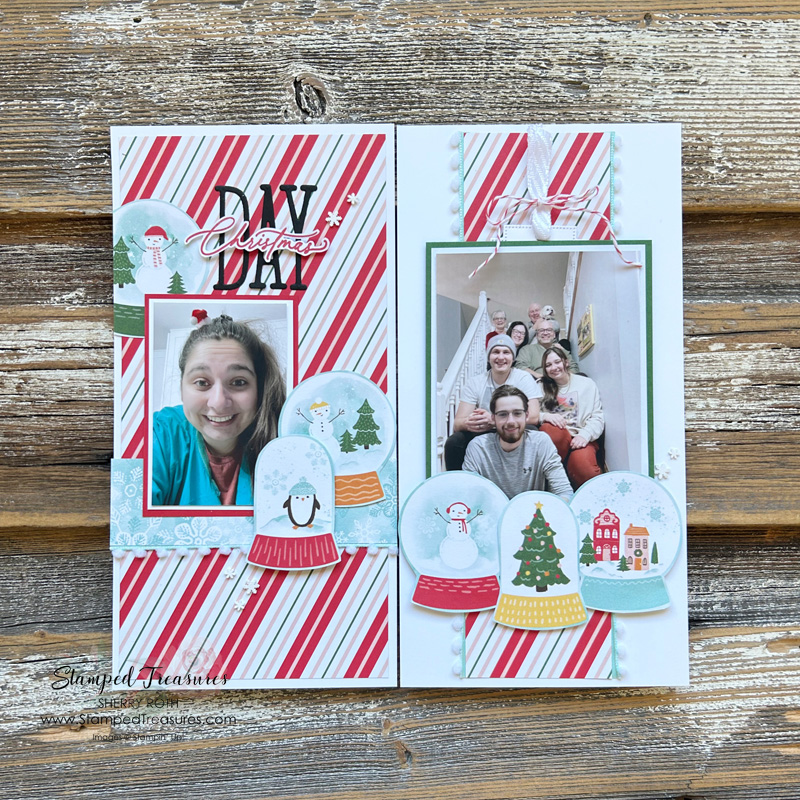
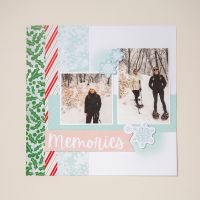
Let’s start with this travellers notebook layout. I had some larger scraps left that I really wanted to put to use. Initially my plan was to create a 6×8 layout with them but then I looked at my 2023 album and had these two holiday photos that still hadn’t been scrapbooked so I decided to do a two page 4×8 layout for my 2023 Life Crafted Album.
I added in some pool party pompom ribbon (using this as a border is my new favourite thing to do:); loose snowflakes; garden green, black and white card stock. Otherwise all the other consumables came from the kit. The word ‘DAY’ was cut using the alphabet a la mode dies and Christmas is from the Greetings of the Season stamp set. I didn’t take a photo of the journaling but it’s hidden behind the photo on the right page.
The Cards
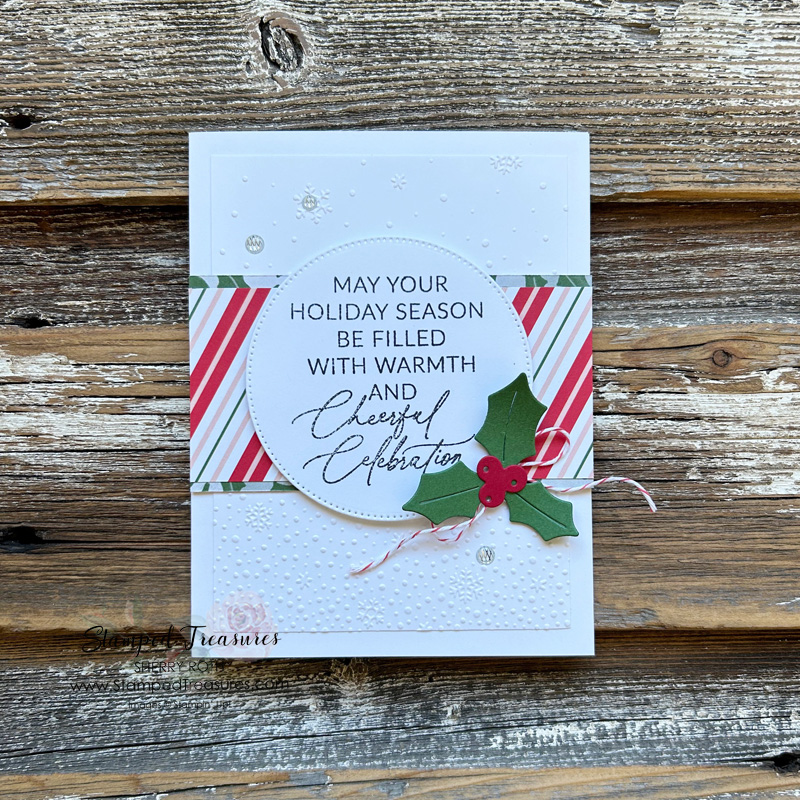
The first card I’m sharing was literally made from bits and pieces on my desk. Pattern paper scraps are from the Snow Day kit, the holly & leaves were cut from the Reindeer Fun dies and on my desk after not using them on a previous project. The circle was in my die cut shapes and even the embossed layer was an unused piece! I love it when random pieces like this come together.
Measurements:
- Thick Basic White: 5-1/2″ x 8-1/2″ scored at 4-1/4″
- Basic White: 3-3/4″ x 5″ (embossed with the Snowflake Sky EF); 3-1/2″ x 3-1/2″ die cut using the largest stylish shapes circle
- Snow Day Kit Pattern Paper: diagonal stripe 2″ x 4-1/4″; holly pattern 1/2″ x 4-1/4″ (x2)
- Garden Green: 2″ x 2″
- Poppy Parade: 1″ x 1″
- Red/White Twine: 8″
- Clear Ribboned Dots: x3
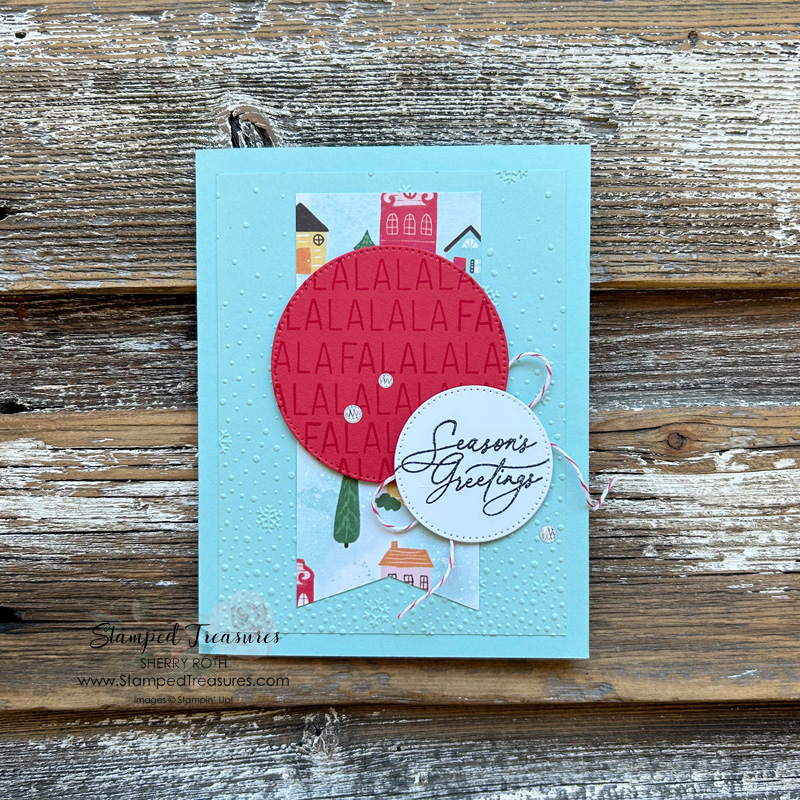
I really like the pattern paper with the houses on it so I wanted to use as much of it as I could. Adding a flag down the centre of the card seemed like a good idea. Then to finish it off I added a couple die cut circles. The poppy parade circle was a bit too plain so I stamped the ‘Falalalala’ stamp from the Reindeer Memories stamp set to create my own pattern on it.
Measurements:
- Pool Party: 5-1/2″ x 8-1/2″ scored at 4-1/4″; 3-3/4″ x 5″ embossed using the Snowflake Sky EF
- Snow Day Pattern Paper: 2″ x 4-1/2″ (flagged) and 1″ x 5-1/4″ (inside)
- Poppy Parade: 3″ x 3″ die cut using the second largest stylish shapes circle
- Basic White: 4″ x 5-1/4″ (inside) and 2″ x 2″ die cut circle
- Red/White Twine: 8″
- Clear Ribboned Dots: x3
And that’s a wrap!
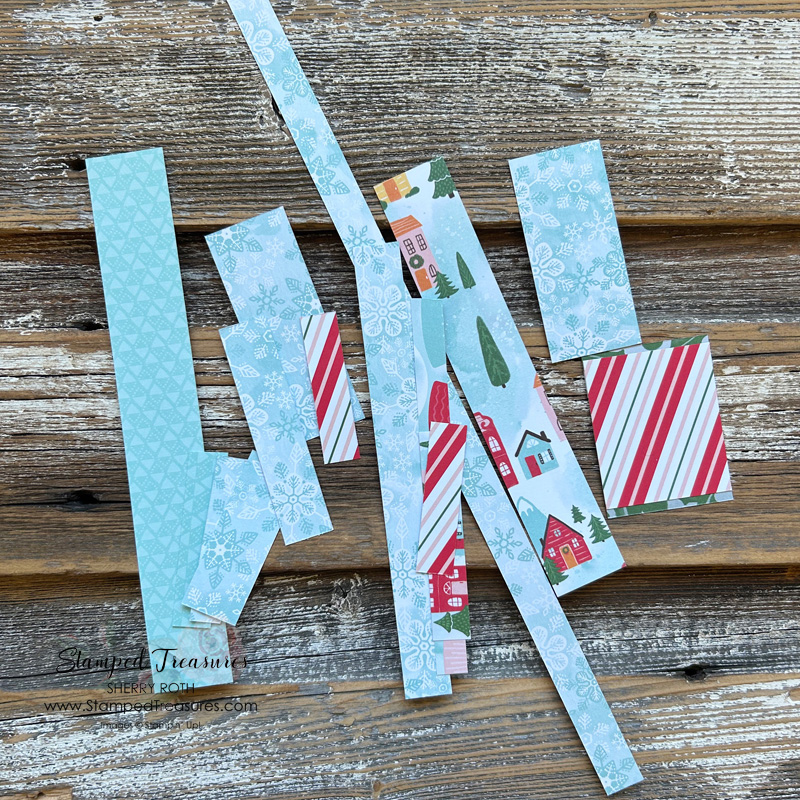
After completing three 2-page 12×12 layouts; a single 12 x 12 page; a mini album; a double 4″ x 8″ layout and 2 cards I’m happy to say that I’m done. This is all I had left and they will be tossed. I’m ready to move on.
If you enjoyed this series where I ‘killed a kit’ be sure to check out my Kill a Kit club beginning in October. I’ll be sharing this same process with club members using the Autumn to Remember scrapbooking workshop kit. Find all the details on how you can participate, no matter where you live, here.
Until next time,

Shopping List
Click on any of the images to shop my Canadian online store or to find out more information about any of these products.





Leave a Reply