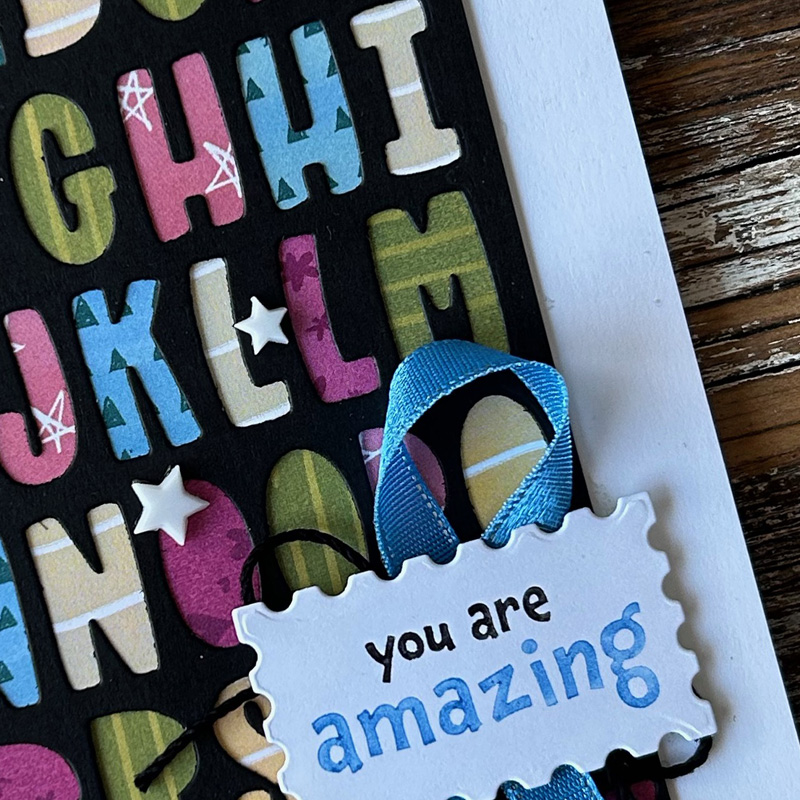
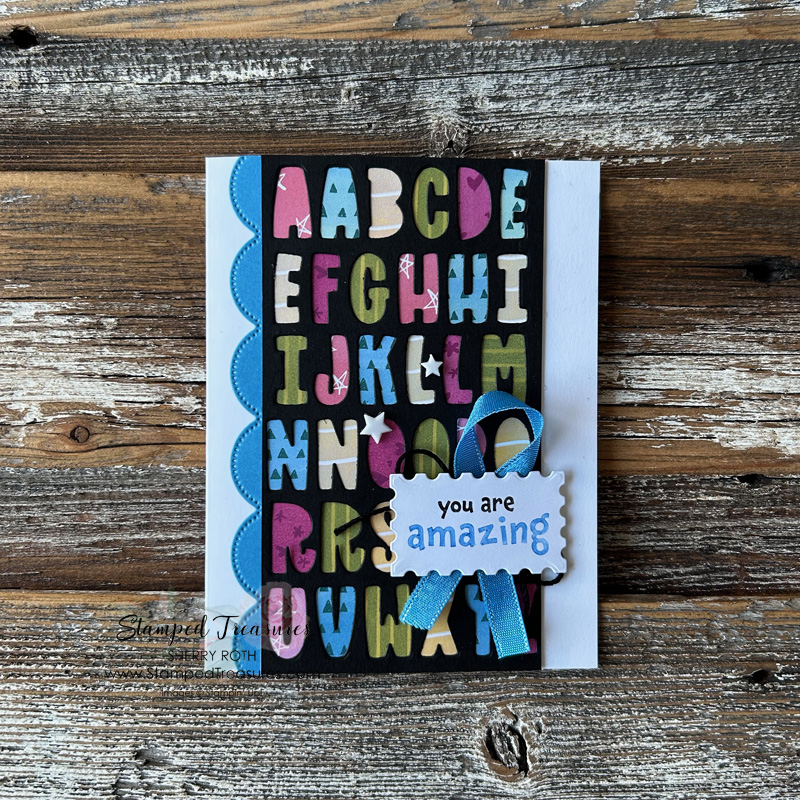
In today’s post I’m sharing another fun way to use your scraps. Using it to back the negative space of a die cut image. Not all images will work but the mini alphabet is a GREAT one to highlight this way of using scraps.
I’m continuing on with my focus on the mini alphabet dies with todays variation of a project I shared in this blog post. This particular example is a bit time consuming but I think the end result is worth it!
How I did it:
- Die cut the mini alphabet die from a 3-1/4″ x 5-1/2″ piece of black card stock. Make sure you use adhesive sheets on the back!
- Pop out all the letters. Save them for another project:)
- Using scraps of whatever paper pack you’d like, I used the Just Kiddin’ DSP, fill in each letter. Attaching the pattern paper to the back of the negative space.
- Die cut a 1″ x 5-1/2″ piece of azure afternoon card stock using the scallop border from the scalloped contour dies. Add it to the back of the alphabet piece and add that to the front of a basic white card base (5-1/2″ x 8-1/2″).
- Fold a 6″ piece of azure afternoon ribbon in half and adhere it to the card front.
- Tie a bow from an 8″ piece of black twine and add that over top of the ribbon.
- Stamp desired greeting using basic black and azure afternoon Stampin’ Write Markers onto a scrap of white and die cut with the appropriate postage die. Add that to the card using dimensionals.
- Add a couple of white stars and your card is done!
Until next time,

Shopping List
Click on any of the images to shop my Canadian online store or to find out more information about any of these products.


Leave a Reply