If you’ve ever looked at your growing pile of leftovers and wondered how to organize and use paper scraps, you’re definitely not alone. What starts as a good habit—saving those beautiful bits of paper—can quickly turn into an overwhelming pile that’s hard to manage and even harder to use. But with a simple system and a few intentional habits, your scrap bin can go from chaotic to completely inspiring.
Why Your Scrap Bin Matters
Before we dive into organizing, let’s talk about why it’s worth the effort.
Your scraps are full of potential. They’re already coordinated, already cut, and often come from projects you loved. That means they’re perfect for quick cards, layered embellishments, and adding interest to any project without starting from scratch.
When your scraps are organized, you:
- Save time digging through piles
- Use more of what you already own
- Feel more inspired (instead of overwhelmed)
- Stretch your supplies further
Declutter Before You Organize
Not all scraps deserve to be saved—and that’s okay.
Start by going through your current stash and pulling out:
- Pieces that are too small to realistically use
- Damaged or bent scraps
- Patterns or colours you no longer love
A good rule of thumb: if you wouldn’t reach for it today, let it go.
Choose a Simple Storage Solution
The key here is simple and accessible. If it’s too complicated, you won’t stick with it. Here are a few tried-and-true options:
- By Color: Perfect for card makers. Keep all your reds, blues, neutrals, etc. together so you can quickly build projects. I like to sort my card stock scraps this way. I have an 8-1/2″ x 11″ page protector for each colour and keep scraps in that stored with the full sheets.
- By Size: Great if you like structured projects. Think:
- Large scraps (card fronts, backgrounds)
- Medium scraps (layers, mats)
- Small scraps (die cuts, embellishments)
- By Collection or DSP: If you love coordinated projects, keep scraps with their original paper packs or collections. I keep all scraps for a collection in the bag that it comes in. This allows me to grab scaps first.
- By Type: Make it easy to find by storing like items together. Ribbon scraps all in a jar. Leftover die cut pieces together in a basket, bin or drawer. This makes it easy to find what you need.
Pro tip: Limit yourself to one bin (or a set number of containers). When it’s full, it’s time to use—not store—your scraps.
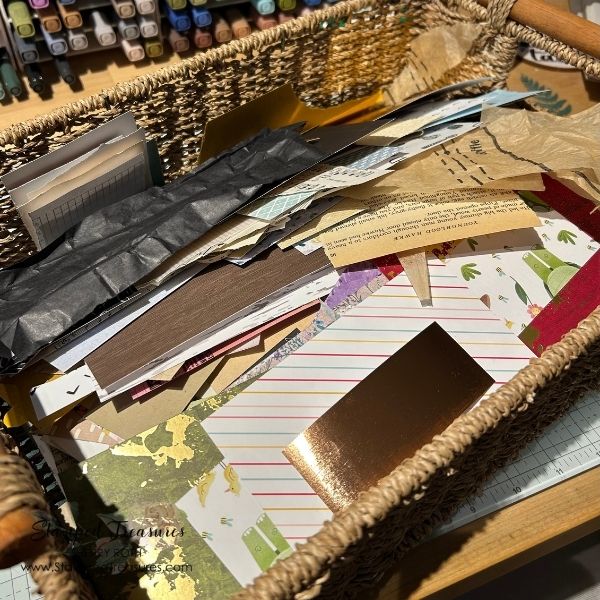
Make Your Scraps Visible
Out of sight = out of mind. I have a basket that I use for scraps smaller than 3″ of retired pattern, specialty paper, book pages etc. The key is to keep the scrap bin handy so you remember to check it. Consider keeping it on your desk, within arm’s reach or in a clear container. Something that’s easily accessible. If you have to dig for your scraps, you won’t use them.
Build a Use It First Habit
Before you cut into a full sheet of paper, check your scraps first. Try this:
- Start every project by pulling from your scrap bin
- Challenge yourself to use at least 3 scraps per project
- Create a few “scrap-only” projects each month
This small habit shift makes a huge difference over time.
Turn Scraps into Ready to Use Elements
One of the best ways to actually use your scraps is to prep them ahead of time. Create:
- Die cuts and punched shapes
- Background panels
- Tags and labels
- Layered clusters – I shared more about this idea in this blog post
Store these in a small container or envelope, and you’ll always have something ready to grab when you’re crafting.
Create Go To Scrap Projects
When you’re not sure what to make, having a few “default” scrap projects makes it easy to get started. Here are some of my favourites:
- Card fronts with layered strips
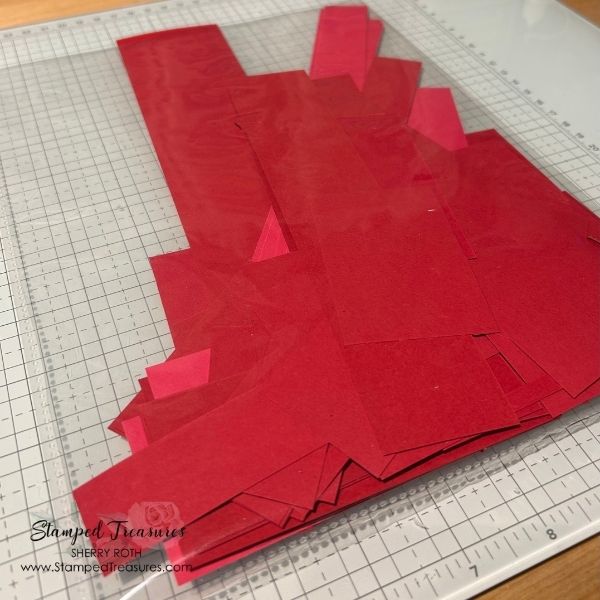
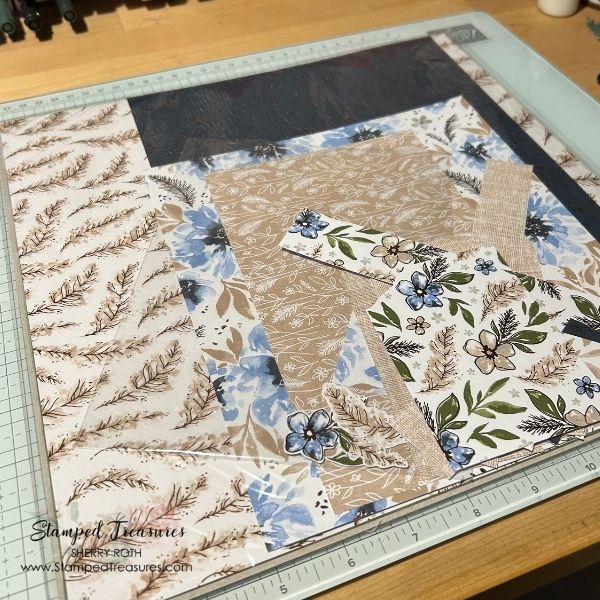
- Patchwork or quilt-style backgrounds
- Scrap clusters for journals
- Mini albums made entirely from leftovers
- Bookmark or tag sets
These projects are perfect for using a variety of sizes and patterns—and they come together quickly.
Your scrap bin shouldn’t feel like a burden—it should feel like a creative goldmine.
With a little organization and a habit of reaching for your scraps first, you’ll start to see them differently—not as leftovers, but as opportunities.
So pull out that bin, give it a refresh, and challenge yourself to create something beautiful from what you already have.
You might be surprised by what you come up with.


Leave a Reply