
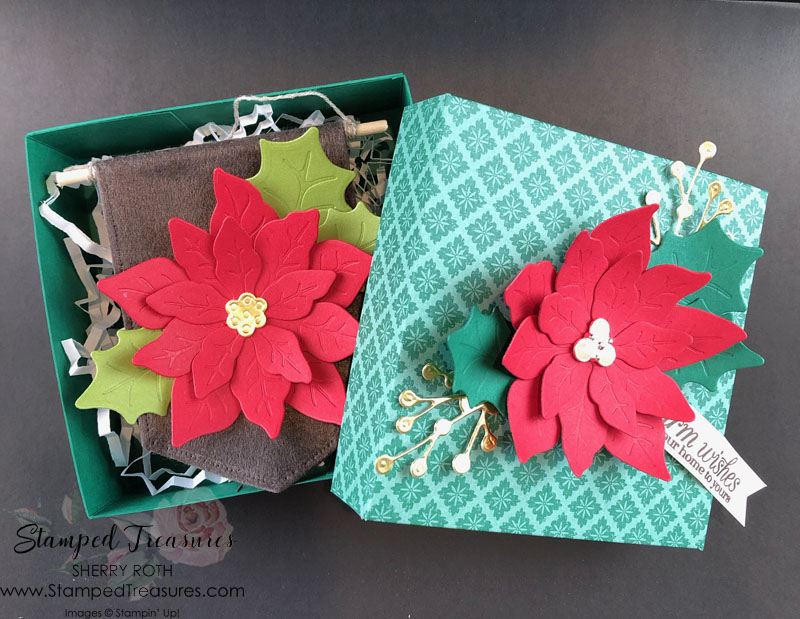
In the last post for this week I’m sharing how to make a gift box using Stampin’ Up!’s beautiful Poinsettia Petals bundle.
Yesterday I shared a couple DIY Christmas ornaments. Today I’m sharing some pretty packaging for them.
Creating a box really isn’t that difficult. I explain how to determine the measurements you need in the video at the end of this post. But I’ve included the measurements for the two boxes I’m sharing in todays post.
Measurements:
- Bottom: 7″ x 7″ (cut 1/16″ off of two sides) and score at 1 1/2″ on all 4 sides
- Lid: 6″ x 6″ score at 1″ on all 4 sides
See the video for tips on assembly and the reason for cutting the 1/16″ off the bottom.

I love how finished the boxes look with the coordinating card stock bottom and dsp top. It looks so professional.

This larger box uses the retired Plush Poinsettia dsp which gives it such a beautiful texture.
Measurements:
- Bottom: 12″ x 12″ (cut 1/16″ off two sides) and score at 2 1/2″ on all 4 sides
- Top: 10 1/2″ x 10 1/2″ score at 1 3/4″ on all 4 sides
Don’t forget to check out the Giant Year-End Clearout so you don’t miss out on some of the fabulous retiring products. In todays video I shared projects using the following retiring products:
- Tis the Season DSP
- Beaded Pearls
- Plush Poinsettia DSP (sold out)
- Trimming the Town Ribbon Combo
- Festive Felt
Have a creative weekend!

Shopping List
Click on any of the images to find out more or to shop my Canadian online store.
")
 Designer Series Paper")


Leave a Reply