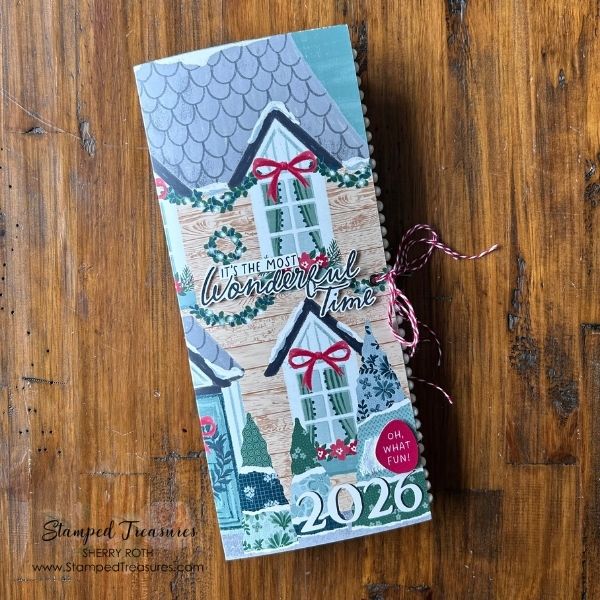
Now that the journal structure is finished, it’s time for the fun part: decorating!
In Part 1 of this project, I took the pretty packaging from Stampin’ Up!’s 12 Days of Creativity Advent Calendar and turned it into the foundation for a journal. I loved seeing those pieces take on a completely different purpose, but this is where the journal really starts to come to life—with layers, pockets, pretty papers, texture and all those little details that make a handmade journal special.
In Part 2, I’m sharing how I decorated the journal and, more importantly, how I approach decorating without feeling like every page needs to be completely finished.
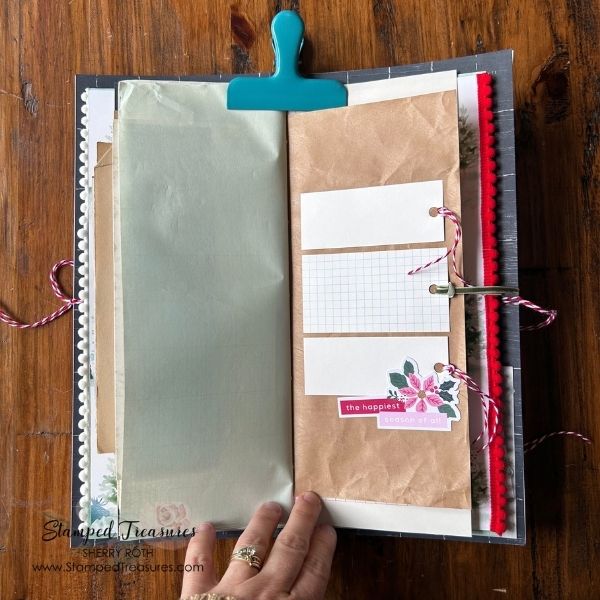
You Don’t Have to Decorate Every Inch
One thing I try to keep in mind when decorating a journal is that the journal is meant to be used. I don’t necessarily want to cover every page with embellishments. Some pages might have a little bit of decoration, while others might have a pocket or tuck spot—or simply be a pretty piece of paper waiting for a photo, story, quote or piece of ephemera. Leaving some open space gives the journal room to evolve and allows you to make it your own. And if you’re making the journal for yourself, you can always add more later.
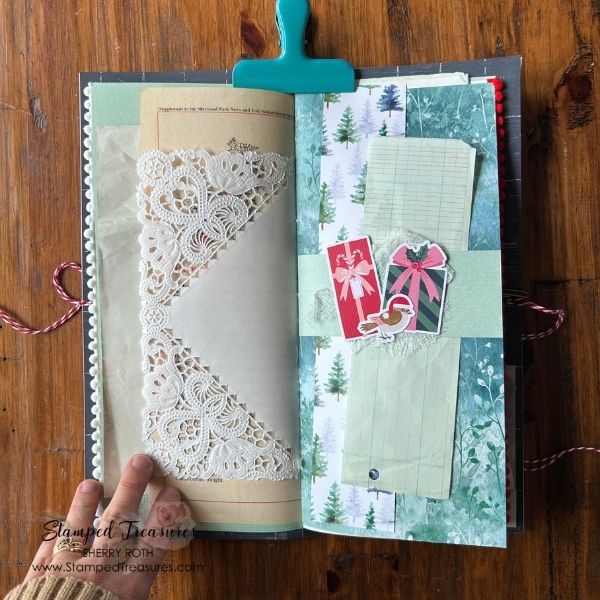
Layering Makes Simple Pieces More Interesting
You don’t need a huge collection of embellishments to create pages with lots of interest. A few simple layers can make a big difference. I like combining things such as:
- Patterned paper scraps – I always keep the leftover pieces from the papers I cut up to use as pages in my journal.
- Vintage book pages – these can be painted or stencilled over top
- Small pieces of cardstock
- Labels and tags
- Die cuts
- Fabric, lace, ribbon or twine
- Stamped images
- Ephemera
I might start with a piece of patterned paper and layer a smaller piece on top, add a scrap of vintage paper, then tuck a tag or label underneath. Maybe I’ll add a little ribbon or another small detail. There doesn’t need to be a complicated formula—I simply keep layering until the page feels interesting.
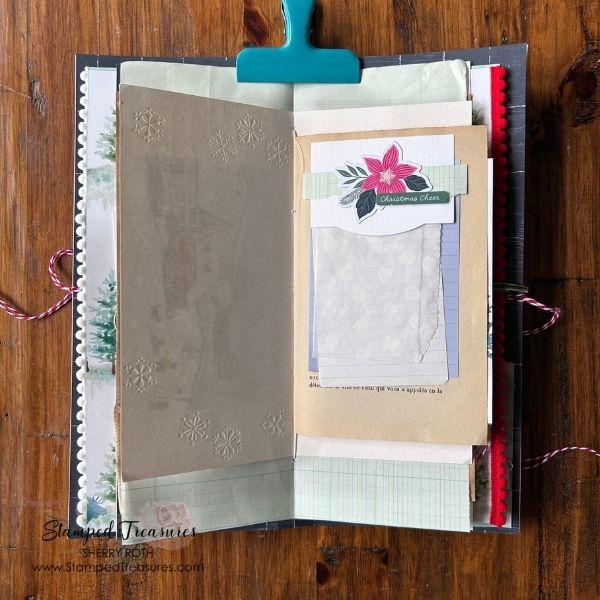
Pockets, Tuck Spots and Things to Discover
I also love adding interactive elements to journals. A pocket doesn’t have to be complicated; a piece of paper folded or attached to a page can instantly give you somewhere to tuck a tag, note or piece of ephemera. These little hidden elements make journals fun to flip through and give you additional places to store memories. You could use them for photos, journaling cards, tags, receipts, tickets, quotes, notes or other small pieces of everyday life. I also like leaving some of these elements unfinished so they can be added to later.
Let the Journal Evolve
This is probably my favourite thing about making journals: they don’t have to be finished when you finish making them. A card is finished when you seal it up and put it in an envelope. A scrapbook layout is usually finished once the last embellishment is in place. A journal is different because it can keep changing. You can add things as you find them, write in it, tuck something into a pocket months later, or add photographs, tickets, notes and little pieces of everyday life. That’s why I don’t worry too much about making every page perfect before the journal is used.
A Different Way to Look at Packaging
This project started with something that was never intended to become a journal. The packaging from the 12 Days of Creativity Advent Calendar already had colour, pattern and visual interest, so instead of treating it as something disposable, I looked at it as a collection of materials I could work with.
I think that’s a great habit to develop in your craft room. Before you toss something into the recycling bin, take another look. Could the cardboard become a journal cover? Could the packaging become a pocket? Could a pretty tag become part of a journal? Could those little scraps become a collage?
Watch Part 2
In part 2 of the video series, I walk you through how I decorated this journal and share some of the little details I added along the way. I hope it gives you ideas for decorating your own journals—and encourages you to pull out some of those bits and pieces you’ve been saving.
You don’t need to have everything planned before you begin. Start with what you have, add a few layers, leave some space and see where the project takes you.
And if you missed it, be sure to check out part 1, where I turned the Advent Calendar packaging into the journal itself.
Until next time,

Supply List
Click on any of the images to shop my Canadian online store or to find out more information about any of these products.
![12 Days Of Creativity Advent Calendar (English) [ 168589 ]](https://assets1.tamsnetwork.com/images/EC042017NF/168589s.jpg "12 Days Of Creativity Advent Calendar (English) [ 168589 ]")
![Home For Christmas Photopolymer Stamp Set (English) [ 168502 ]](https://assets1.tamsnetwork.com/images/EC042017NF/168502s.jpg "Home For Christmas Photopolymer Stamp Set (English) [ 168502 ]")
![Happiest Season Tags Mix & Match Ephemera Pack [ 168493 ]](https://assets1.tamsnetwork.com/images/EC042017NF/168493s.jpg "Happiest Season Tags Mix & Match Ephemera Pack [ 168493 ]")
![Whispering Woods 12" X 12" (30.5 X 30.5 Cm) Designer Series Paper [ 168368 ]](https://assets1.tamsnetwork.com/images/EC042017NF/168368s.jpg "Whispering Woods 12\" X 12\" (30.5 X 30.5 Cm) Designer Series Paper [ 168368 ]")
![Multipurpose Liquid Glue [ 110755 ]](https://assets1.tamsnetwork.com/images/EC042017NF/110755s.jpg "Multipurpose Liquid Glue [ 110755 ]")
![Paper Trimmer [ 152392 ]](https://assets1.tamsnetwork.com/images/EC042017NF/152392s.jpg "Paper Trimmer [ 152392 ]")


Leave a Reply