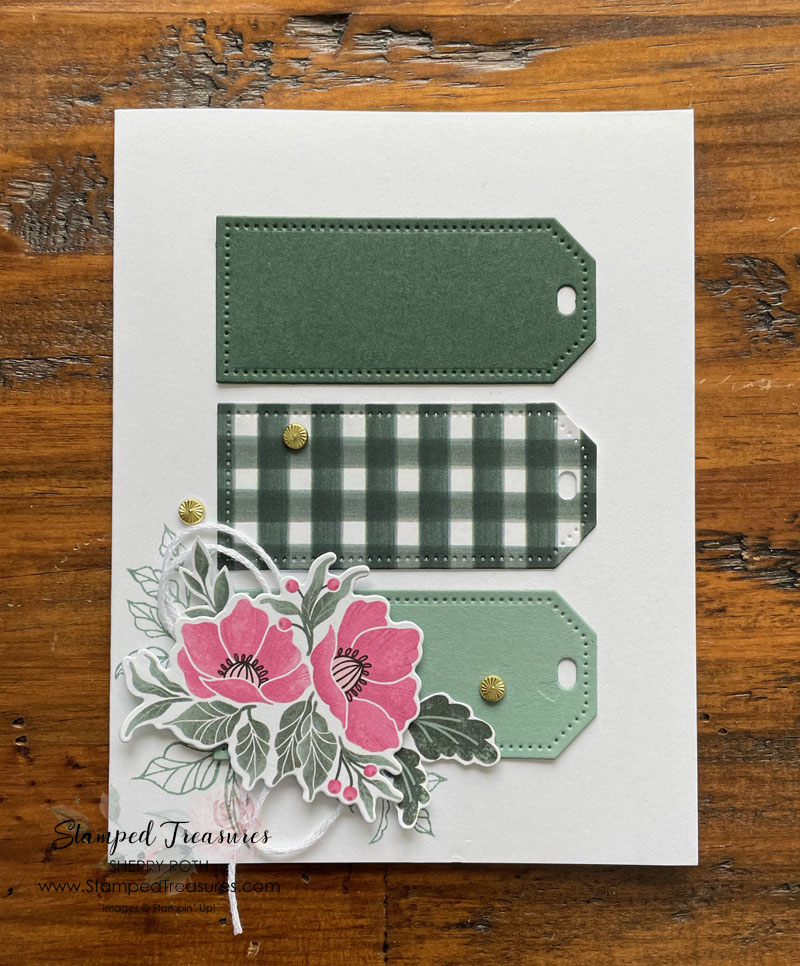
I’ve got a simple Framed Florets card to share with you today. This card was inspired by a card I created using the Hello Ladybug set last year. You can see it in this blog post. I love going back to previous projects and using those ideas with different products.
Measurements:
- Basic White: 5-1/2” x 8-1/2” scored at 4-1/4”
- Evening Evergreen: 1-1/2” x 3”
- Soft Succulent: 1-1/2” x 3”
- Fitting Florets DSP: Evening Evergreen Gingham 1-1/2” x 3”; die cut floral image and a couple fussy cut leaves
- White Twine: 16”
Instructions:
- Die cut the Evening Evergreen, Soft Succulent card stock and the gingham dsp using the 2nd smallest tag from the Tailor Made Tag dies.
- Stamp the leaf stamp from the Framed Florets stamp set using soft succulent ink onto the lower left corner of the card front. Stamp it 2 or 3 times so that you can see it peeking out from behind your floral image.
- Add the die cut tags to the card front.
- Add the twine to the back of the floral image and add that to the card front using dimensionals.
- Tuck in a couple fussy cut leaves to fill it out a little.
- Add three of the gold swirls.
If you’re looking for more inspiration using the Framed Florets bundle be sure to check out this months class to go!
Until next time,

Shopping List
Click on any of the images to shop my Canadian online store or to find out more about any of these items.


Leave a Reply