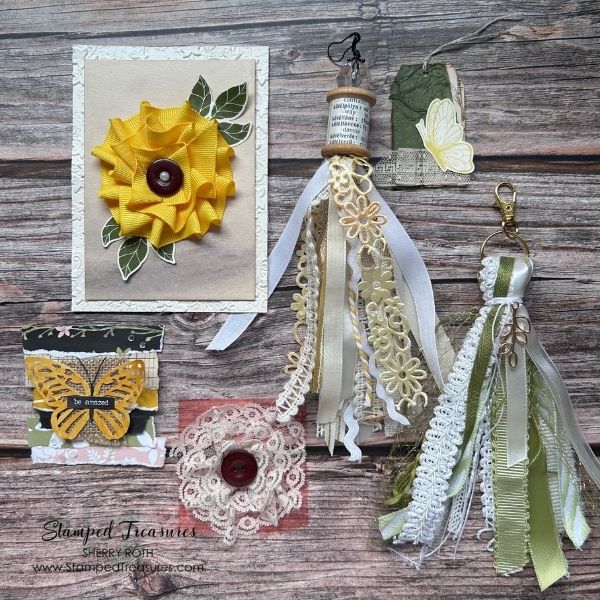
If you’ve been crafting for any length of time, chances are you have a drawer, basket, or bin full of ribbon. Some pieces are still on the spool, while others are just a few inches long—too pretty to throw away but not quite long enough for a traditional bow. Sound familiar?
This month in my Shop Your Stash series, we’re giving those forgotten ribbons a second life. Whether you have tiny snippets, medium-length pieces, or longer lengths you’ve been saving for “something special,” there are countless ways to use them in your projects.
The best part? Using up those leftovers not only stretches your supplies but also adds texture, softness, and dimension to your handmade creations.
Don’t Underestimate the Little Pieces
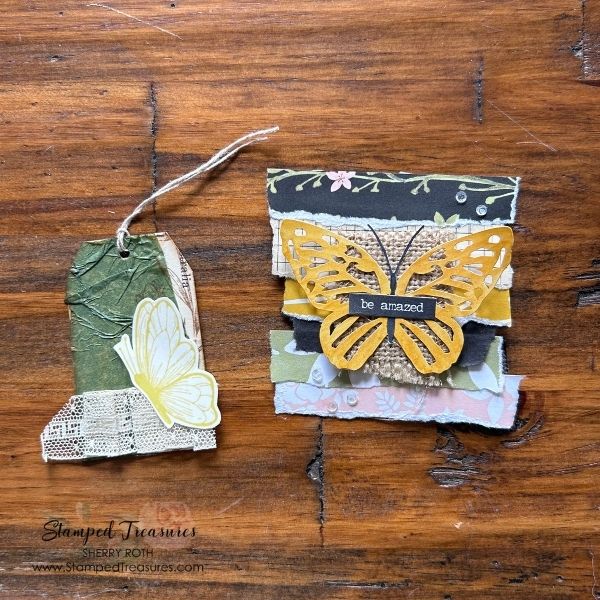
It’s easy to think that ribbon scraps aren’t worth saving, but some of my favourite embellishments are made from the smallest bits. Those 2- to 4-inch pieces can become beautiful layered accents that add interest without taking over your design.
Some simple ideas include:
- Tuck ribbon behind die cuts.
- Layer several ribbons together for added texture.
- Staple or stitch ribbon onto tags.
- Add ribbon to journal pockets and tuck spots.
- Use short pieces as tabs on journal pages.
- Tie them around paper clips for decorative bookmarks.
- Create a fringe along the edge of a project.
Sometimes all a project needs is a small pop of texture to make it feel finished.
Build Beautiful Clusters
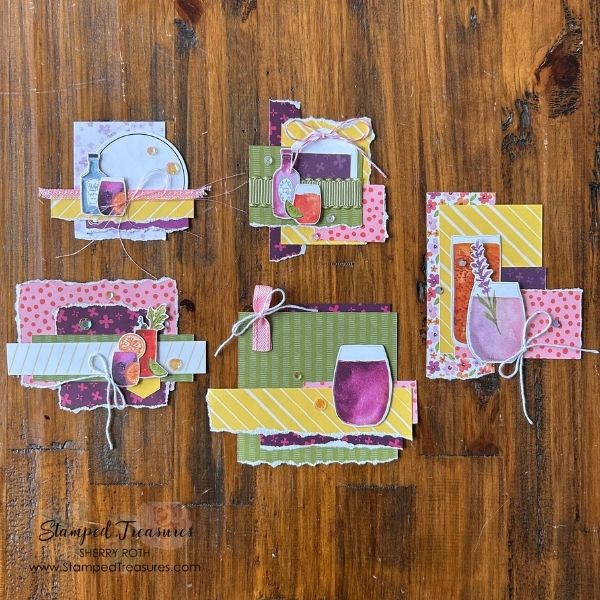
For more information on making clusters, check out this post.
One of my favourite ways to use ribbon scraps is by creating embellishment clusters. Instead of relying on just paper, mix in ribbon to create layers with different textures. Combine ribbon with book pages, lace, die cuts, labels, fabric scraps, buttons, stamps, or ephemera to create unique embellishments for cards, scrapbook layouts, junk journals, and mini albums. The ribbon softens the edges and helps tie all of the different materials together.
There’s no right or wrong combination—simply experiment until you find a mix you love.
Turn Ribbon Into Flowers
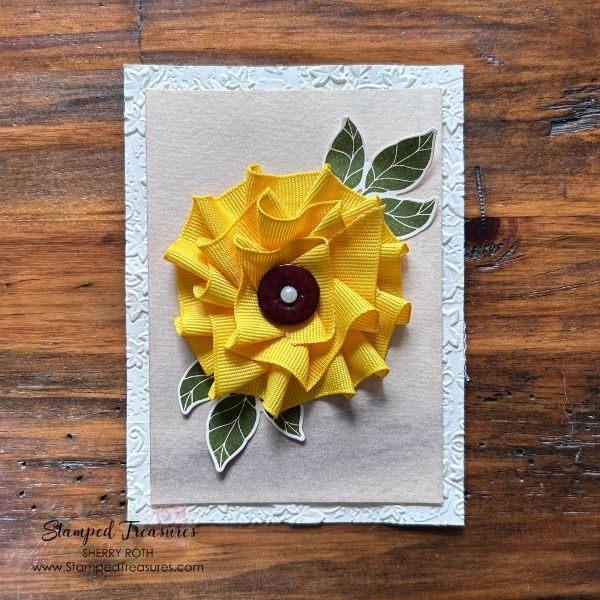
Ribbon flowers are surprisingly easy to make and add wonderful dimension to handmade projects. You can create them with satin ribbon, seam binding, crinkle ribbon, organza, or even rustic twill tape. Gather or fold the ribbon as you work around in a circle, securing it with glue or stitching until you have a full flower. Finish the centre with: a button; brad; pearl; gem or a smaller punched flower. These flowers are perfect for scrapbook layouts, journal covers, gift tags, and handmade cards.
Make Decorative Tassels
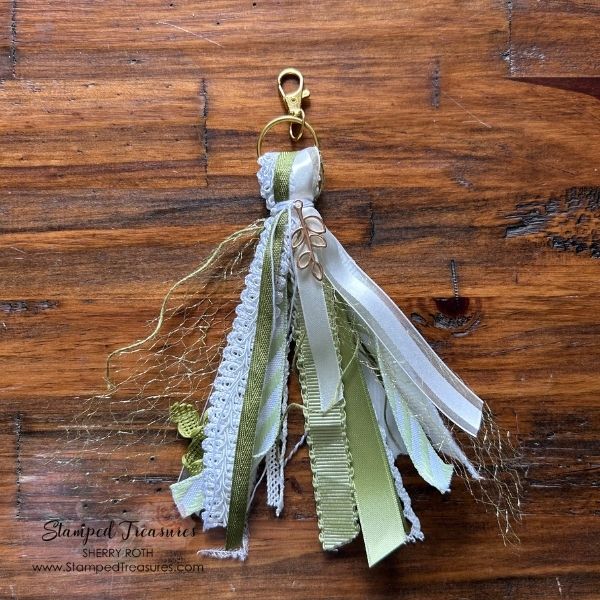
If you enjoy making journals or mini albums, tassels are a wonderful way to use longer ribbon pieces. Mix several coordinating ribbons together with lace, fabric strips, twine or embroidery floss to create unique tassels that coordinate perfectly with your project. Attach them to: journal spines; mini albums; gift bags; use them as bag tags or even to decorate your home. Each tassel becomes a one-of-a-kind embellishment while using supplies you already own.
Organize Your Ribbon for Inspiration
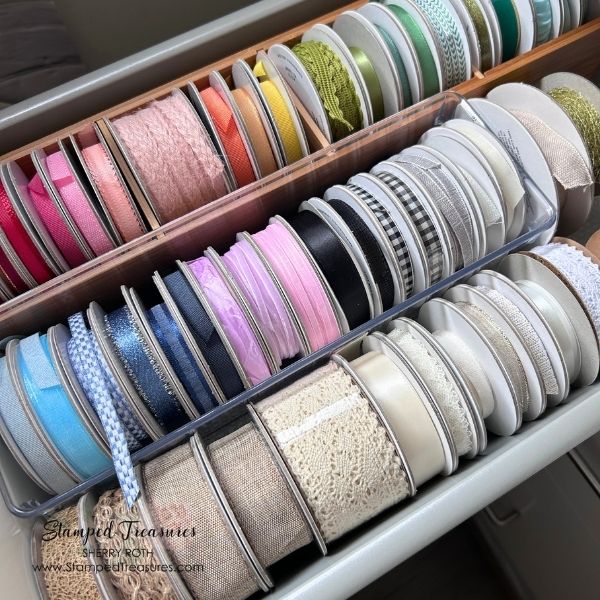
Sometimes we forget what we have simply because we can’t see it. If your ribbon is tucked away in boxes, try wrapping shorter lengths onto small cards or clothespins. Store similar colours together or organize them by style so they’re easy to browse while you’re creating. Store scraps in jars, dishes or drawers so they are easy to access.
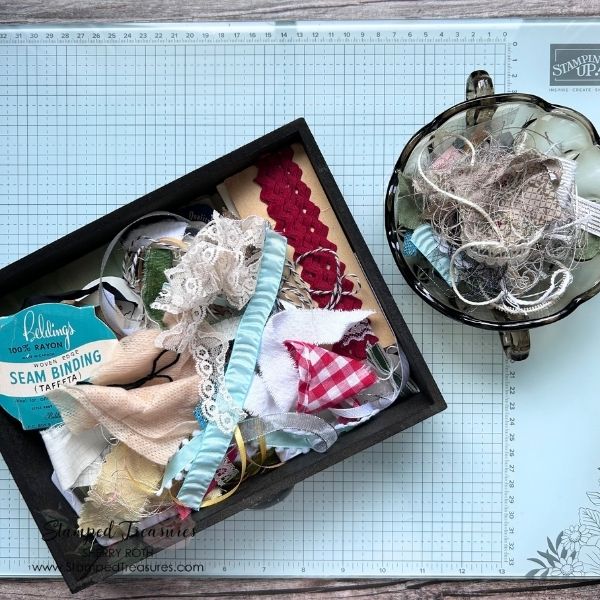
You’ll be much more likely to use your ribbon when it’s visible and accessible.
I shared all this and how to make a tassel in the video linked below.
This Week’s Shop Your Stash Challenge
Challenge yourself to use pieces of ribbon you’ve been saving. Maybe you’ll create a layered cluster, make your first ribbon flower, or finish a journal with a handmade tassel. The goal isn’t to use perfect supplies—it’s to enjoy the beautiful materials you already own and give them a chance to shine.
I’d love to see what you create! Share your projects on social media and tag me so I can celebrate your creativity.
Happy crafting!



Leave a Reply