I’m kicking off a new series today that I’m calling How to Use Stencils – Part 1. This will be the first of 4 posts where I share a variety of ways to use stencils, or masks, as Stampin’ Up! calls them.
We are starting very simple this week with just the basics. In the video, that you’ll find towards the bottom of this post, I talk a little about some of the things you might find handy to have on hand when using masks and also a few different mediums.
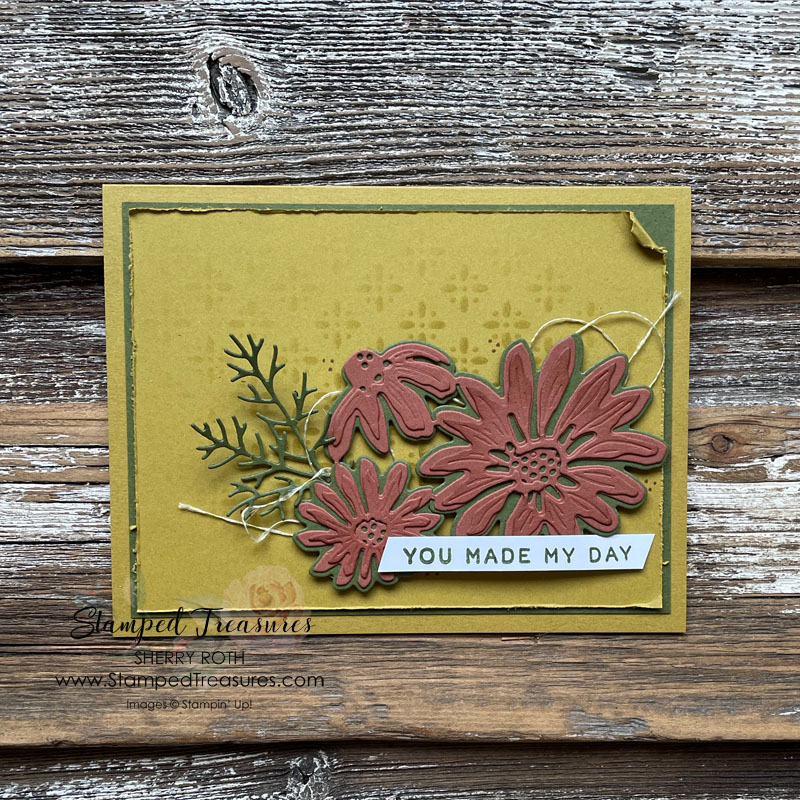
In the video, this is the card that I demonstrated. I used one of the Artistic Mix Decorative Masks, a blending brush and some wild wheat ink to add a subtle pattern in behind the daisies. By layering more ink in some areas, you can get a beautiful variation in the pattern.
This card also shows how the Cheerful Daisies dies layer to give some depth and dimension to the flowers. The Cheerful Daisies bundle is so much more fun than I expected. I’ve been loving it. Be sure to check out the current class to go that features this bundle. You can find all the info in this post.
Additional Samples
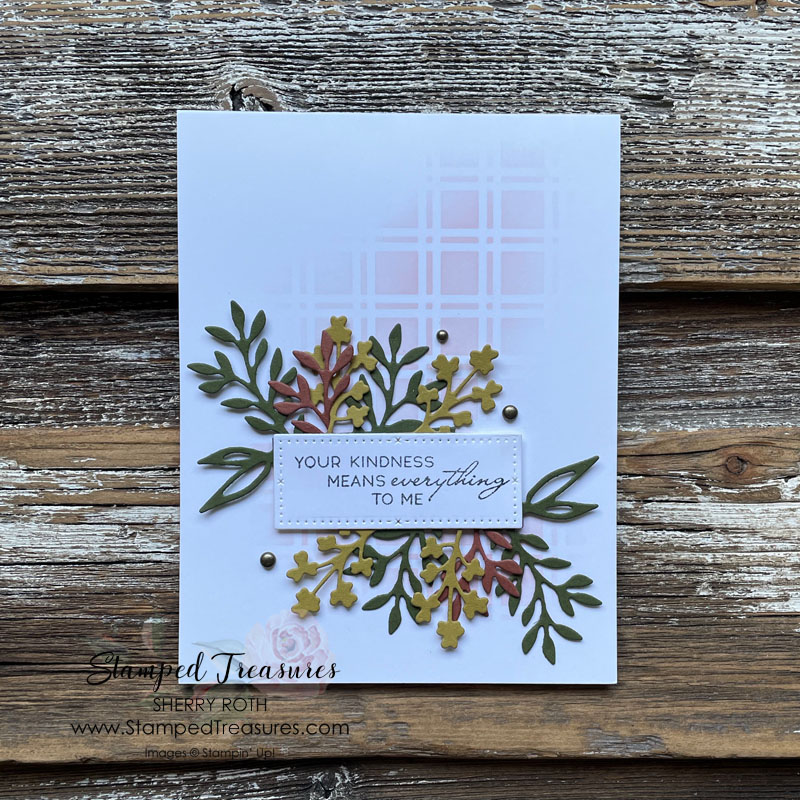
The second card I’m sharing is the same technique, it just uses a different stencil and copper clay ink on white cardstock. Using stencils is a quick & easy way to create a subtle background. If you feel like your project is missing something consider adding a bit of stencilling in behind your focal point.
This last card is one that my friend Kathy Lovell gave me featuring the Zoo Crew bundle. She used the same stencil I used in the second card but put it at a slight angle – I love it! And how cute is that racoon holding the balloons?!
Check out the video below, where I share additional details, tips & tricks on using stencils. And don’t forget to subscribe to my Youtube channel so you don’t miss out on part 2!
Until next time,

Product List
Click on any of the images to shop my Canadian online store or to find out more information about any of these products.


Leave a Reply