I’ve got something a little different to share with you for this weeks memory keeping Monday – a simple with love & gratitude mini album. This mini album uses pieces from the September 2023 With Love & Gratitude Paper Pumpkin kit. You can see what this months kit is intended to create in this post.
This is a simple 4″ x 4″ album that I put together using two of the envelopes in this months kit. Although the full kit is no longer available, at the time of writing this post, the refill kits are available to Paper Pumpkin subscribers.
Measurements:
- Lost Lagoon: 4″ x 8″ scored at 4″ ; 1/2″ x 3-3/4″ strip for inside
- Card Bases from the kit: x2
- 4″ x 4″ envelopes from the kit: x3 – 2 for the album and one cut apart to be used for decorating. Open up one envelope and cut a 3-3/4″ x 3-3/4″ piece for the cover and a 1/2″ x 3-3/4″ piece for this inside. Fussy cut a couple of the images to use to decorate the inside.
- Box from the kit: open it up and cut two 3-1/4″ x 3-1/4″ piece for the inside.
- Vellum: 3-1/4″ x 3-1/4″
- Die cut pieces from the kit
- Silver & White Ribbon: 17″
- Linen Thread: enough for 3 bows
- Neutrals Sequins: x6
Album Assembly
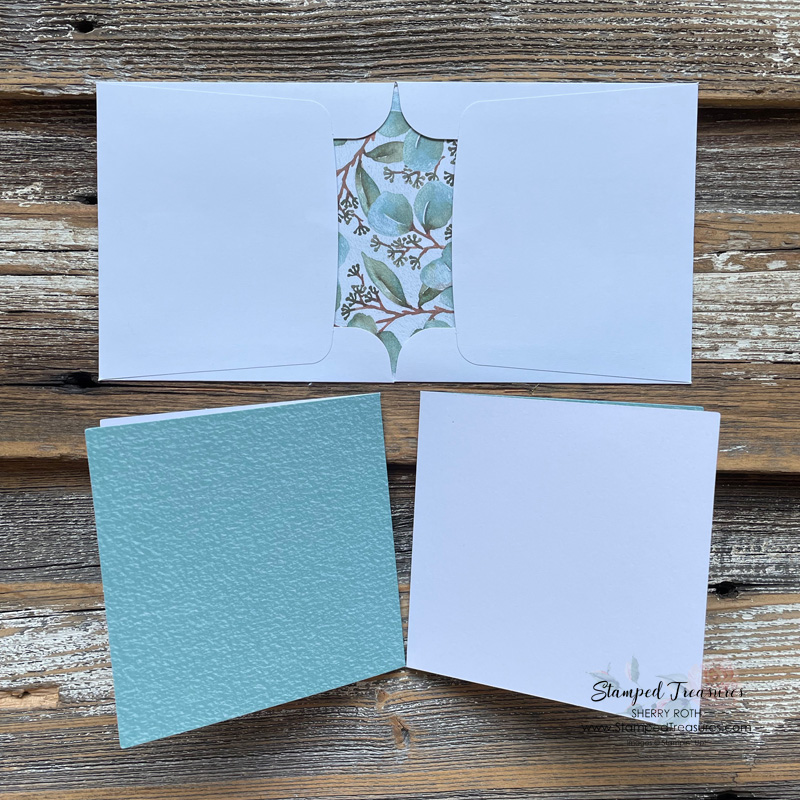
To assemble the album insert one envelope flap into the second envelope and adhere them together at the back. Then fold two of the card bases – one as it’s intended with the lost lagoon pattern facing out and the other inside out.
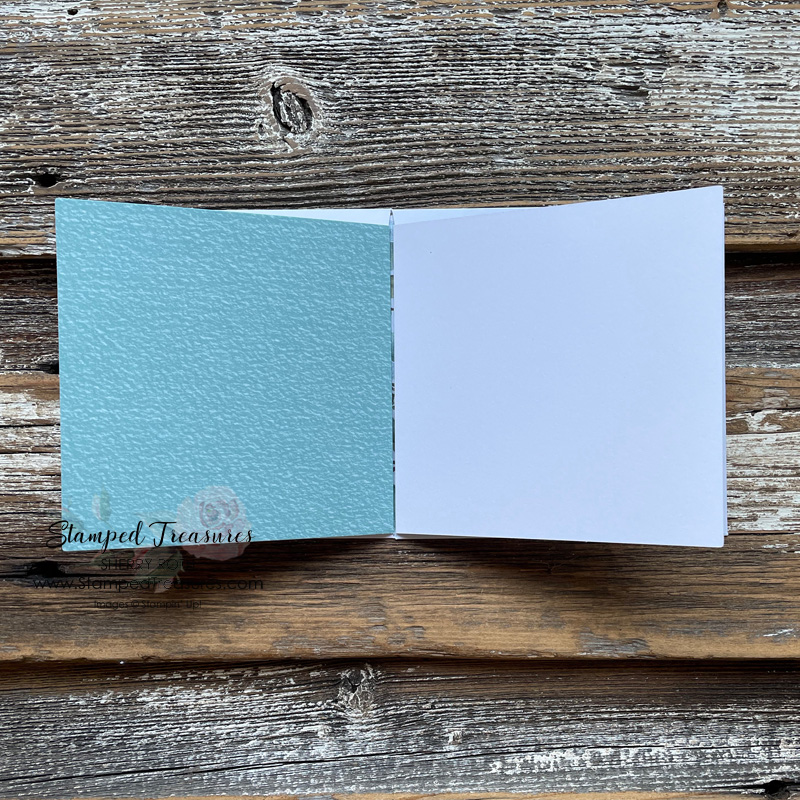
Tuck the two cards into the envelope flaps as shown above and fold everything in half. You can leave them like this for additional pages, or stick the two together like I did. This gives the album a bit more structure. Then attach the back envelope it to the 4″ x 8″ piece of lost lagoon and decorate as desired. I filmed a quick reel showing you how the base is assembled.
Although this particular project uses the square card bases and envelopes from the September 2023 Paper Pumpkin kit, the idea can be used with any sized card bases and envelopes.
Here’s a closer look at the decorated pages…
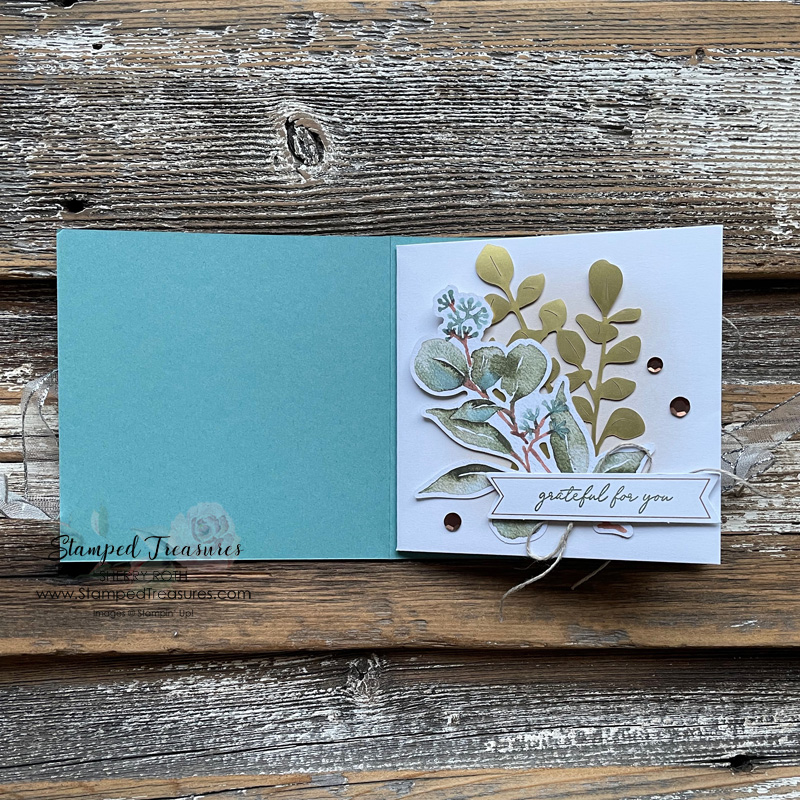
The first pages uses several die cut elements from the kit. I used some crumb cake ink and my blending brush to add a bit of colour to the white before I added the pieces.
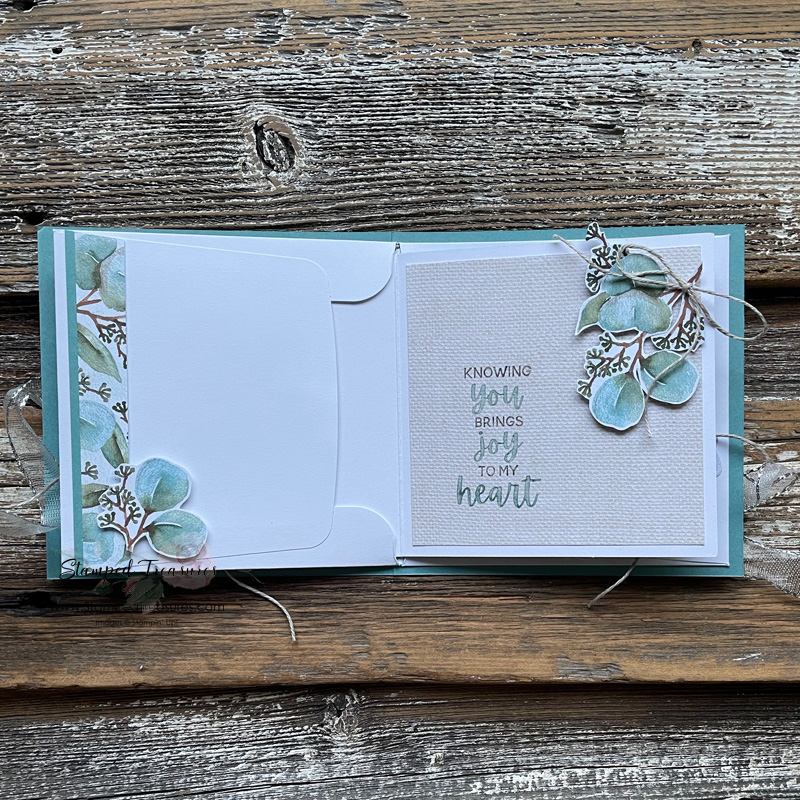
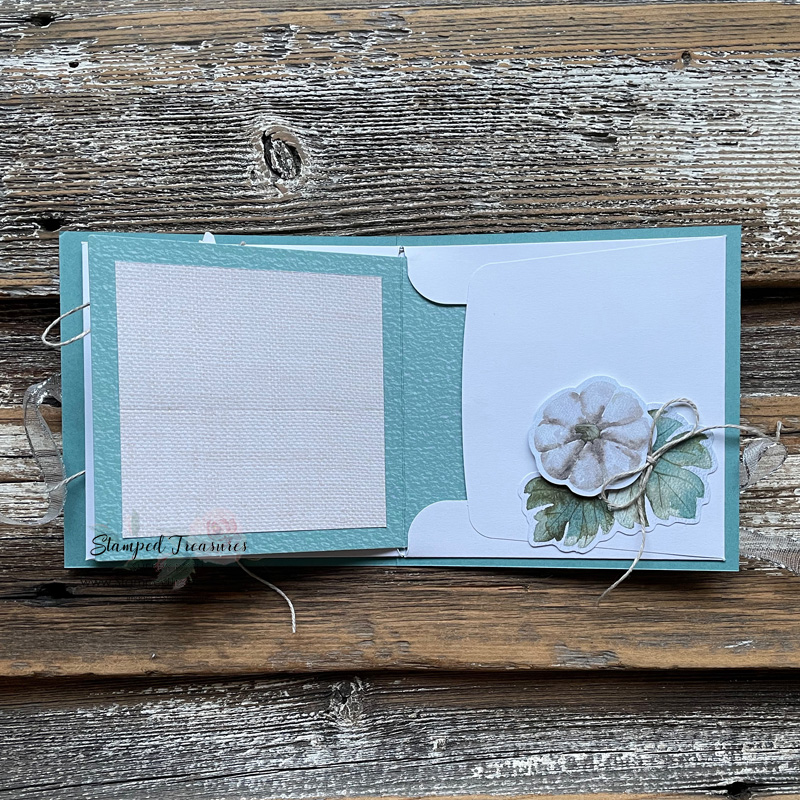
This next page has a pocket that you can tuck either a gift card into, some extra photos or a message. It’s also where I added the fussy cut pieces from the cut up envelope.
For the last page I added a spot for a photo, there’s another pocket and then I embellished using some of the die cut elements. Wouldn’t this be cute with a couple photos added or a gift card and a couple messages of gratitude.
Until next time,

Shopping List
Click on any of the images to shop my Canadian online store or to find out more information about any of these products.




Leave a Reply