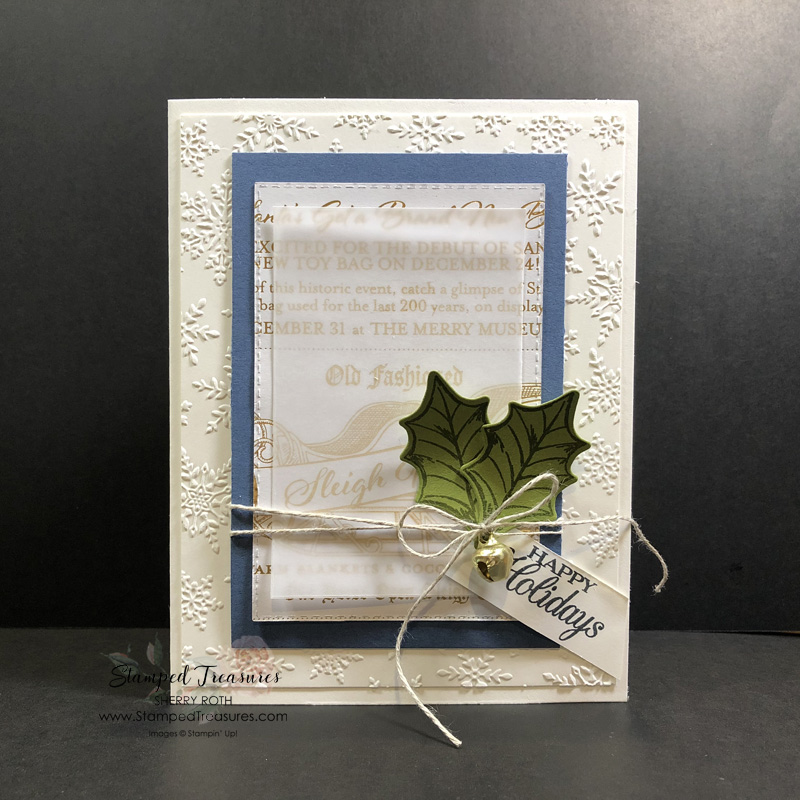
Today I’m sharing a simple Poinsettia Petals Holiday card & unboxing video of brand new upcoming product. I created this card using bits and pieces from a kit I had sitting around and I love how it turned out!
Want to recreate it? Here are the measurements and instructions! You’ll find a full supply list at the bottom of this post.
Measurement:
- Thick Whisper White: 5 ½” x 8 ½” scored at 4 ¼”
- Whisper White: 4” x 5 ¼” embossed with the Winter Snow embossing folder and scrap for greeting
- Misty Moonlight: 3” x 4 ½”
- Vellum: 2 ¼” x 3 ½”
- Old Olive: scrap
- DSP: 2 ¾” x 4 ¼” cut with the stitched rectangle that measures 2 5/8” x 4”
- Linen Thread: about 20”
Instructions:
- Stamp two of the smaller leaves using old olive onto the old olive card stock and die cut with coordinating die.
- Stamp Happy Holidays using memento ink onto the scrap of whisper white and trim down as needed.
- Add the embossed white card stock to the center of the card front.
- Add the dsp to the center of the misty moonlight cardstock and the vellum to the center of that. Note: add your adhesive under where you will be adding your leaves so that you can’t see it.
- Wrap the linen thread around the misty moonlight layers twice and tie a knot. Add the bell and then finish it off with a bow.
- Add the layers to the card front.
- Flag the end of the greeting. Add a bit of adhesive and tuck it under the bow.
- Attach the two leaves together and then adhere them to the card.
Poinsettia Petals Class in the Mail
Don’t forget to check out this months class in the mail featuring the Poinsettia Petals bundle. Find all the information at the link below.
Poinsettia Petals Class in the Mail
New Product Unboxing Video
Want to see a peek at some of the upcoming product from the January to June 2021 Mini Catalogue. Check out my unboxing video below.
Have a creative day!

Shopping List
Click on any of the images to shop my Canadian online store.


Leave a Reply