Today I’m sharing something a little different – how to cover an old book. This is a great way to repurpose a book you don’t use or have found in a local thrift shop. It’s better to give it a new life than for it to end up in the trash.
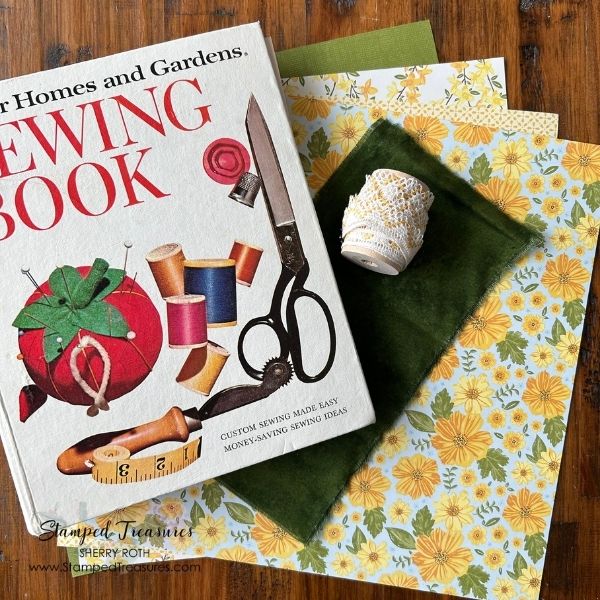
One of the things my husband and I love to do is visit our local Hodge Podge Lodge. It’s like a reuse centre where anyone can drop off donations and then shop their shelves. Everything is free. The concept is to prevent things from ending up in the landfill. With the right mindset, a patience and a bit of creativity, you can often find some great things. This is where I found this Better Homes & Gardens Sewing Book from 1970.
Most people today just search Youtube to learn how to do something. Does anyone refer to a book anymore lol? But I grabbed it because it was still in great shape and I knew I could repurpose it.
Supplies
You actually don’t need a lot of supplies in order to repurpose a book. Most of them you likely have on hand. I chose to cover mine with some pretty pattern paper from my stash and a bit of fabric but you could use pretty much anything.
Here are the supplies I used:
- Pattern paper
- Fabric
- Lace
- Adhesives: ModPodge; Fabri Tac; glue stick and Tombow multipurpose glue
- Paper trimmer or scissors
- Ink and a blending brush
- Paint brush or silicone brush
The Process
The process is quite simple. I shared it in the video linked below.
If you prefer step-by-step instructions here they are:
- Position the pattern paper on the cover of your book and mark, with a pencil, where you need to cut it so that it fits. It helps if it’s slightly smaller than the actual cover. Cut to size. Repeat this process for the back cover and the inside covers.
- Optional – ink around the edges.
- Add a thin layer of Mod Podge to the cover and apply the pattern paper. I used a tool for applying vinyl to ensure it was well adhered and there were no bubbles, working from the centre out. You can also use a gift card or bone folder.
- Repeat this process for the back cover.
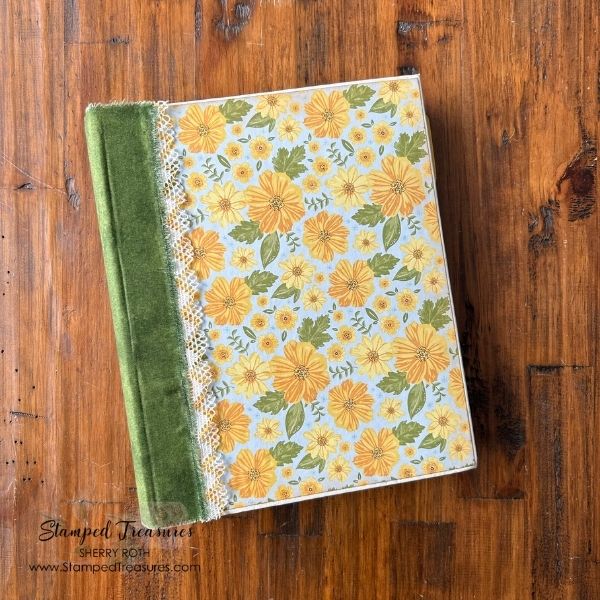
- If you are adding lace or ribbon, decide if you’d like it to cover the seam of the fabric or if you’d like the fabric edge showing. I liked the frayed look of my fabric so decided to have the lace tucked underneath. If this is the case, then position your fabric where you want it and, using a ruler and pencil, mark a line so you know where to add the lace.
- Apply the lace using Fabri Tac.
- Apply Fabri Tac glue to the front of the cover where the fabric will be adhered. Use a silicone brush to even it out and apply the fabric. If you don’t have Fabri Tac, you can use Mod Podge but use a very thin layer.
- Repeat this process with the spine of the album and then move on to the back. If you are using Fabri Tac, work in small sections. It dries quickly.
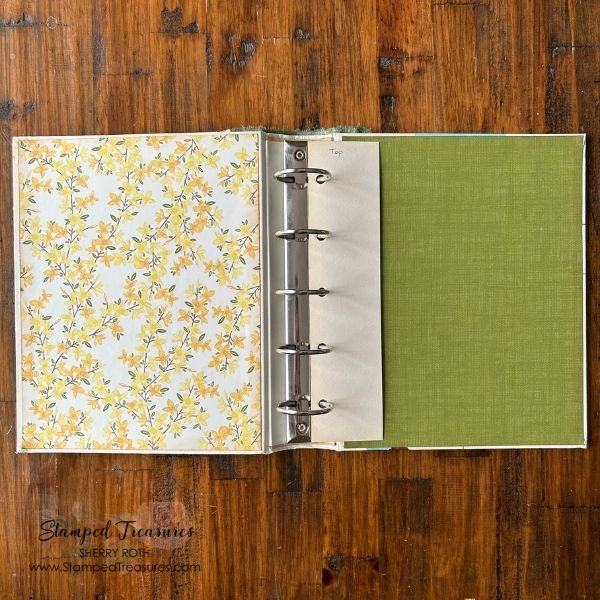
- To add the inside pieces I used a combination of glue stick and multipurpose glue. You can also use Mod Podge.
My Plans for this Book
I chose to not add a title or any decor to the cover of the book just yet. I plan on using it as a play book. A book where I can add new techniques and page, pocket and insert ideas for my journals. Then I’ll use it as a reference when I’m creating a journal.
What I’m finding is that I’m always using the same ideas for my journals and I want to get a bit more creative. I’ve seen a ton of ideas online but when I sit down and create the journals I forget those ideas. So when I see an idea I like, I’ll create a version of it and add it to my play book.
I will definitely share some of those ideas and projects along the way. And plan to do a flip through of it at the end of the year. It will be fun to see all the ideas that fill it.
I hope you found this tutorial helpful! Maybe I’ve inspired you to create your own play book.
Until next time,


Leave a Reply