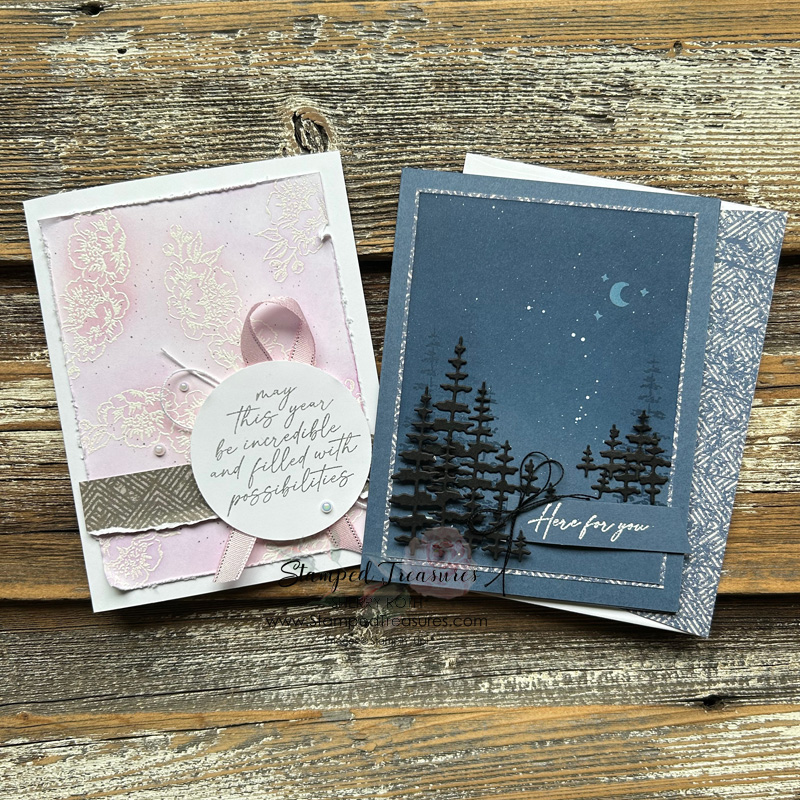
In today’s post I’m sharing two very different Encircled in Nature card ideas. One of the things I love about stamping is that there is no limit to the possibilities. From one stamp set, you can create so many different looks by simply changing out the colours of ink, technique or patterned paper.
The Encircled in Nature has a rustic, outdoorsy feel to it. I went with that feel for the first card. However, for the second card, I challenged myself to create something more feminine and pretty.
Let’s take a look…
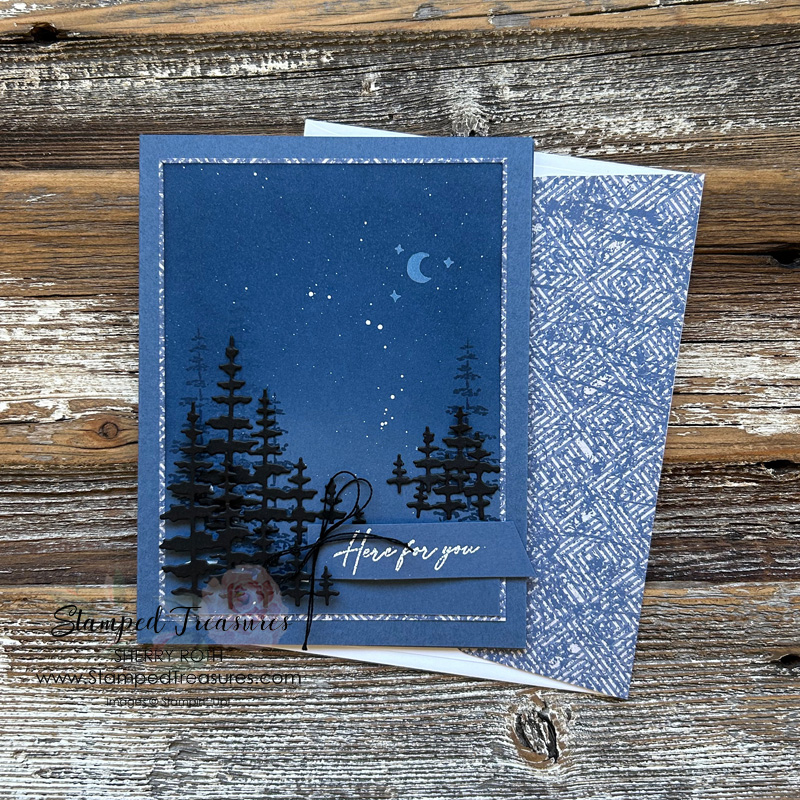
I decided to go with a night scene for the first card. To create the background I added misty moonlight ink to my misty moonlight layer using a blending brush. I was going for an ombre type look and wanted it darker at the top and gradually lighter as it went down. Then I splattered it with some white ink and stamped some trees with misty moonlight and the moon with white. I’ve linked a video below if you’d like to see how the cards come together.
Measurements:
- Misty Moonlight: 5-1/2″ x 8-1/2″ scored at 4-1/4″ and 3-5/8″ x 4-7/8″ and a scrap for the greeting
- Earthen Elegance DSP: 3-3/4″ x 5″
- Basic Black: 3″ x 4-1/2″ for die cutting
- Basic White: 4″ x 5-1/4″
- Black Twine: about 16″
Something on the pretty side…
To create the background of the second card, I used an emboss resist technique. I stamped the floral image with versamark all over a piece of white card stock and then embossed with white embossing powder. To make the embossed images pop, I used my blending brushes with fresh freesia and bubble bath inks to add some colour to the white card stock.
For a little more of a vintage feel, I distressed around the edges with my paper snips and splattered using my pebbled path Stampin’ Blend.
Measurements:
- Thick Basic White: 5-1/2″ x 8-1/2″ scored at 4-1/4″
- Basic White: 3-3/4″ x 5″ and 2-3/8″ circle
- Earthen Elegance DSP: 1″ x 4″
- Bubble Bath Sheer Ribbon: 8″
- White Twine: 18″
- Iridescent Pearls: x3
Here’s a video showing you step-by-step how to put these two cards together.
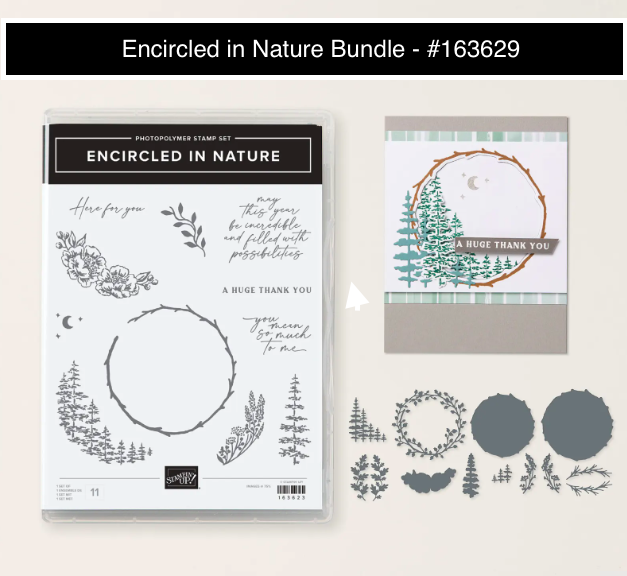
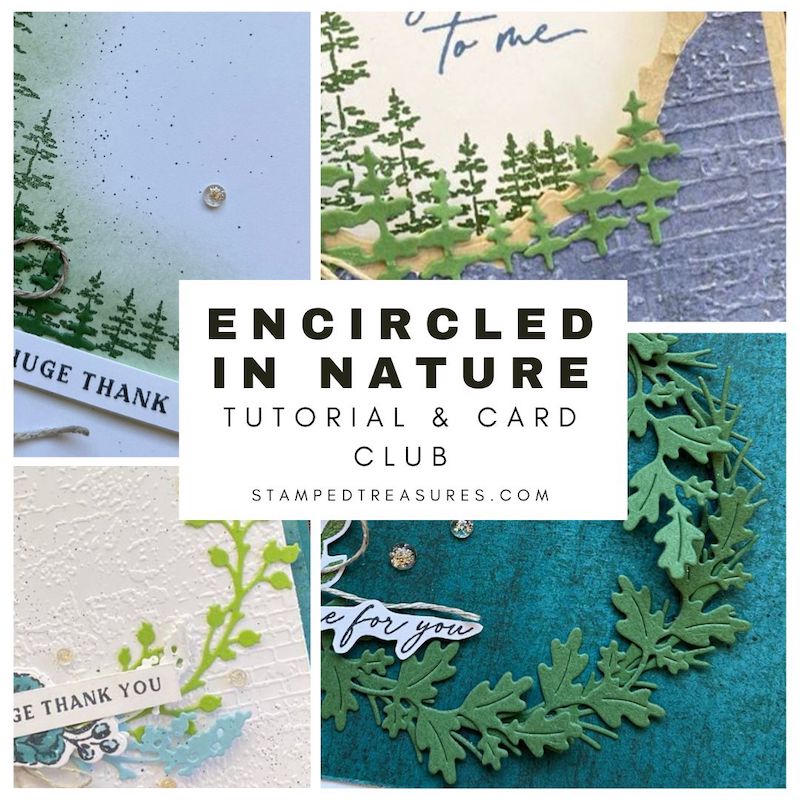
The Encircled in Nature bundle is what we are focusing on in this months tutorial & card club. If you’d like even more ideas on how to use this bundle, registration is open until April 25th, 2024. Find all the details here.
Until next time,

Shopping List
Click on any of the images to shop my Canadian online store or to find out more information about any of these products. In addition to these items, I also used a 2-3/8″ circle punch which is retired.


Leave a Reply