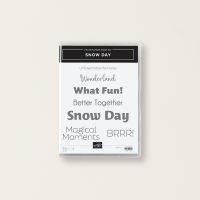
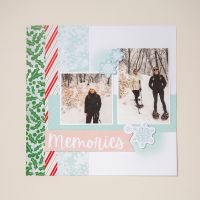
In today’s post (& video) I’m sharing a simple Christmas mini album using the Snow Day scrapbooking workshop kit. This is the 4th post/video in a series of videos I’ve been sharing using this collection. You can find the previous videos linked below.
A First Look at the Snow Day Scrapbooking Workshop Kit
Snow Day Scrapbooking Workshop Kit – Part 2
Snow Day Scrapbooking Workshop Kit – Part 3
I thought this was going to be my final video but I think they’ll be one more because I still have enough supplies to complete at least one more layout.
The Cover
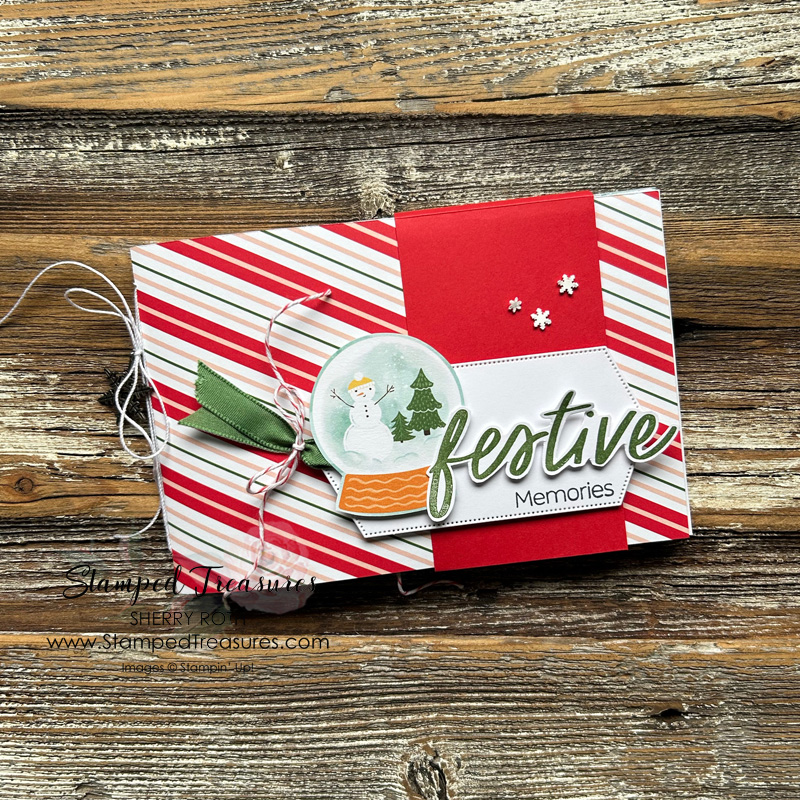
For today’s project I decided to a simple mini album using some of the leftover pieces. I’m so happy with the way it turned out and how simple it was to make.
The album base is made up of the following pieces:
- Cover (diagonal stripe): 4″ x 12″ scored at 6″
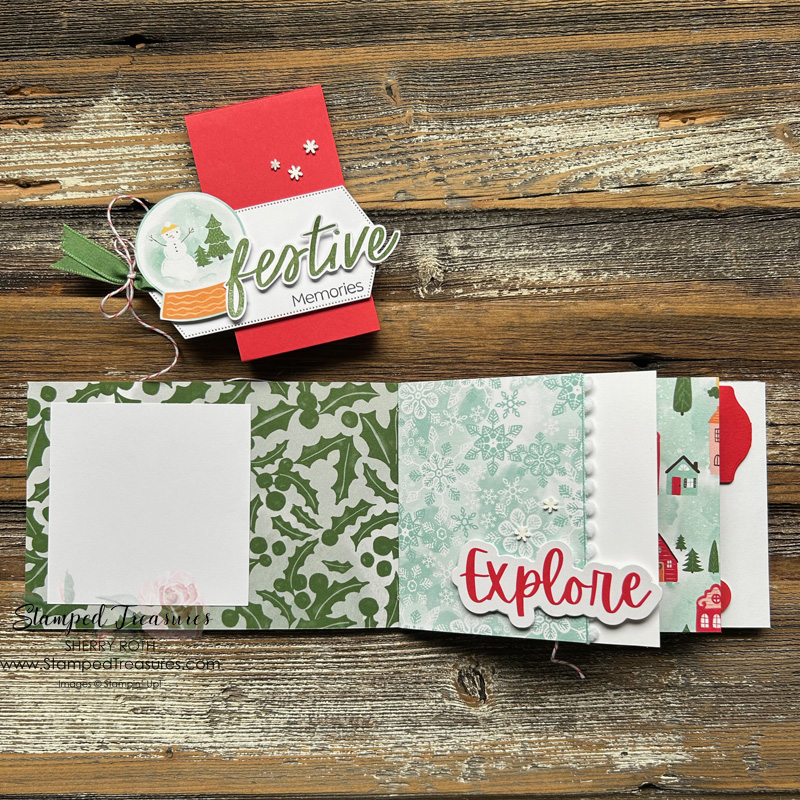
- Snowflake Pattern: 4″ x 9″ scored at 3″
- Basic White Card Stock: 4″ x 10″ scored at 4″
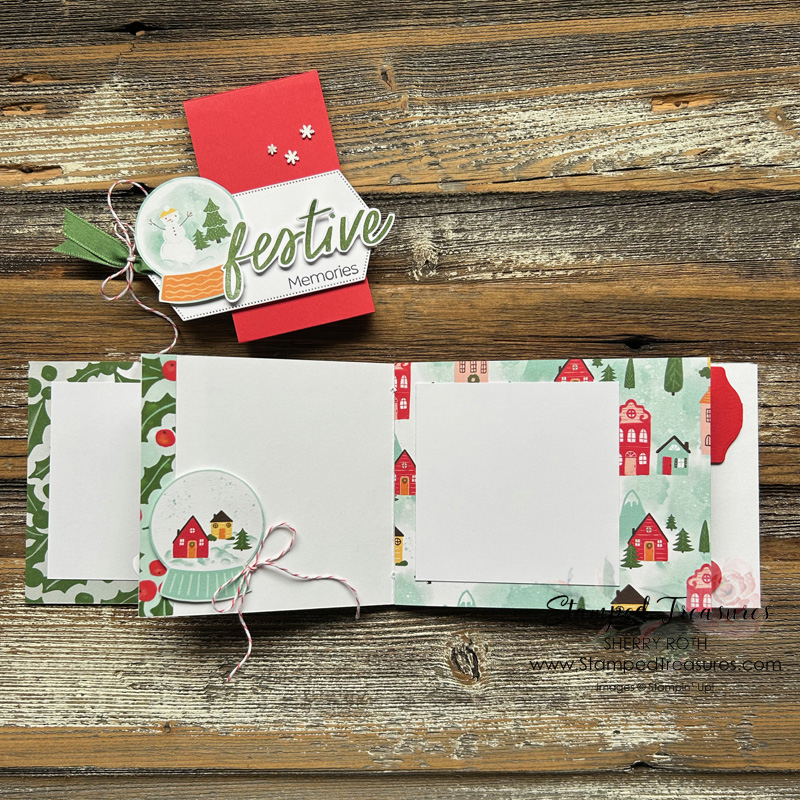
- House Pattern: 4″ x 10″ scored at 5″
To bind them I simply poked a couple holes with my paper piercing tool, fed some white twine through and tied a bow.
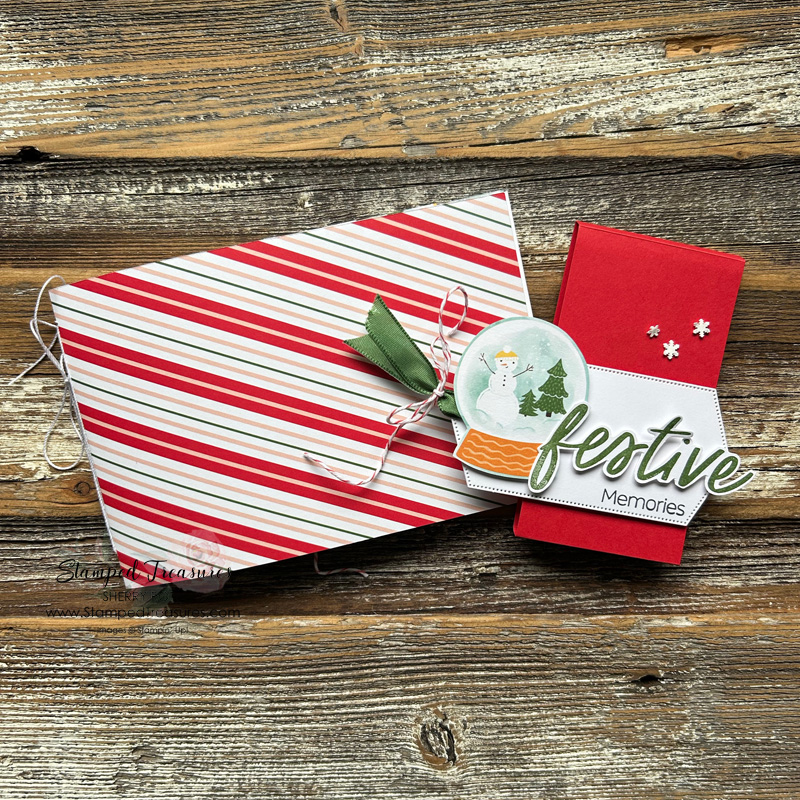
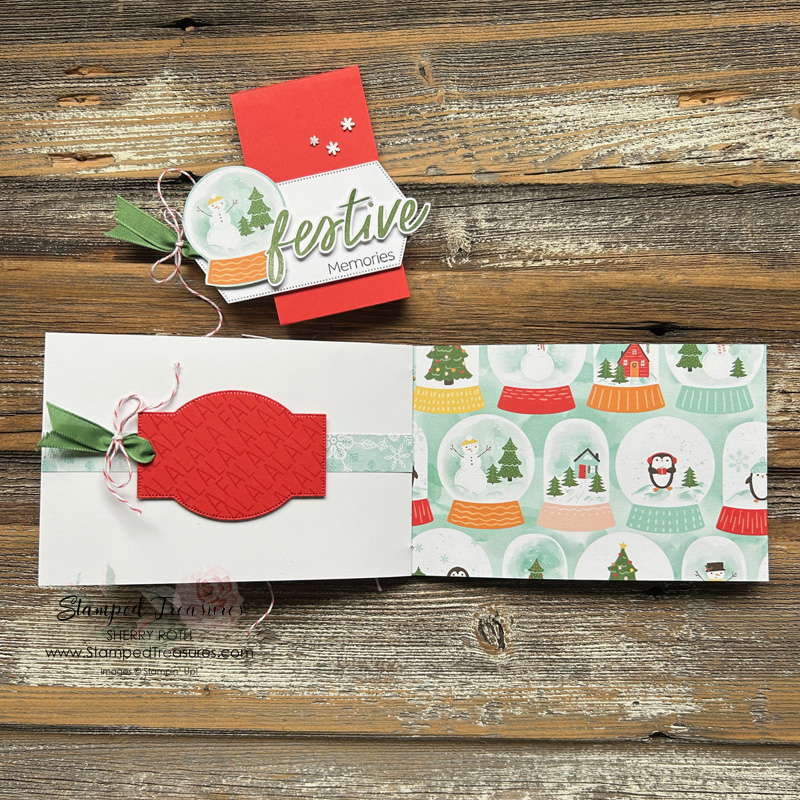
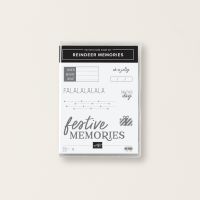
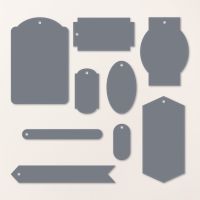
Instead of decorating the cover, I chose to add a little belly band to hold it closed. I die cut a label shape from the Greetings of the Season dies, stamped & fussy cut the word ‘festive’ from the Reindeer Memories stamp set and added a snow globe.
The Inside
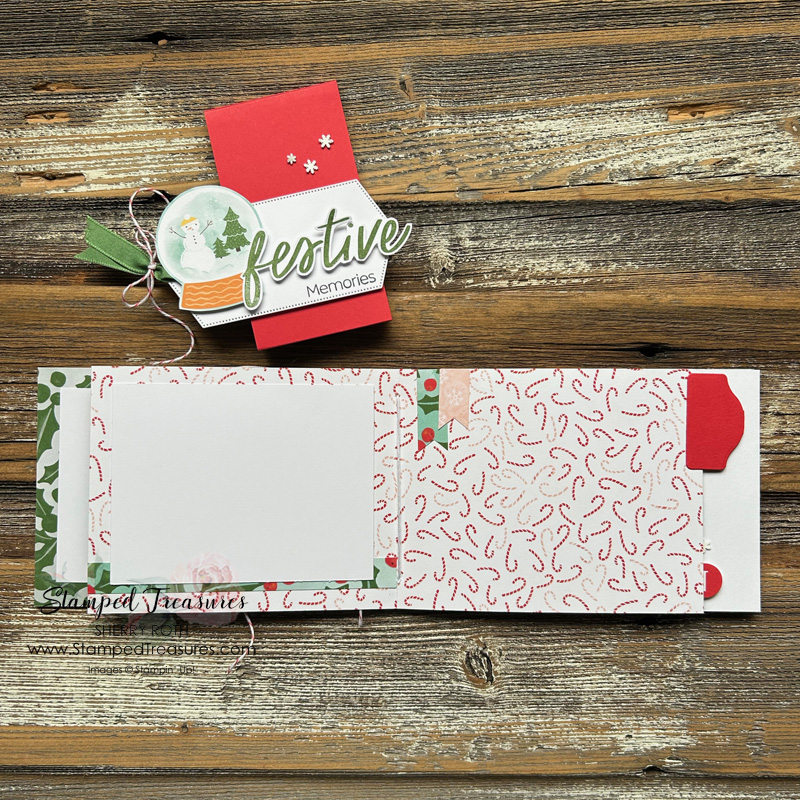
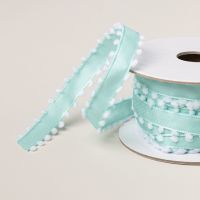
I love that the album pages are different sizes. It adds to the charm. To add a bit of texture to the album, I cut a piece of the pool party pompom trim in half lengthwise and added it to the end of the first page. The ‘explore’ is a sticker that I backed with white card stock so that I could fussy cut it and have it overhang the page.
To cover the jagged edge of the ribbon, I used a 1/2″ scrap of pattern paper.
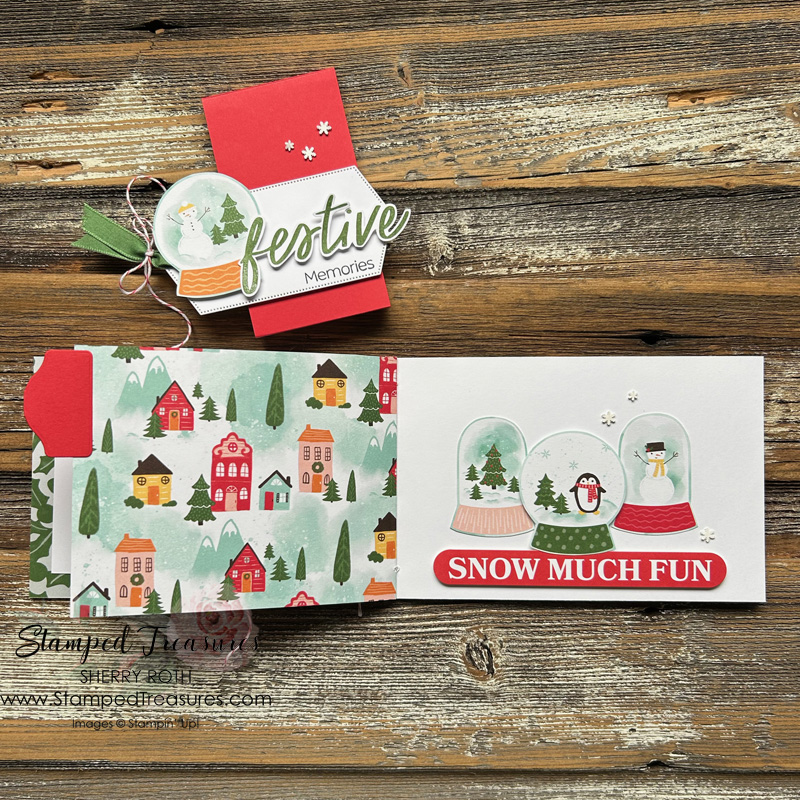
The little snow globes that are throughout the album have been cut from one of the pattern papers.
I was determined to use up the rest of the stickers on the sticker sheet that was included in the kit so I added the holly leaf strip across the bottom of this page and a flagged piece to the right side. That little petal pink piece was a scrap of sticker strip left from a previous project. I also added a little tab to the right page.
The ‘snow much fun’ is also a sticker – the last one! I used the whole sheet on the projects I’ve created so far and it feels so good! Looking at this photo, I wish I had used a blending brush with some pool party ink to add some ink blending to the background behind the snow globes.
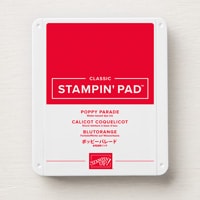
If you look closely at the poppy parade label, you can see that I stamped the word ‘falalalala’ on the cardstock. That’s a simple way to step up a piece of card stock:)
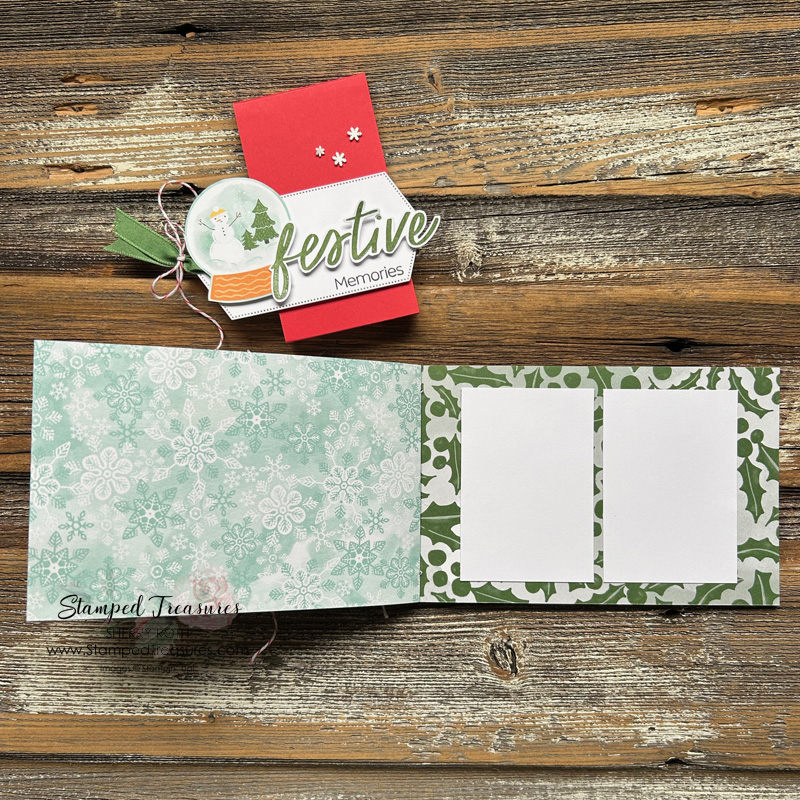
The last page I kept very simple by just adding a couple of photos mats for some 2″ x 3″ photos. I like to keep some of my pages simple so that I have the flexibility to get creative when I decide what photos to add.
If you’d like to see this album come together check out the video linked below.
Want to make the most of the workshop kits?
And if you’ve been loving all these ideas, I’d love to join me at my monthly scrapbooking event where we’ll be focusing on a different one of these workshop kits each month and you’ll get access to all the projects I create using the contents. We’ll be kicking it off in Edmonton using the Autumn to Remember Workshop kit. Find out more here.
Until next time,

Shopping List
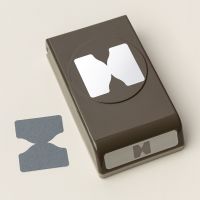
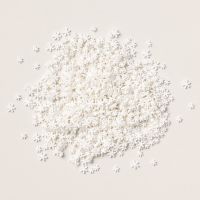
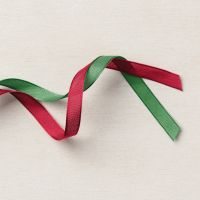
Click on any of the images to shop my Canadian online store or to find out more information about any of these products. In addition to these items, I also used some retired red/white baker’s twine.






Leave a Reply