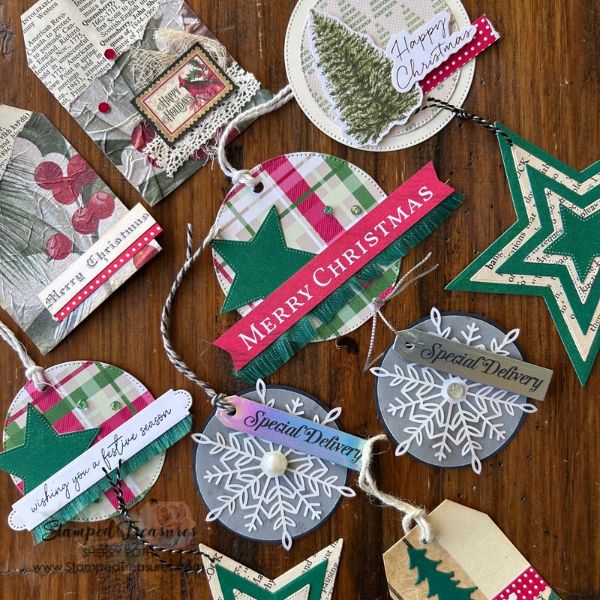
Do you have a collection of leftover patterned paper, cardstock scraps, ribbon bits and embellishments tucked away in your craft room? I do! Some are too pretty to throw away, but not quite big enough for another card or scrapbook layout.
Today I’m sharing a fun way to put those little bits and pieces to work: make Christmas gift tags!
Gift tags are one of those little extras that make holiday gift giving feel special, and they’re also the perfect opportunity to use up all those odds and ends you’ve been saving.
In my latest YouTube video, I’m sharing how I turn a variety of scraps and leftover supplies into a collection of handmade Christmas gift tags. I’ll walk you through my process and share some ideas for mixing and matching different papers, embellishments and textures. Even if you don’t use gift tags, it’s still worth watching because I share other ways to use those tags!
What Can You Use to Make Christmas Gift Tags?
The fun thing about making tags from scraps is that almost anything goes! Here are some things I’d suggest gathering before you get started.
- Patterned Paper: Those smaller pieces of Christmas patterned paper are perfect for tags. Look for coordinating patterns, small prints, stripes, plaids or even pieces with larger designs that can be cut into smaller shapes. Don’t limit yourself to Christmas-specific paper, either. Florals, vintage patterns, polka dots and neutral prints can all work beautifully for holiday gift tags.
- Cardstock Scraps: Use leftover cardstock to create your tag bases, layering pieces or smaller decorative elements. Kraft cardstock, traditional Christmas colours, white and cream are all great choices. If you have pieces left over from Christmas card making, this is a wonderful way to use them.
- Ribbon, Twine and Thread: You don’t need long lengths of ribbon to make beautiful tags. Those little leftover pieces are just the right size. You can tie them through the tag hole, create little bows or add a small piece across the tag as an accent.
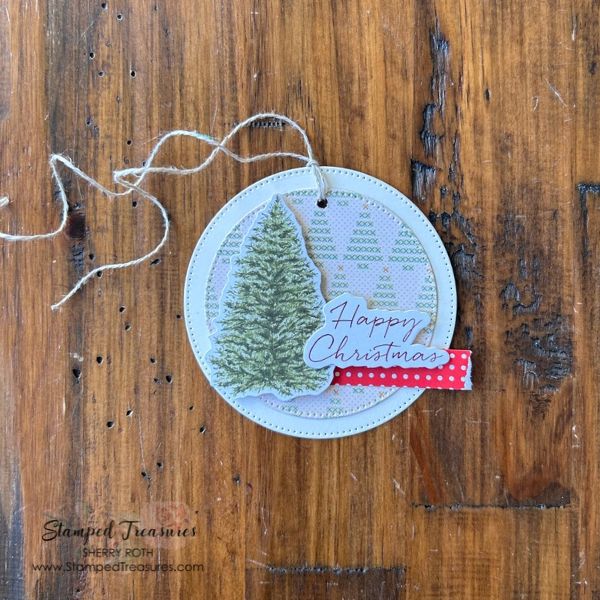
- Die Cuts and Punches: Do you have leftover die-cut pieces from previous projects? Perhaps a few Christmas trees, stars, snowflakes, leaves or little labels? These are perfect for adding interest to your tags without having to create everything from scratch. You can also use punches to create simple shapes from your smaller paper scraps.
- Stamped Images and Greetings: Look through your stamped images and leftover sentiments. A small Christmas greeting, a stamped ornament or a little snowflake can become the focal point of a tag. You could even stamp several greetings on a scrap of cardstock, cut them apart and keep them in a little container ready to use.
- Embellishments: This is where you can have some fun! It’s a great opportunity to use up the random bits & pieces you have left. Even one little embellishment can make a simple tag feel finished.
A Few Ideas for Using Up Those Scraps
Once you’ve gathered your supplies, here are a few ways to turn them into tags.
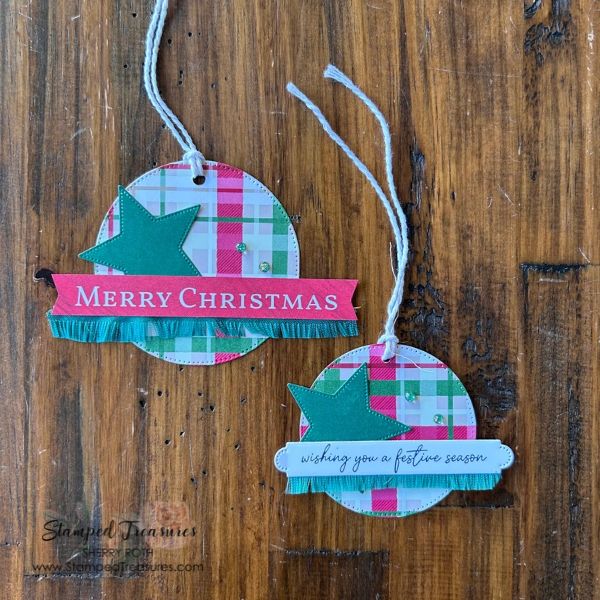
- Layer Different Patterned Papers: Combine two or three small pieces of patterned paper to create a layered tag. You could use a larger piece as the background and add a smaller piece across the bottom or as a decorative strip.
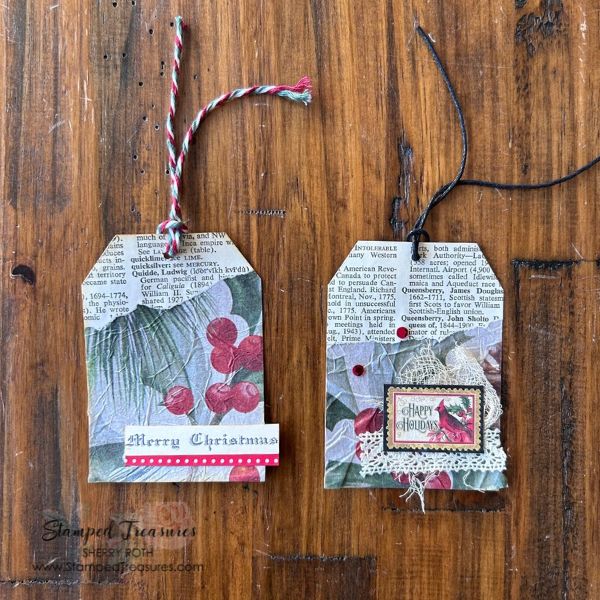
- Create a Collage-Style Tag: This is one of my favourite ways to use smaller scraps. Layer different papers, book pages, stamped images, labels and little bits of ephemera to create a tag with a vintage or eclectic feel. Don’t worry about everything matching perfectly.
- Add a Little Texture: Use embossing folders on leftover cardstock, add distressed edges with ink, or layer ribbon and twine for a little extra dimension.
- Make Coordinating Sets: If you have several pieces of the same patterned paper, make a small collection of tags using similar colours and designs. They don’t need to be identical, but having a few that coordinate makes gift wrapping look lovely.
Keep Your Tags Simple!
One thing I remind myself when making gift tags is that they don’t need to be miniature works of art. They’re going to be attached to a gift, possibly tucked under a ribbon or placed in a gift bag. A simple tag with a little patterned paper, a greeting and some twine can be just as beautiful as one with lots of layers and embellishments. I also like to make a variety of sizes. Larger tags are great for packages, while smaller ones work well for gift bags, treat packages and little neighbour or hostess gifts. And don’t forget to leave a little room to write the recipient’s name!
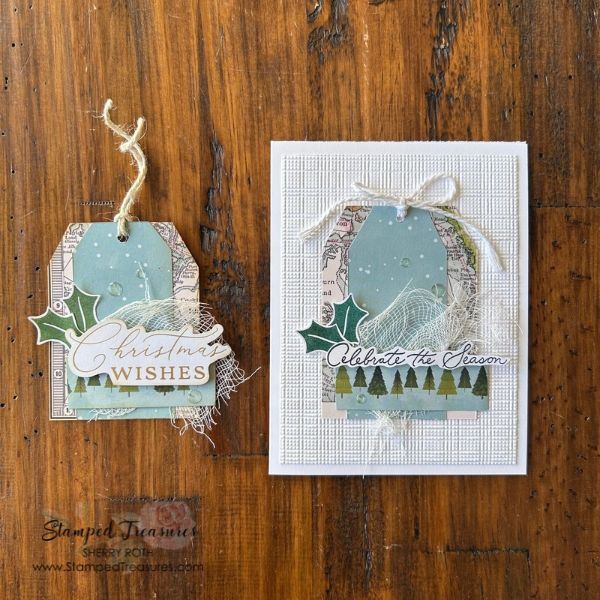
Watch the Video: Making Christmas Gift Tags from Scraps
Ready to see what you can make with those leftover supplies? In my latest YouTube video, I’m sharing my process for creating Christmas gift tags using a mix of patterned paper scraps, cardstock, ribbon, embellishments and other bits and pieces from my craft room. I’ll show you how I pull everything together, layer the different elements and create tags that are a little different from one another.
I hope this inspires you to take a look through your scrap bin!
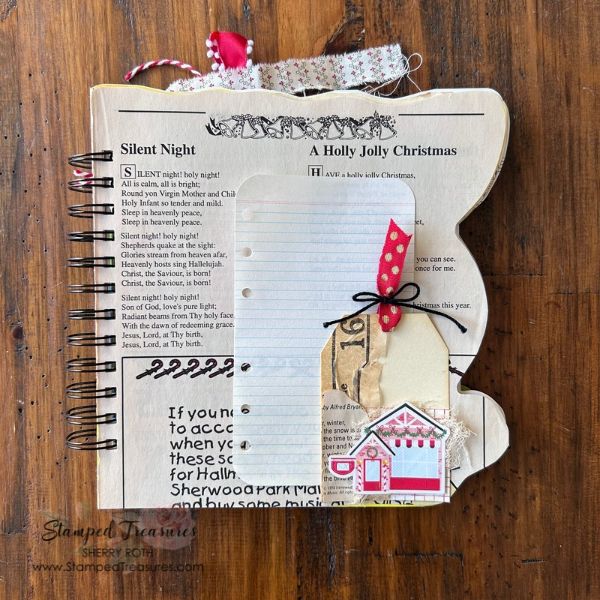
A Little Christmas Crafting Shortcut
As we get closer to the holidays, I’m trying to focus on projects that are useful, achievable and help me get a little more prepared before December. Making gift tags from scraps checks all those boxes. It’s a great project to work on while you’re watching a favourite Christmas movie, listening to a podcast or enjoying a little quiet crafting time.
So pull out those scraps, put them to work and see how many gift tags you can create!
Happy crafting!



Leave a Reply