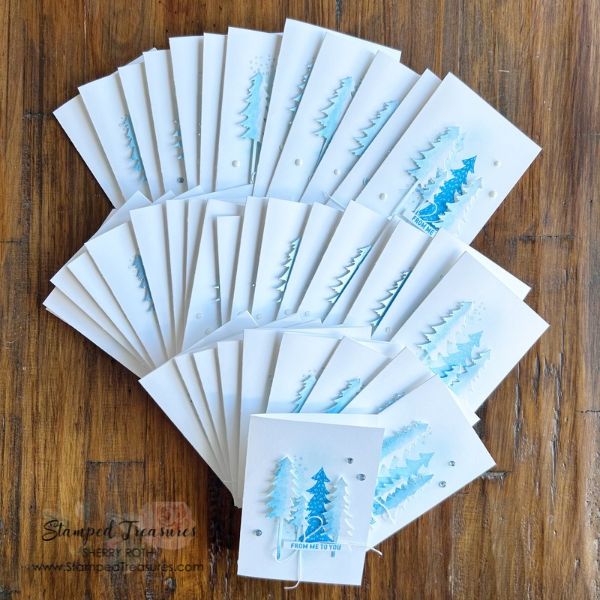
The Secret to Mass Producing Christmas Cards
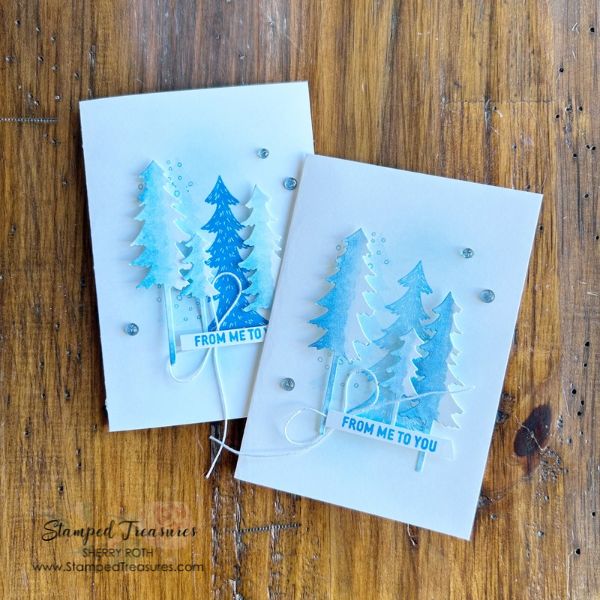
If you love making handmade Christmas cards but find yourself running out of time when December rolls around, I have a little tip that can make a big difference: assembly line crafting! Making a large number of Christmas cards doesn’t mean you need to design and create every single card individually. In fact, one of the easiest ways to get a stack of handmade cards finished is to break the process down into smaller steps and work on one task at a time. This is something I use when I’m making multiples of the same card design, and it’s a great way to make the most of your crafting time while still enjoying the creative process.
What Is Assembly Line Crafting?
Think about how an assembly line works in a factory. Rather than one person completing an entire product from beginning to end, each step is completed in batches before moving on to the next. You can use exactly the same idea when making Christmas cards!
Instead of making one card from start to finish before moving on to the next, you’ll complete the same step for all your cards before moving on. For example, cut all your card bases first, then all your patterned paper, then prepare your greetings and embellishments. Once everything is ready, assembling the cards becomes quick and easy.
The Benefits of Mass Producing Christmas Cards
There are several reasons I love using this approach when making Christmas cards.
- It saves time. One of the biggest benefits is how much time you can save. Getting your paper trimmer out once to cut 20 pieces of cardstock is much quicker than measuring and cutting each card individually. The same goes for stamping, die cutting and preparing embellishments.
- Less decision fatigue. Have you ever sat down to make a card and spent more time deciding what to use than actually creating? When you’re making multiples, those decisions are already made! Choose your design, colours and supplies before you begin, then enjoy working through the steps.
- Less mess in your craft space. Instead of constantly switching between tools and supplies, you can focus on one task at a time. You’ll have fewer supplies spread across your workspace (theoretically lol) and less time spent putting things away and getting them back out.
- Consistent results with room for variety. Making multiples doesn’t mean every card needs to look exactly the same. You can use the same basic layout but switch up patterned papers, greetings or embellishments. You’ll end up with a coordinated collection of cards that still have their own personality.
- It makes crafting in short sessions easier. You don’t need an entire afternoon to make a stack of Christmas cards. You can cut cardstock one evening, prepare all your patterned paper another day and assemble everything when you have a little more time.
How to Set Up Your Christmas Card Assembly Line
Ready to give it a try? Here’s the process I like to follow.
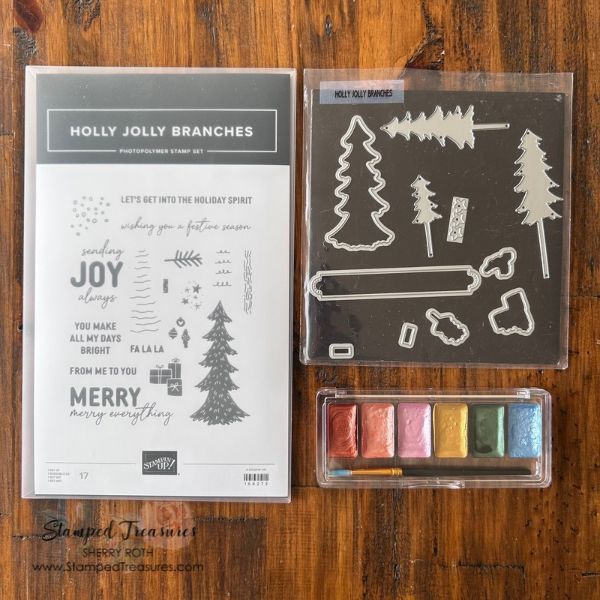
Step 1: Choose Your Design
Start with a card design that is easy to repeat. This could be a simple layout featuring patterned paper, a greeting and a few embellishments. A one sheet wonder is another great option if you want to create several different card designs using the same patterned paper. Decide how many cards you want to make and gather everything you’ll need before starting.
Step 2: Cut All Your Card Bases
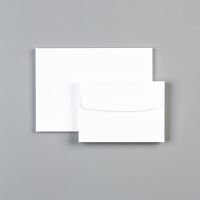
Start by cutting your cardstock into card bases. If you’re making standard A2 cards, cut and score all your pieces at once. Once they’re cut, fold and burnish each card base so they’re ready for assembly. BONUS TIME SAVING TIP: use our notecards & envelopes. They come cut & scored for you! I use these all the time when I’m mass producing cards.
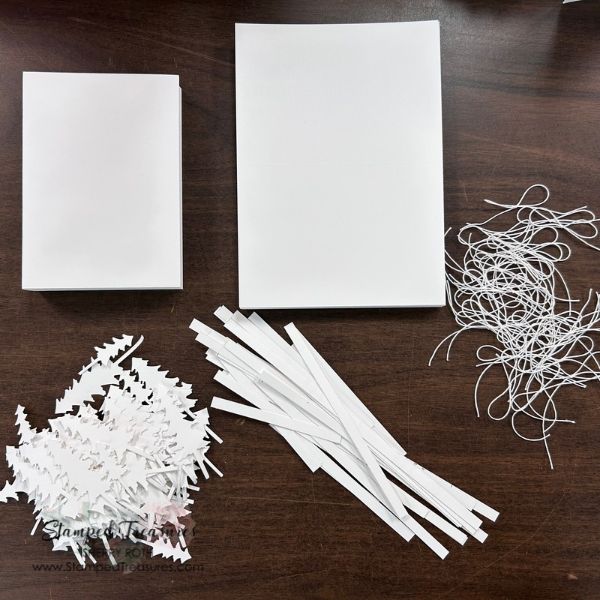
Step 3: Cut Your Patterned Paper and Cardstock
Next, cut all the patterned paper pieces you’ll need. This is a great opportunity to use up some of those beautiful patterned paper collections you’ve been saving. You can use one design for all your cards or mix and match coordinating patterns. If you’re using scraps, see what you can create with the pieces you already have!
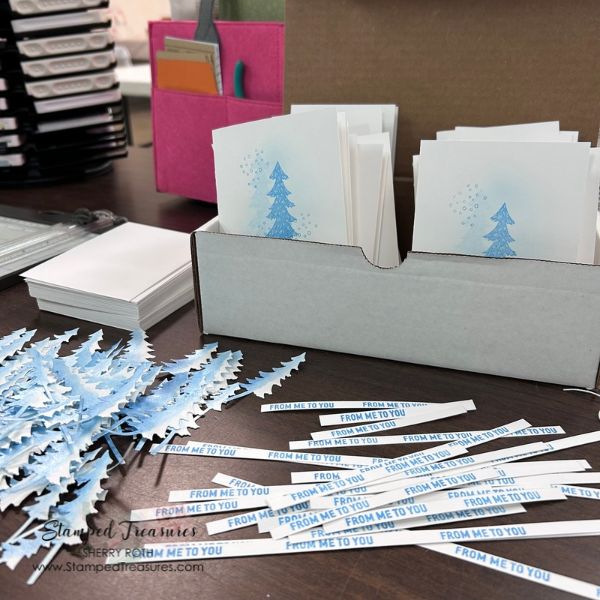
Step 4: Stamp & Colour Images & Greetings
Now it’s time to stamp your greetings. Colour in any images, add any ink blending or anything else that has to do with ink. If multiple things need to be done, break it down. Finish each step for all the cards before moving on to the next. You can also prepare ribbon, twine, decorative strips, punched shapes and other embellishments during this step. Having everything ready before you start assembling makes this next step so much easier.
Step 5: Assemble Your Cards
This is where all your preparation pays off! Start with your card bases and work through the layers, adding patterned paper, greetings and embellishments. Rather than completing one card at a time, assemble each layer across all your cards before moving on to the next. You’ll be surprised how quickly your pile of finished cards grows!
Step 6: Add the Finishing Touches
Once everything is assembled, take a few minutes to add any final details. Perhaps a few embellishments, some twine or ribbon, or a little sparkle to make your cards extra special. Don’t forget to prepare your envelopes and add inside greetings if you’d like.
A Few Tips for Successful Assembly Line Crafting
Here are a few things I’ve learned that make the process even easier:
- Keep your supplies organized. Use small trays, bowls or containers to keep the pieces for each card together.
- Use tools that make the process easier. A paper trimmer, punches and dies are great time-savers when making multiples.
- Don’t overcomplicate the design. A simple layout with beautiful patterned paper can be just as special as an elaborate card.
- Make a few variations. Use the same layout but change the patterned paper or greeting to create a little variety.
- Take breaks. Assembly line crafting is efficient, but you don’t need to finish everything in one sitting.
Before you know it your cards will be ready to be addressed and popped in the mail!
Ready to Get Those Christmas Cards Made?
The best part about mass producing Christmas cards is that it gives you more time to enjoy the fun parts of crafting without feeling like you’re constantly starting from scratch. Whether you’re making 10 cards or 50, assembly line crafting can help you work smarter, stay organized and get those handmade cards ready to send.
So pull out your favourite Christmas papers, choose a simple design and give this method a try. You might just find that making multiples becomes one of your favourite ways to get ready for the holidays!
Happy crafting!

Supply List
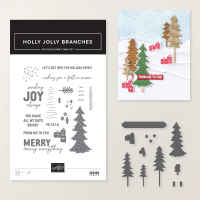
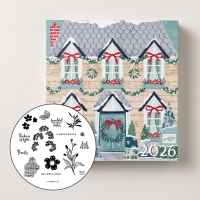
Click on any of the images to shop my Canadian online store or to find out more information about any of these products.



Leave a Reply