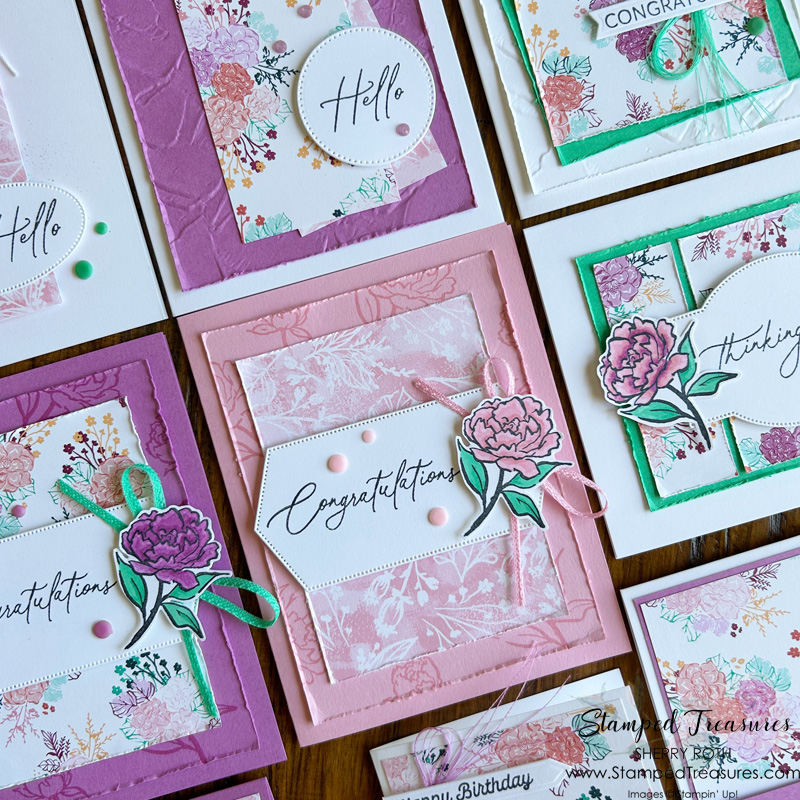
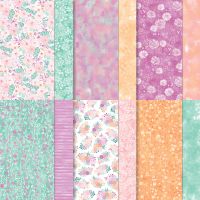
In today’s post I’m sharing a poised peony one sheet wonder. In Friday’s live I shared a one sheet wonder using the cut apart piece of patterned paper from the Take to the Sky paper pack but I wanted to share how you could take the same idea and use it with any pattern paper.
If you missed the live, you can watch the replay here and the blog post can be found here. I walk you through cutting your pattern paper in the video but here’s a guide.
Cutting Guide:
These cards will work better if you choose a pattern paper that is not directional but you can still take inspiration from these cards with a directional paper.
- Cut your 12×12 piece of pattern paper into three 4″ x 12″ strips.
- From the first strip cut a 4″ x 6″ and two 3″ x 4″ pieces.
- The next strip is cut into four 3″ x 4″ pieces.
- And the last strip is cut into six 2″ x 4″ pieces, which we will turn into tags.
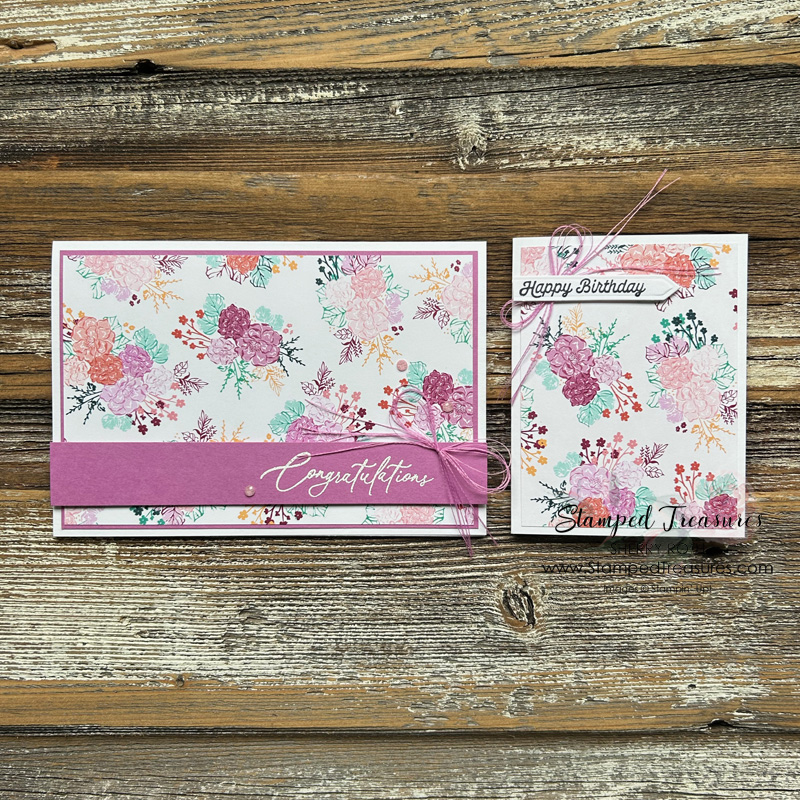
For these first two cards I used the assorted memories & more cards & envelopes as the card bases. They come in a package with both 4-1/4″ x 6-1/4″ and 3-1/4″ x 4-1/4″ card bases. It made it so quick to put these together!
Measurements:
- 4-1/4″ x 6-1/4″ and 3-1/4″ x 4-1/4″ Memories & More Card Bases
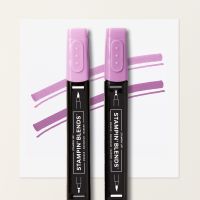
- Petunia Pop: 4″ x 6″ and 7/8″ x 6″
- Pattern Paper: 3-7/8″ x 5-7/8″ and 3″ x 4″
- Basic White: 1″ x 3″
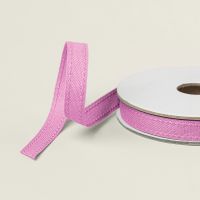
- Threads from Petunia Pop Ribbon: 8″ each
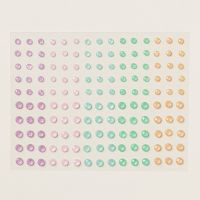
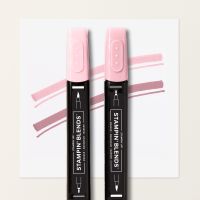
- Pretty in Pink Shimmer Gems: x3
3″ x 4″ Pieces
For the most part the rest of the cards use the Greetings of the Season dies, Everyday Greetings stamp set (new online exclusive items) and the Poised Peony stamp set.
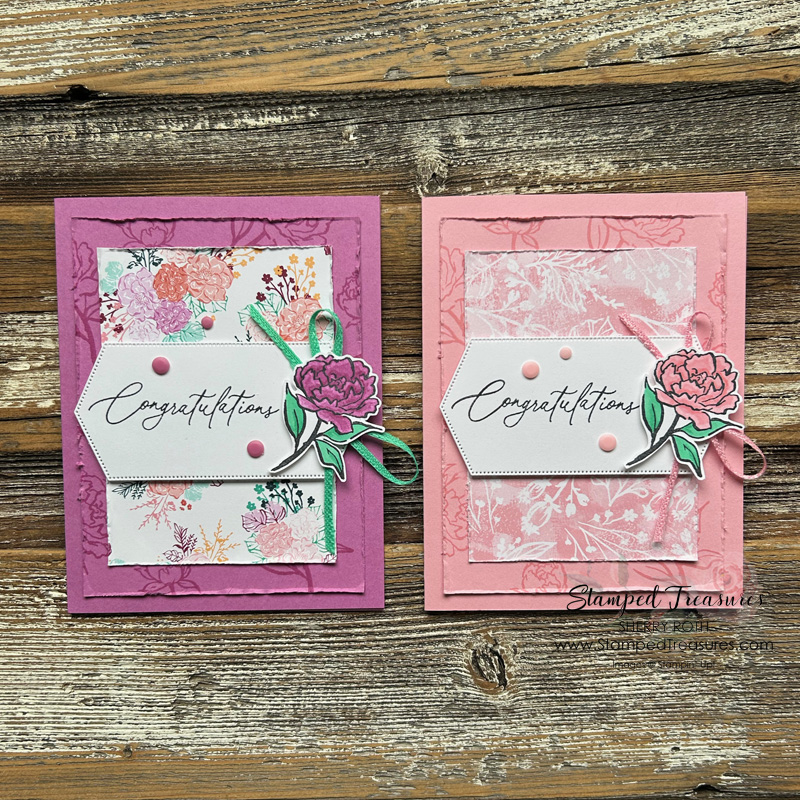
These are the first two cards I created using two of the 3″ x 4″ pattern paper pieces. They are a simple design and to keep things simple, I used that same design for both cards but reversed the colours.
Measurements:
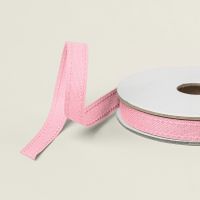
- Petunia Pop & Pretty in Pink: 5-1/2″ x 8-1/2″ scored at 4-1/4″ ; 3-3/4″ x 5″
- Pattern Paper: 3″ x 4″ (x2)
- Basic White: 4″ x 5-1/4″ and 2″ x 4-1/4″
- Pretty in Pink & Shy Shamrock: 12″ (separated)
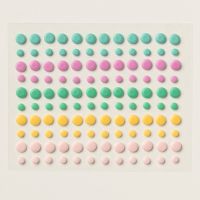
- Petunia Pop & Pretty in Pink Resin Dots: x3 of each
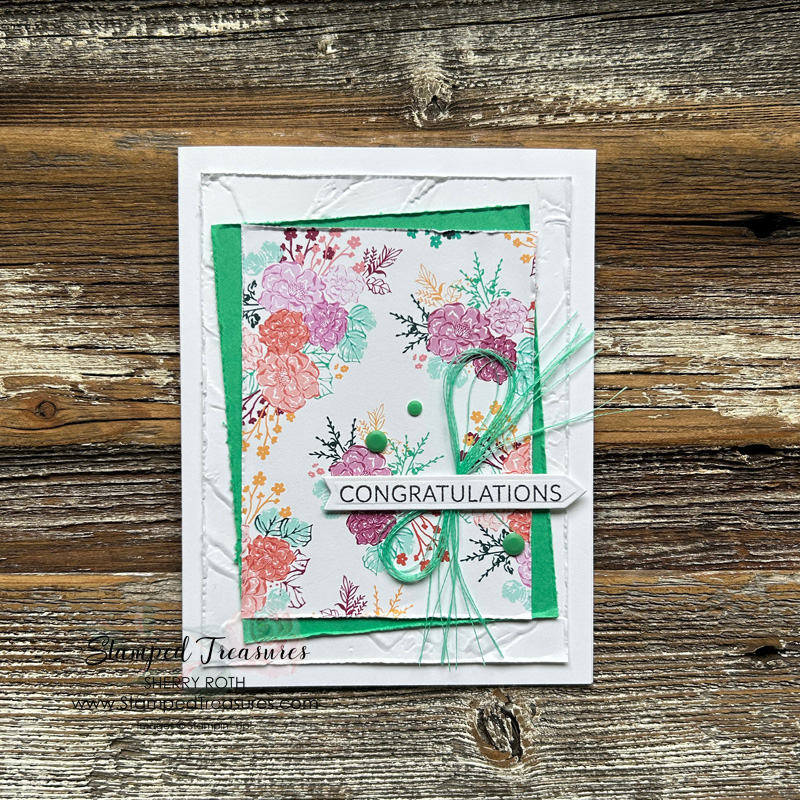
This next card is very similar in design, I just added in a layer of shy shamrock card stock and changed out the size and position of the greeting.
Note: many of the cards I’ve created are congratulations cards because I’m in need of those at the moment:) However, you could easily change out the greeting with anything else.
Measurements:
- Thick Basic White: 5-1/2″ x 8-1/2″ scored at 4-1/4″
- Basic White: 3-3/4″ x 5″ and 1″ x 3″
- Shy Shamrock: 3-1/4″ x 4-1/4″
- Pattern Paper: 3″ x 4″
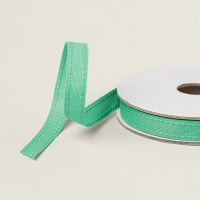
- Threads from Shy Shamrock Ribbon: 12″
- Shy Shamrock Resin Dots: x3
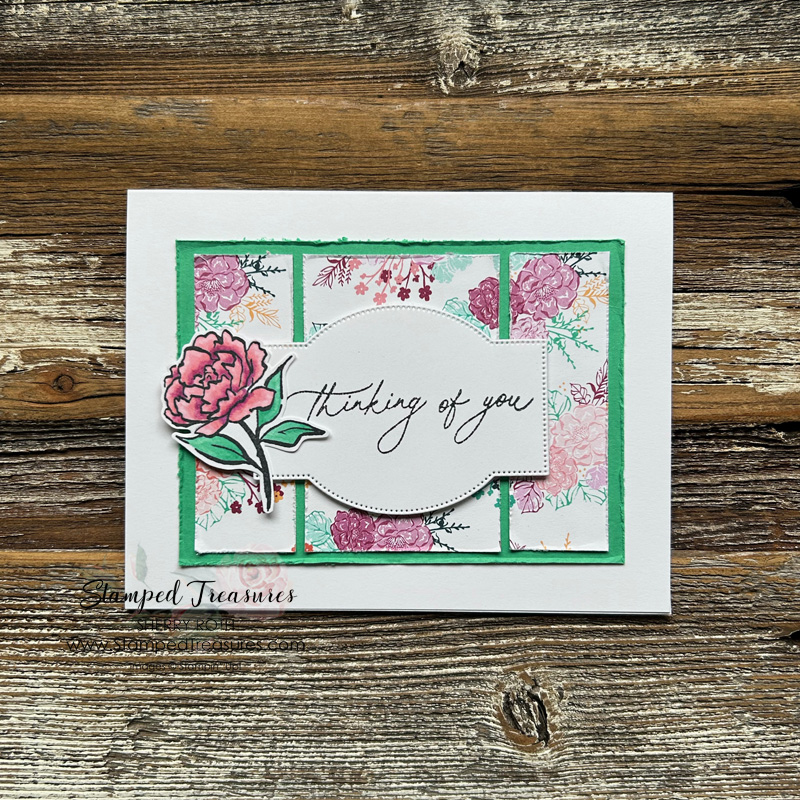
This card also began with a 3″ x 4″ piece of pattern paper, I just cut 1″ off both short ends and then positioned it onto the shy shamrock card stock with a bit of a border.
Measurements:
- Thick Basic White: 5-1/2″ x 8-1/2″ scored at 4-1/4″
- Basic White: 2″ x 4-1/4″ for label shape and 2″ x 4″ for stamping
- Shy Shamrock: 3-1/4″ x 4-1/2″
- Pattern Paper: 3″ x 4″ – cut 1″ off both short ends
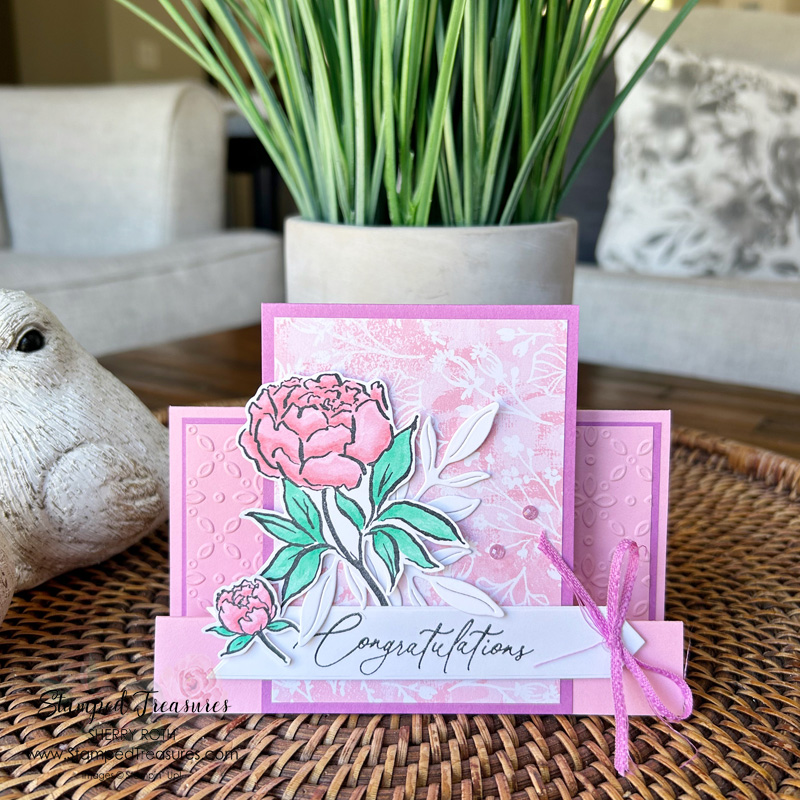
Faux Stair Step
For the last piece of 3″ x 4″ patterned paper I wanted to step things up a bit so I created a faux stair step card. This card design looks complicated but it’s really quite simple. You can see how it comes together in the video that I linked above.
Measurements:
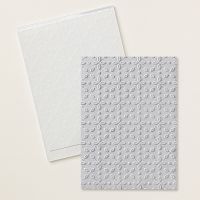
- Pretty in Pink: 5-1/2″ x 8″ scored at 3″ , 6″ and 7″; 2-5/8″ x 5-1/8″ embossed using the Eyelet EF
- Petunia Pop: 3-1/4″ x 8-1/2″ scored at 4-1/4″; 2-3/4″ x 5-1/4″
- Basic White: 3″ x 4″ (for back); 4-1/4″ x 5-1/2″ for stamping & die cutting and 1″ x 5-1/2″ for die cutting
- Pattern Paper: 3″ x 4″
- Petunia Pop Ribbon: separated 12″
- Shimmer Gems: x3
The 2″ x 4″ Pieces…
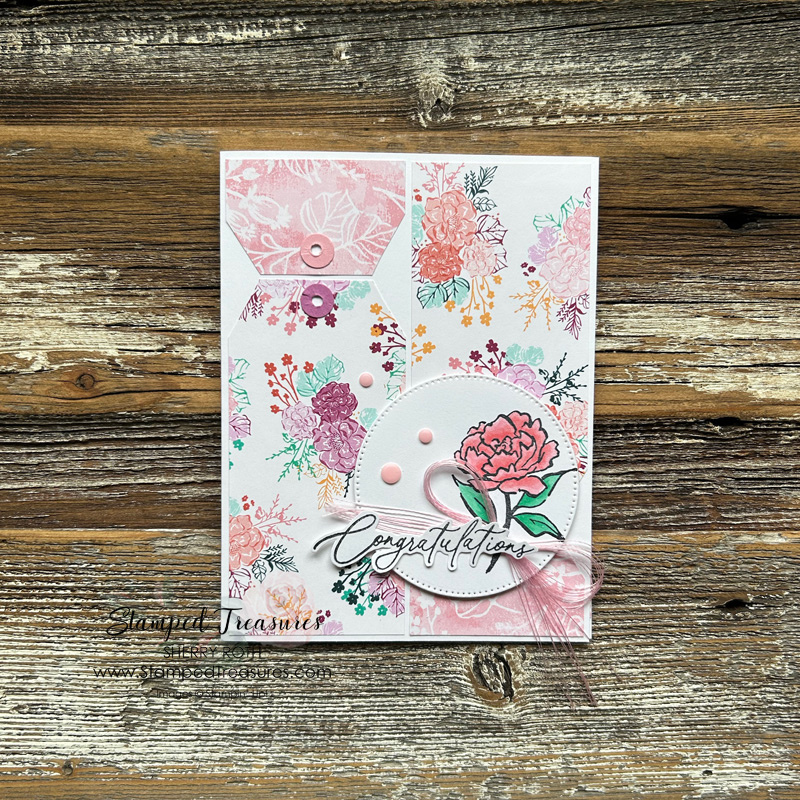
Moving along to the 2″ x 4″ pieces that we’ll turn into tags. I took three of the tags and created a background with them and then popped my focal point over top.
Measurements:
- Thick Basic White: 5-1/2″ x 8-1/2″ scored at 4-1/4″
- Pattern Paper: 2″ x 4″ (x3) cut 1-1/4″ off the bottom and top of one of the tags
- Basic White: 2-3/4″ x 2-3/4″ cut the 2nd largest stylish shapes circle; 2″ x 3″ for stamping
- Petunia Pop: 1/4″ circle (x2)
- Pretty in Pink: 1/4″ circle (x3)
- Pretty in Pink Resin Dots: x3
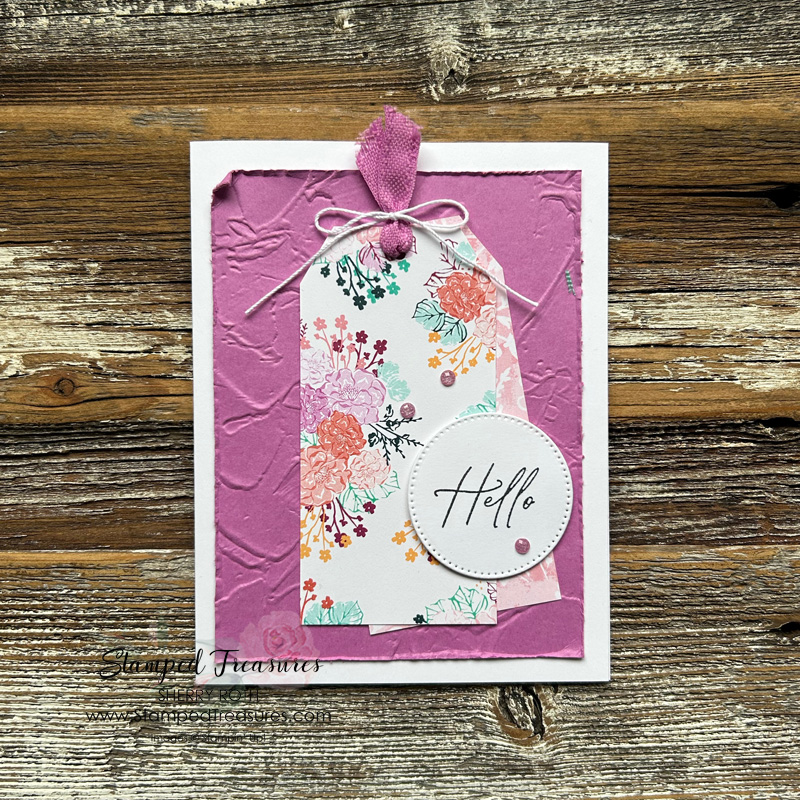
This next card uses another 2 tags simply added over an embossed layer of card stock.
Measurements:
- Thick Basic White: 5-1/2″ x 8-1/2″ scored at 4-1/4″
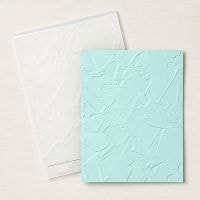
- Petunia Pop: 3-3/4″ x 5″ embossed with the Painted Textures EF
- Pattern Paper: 2″ x 4″ (x2)
- Basic White: 2-1/2″ x 2-1/2″ die cut the 3rd smallest stylish circle and scrap
- Petunia Pop Ribbon: 5″
- White Twine: 8″
- Petunia Pop Shimmer Gems: x3
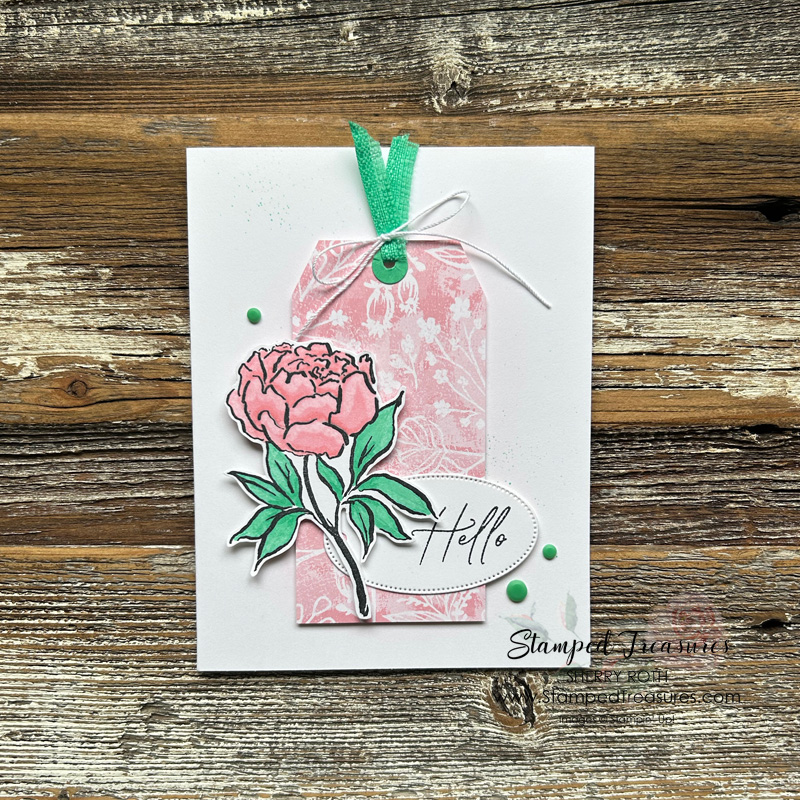
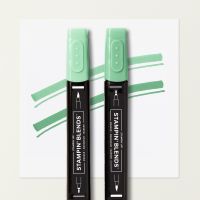
And I think this final card is my favourite, after the fun fold. I added a bit of pretty in pink ink to the background using a blending brush, then splattered with the shy shamrock Stampin’ Blend for a subtle background.
Measurements:
- Thick Basic White: 5-1/2″ x 8-1/2″ scored at 4-1/4″
- Pattern Paper: 2″ x 4″
- Basic White: 2-3/4″ x 5-1/2″ for stamping & die cutting
- Shy Shamrock Ribbon: 3″
- White Twine: 8″
- Shy Shamrock Resin Dots: x3
I hope you enjoyed todays Poised Peony One Sheet Wonder. Until next time,

Shopping List
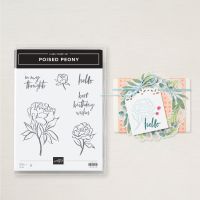
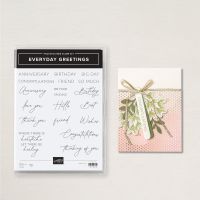
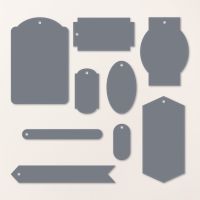
Click on any of the images to shop my Canadian online store or to find out more information about any of these products. In addition to these supplies, I also used a 1/8″ handheld hole punch.







Leave a Reply