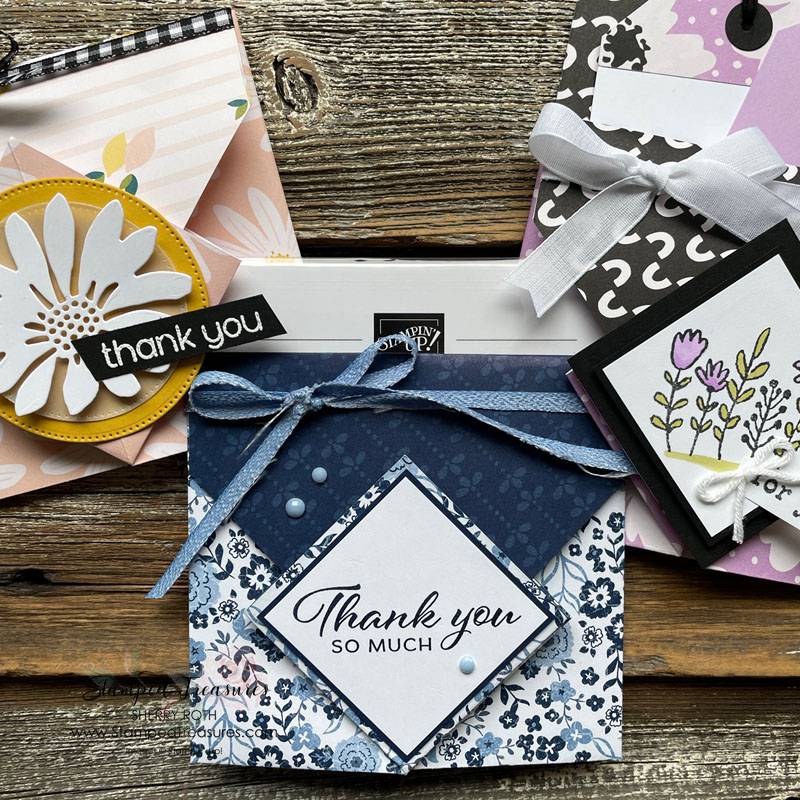
For the final project in my month long focus on ways to use patterned paper, I’m sharing a simple fun fold – 3 ways – as a card, a pocket and a mini album. The fold looks a lot more complicated than it actually is. Check out the video towards the bottom of this post to see how it all comes together.
The fold for all three projects is exactly the same, it’s just how you decorate it and end up using it that is different! Let’s start with the card.
Folding Measurements (see video for clarification)
- Patterned Paper: 11″ x 11″ – fold diagonally from one corner to the opposite corner
- Line fold along the left side of the score board and score at 4-1/4″ (scoring through both layers of dsp)
- Line the fold along the top of the board and score at 3-1/4″ & 5-1/2″
- Flip over and repeat scoring at 3-1/4″ x& 5-1/2″
- Fold along all score lines. Note: the inner flaps get folded into a diamond shape (see video)
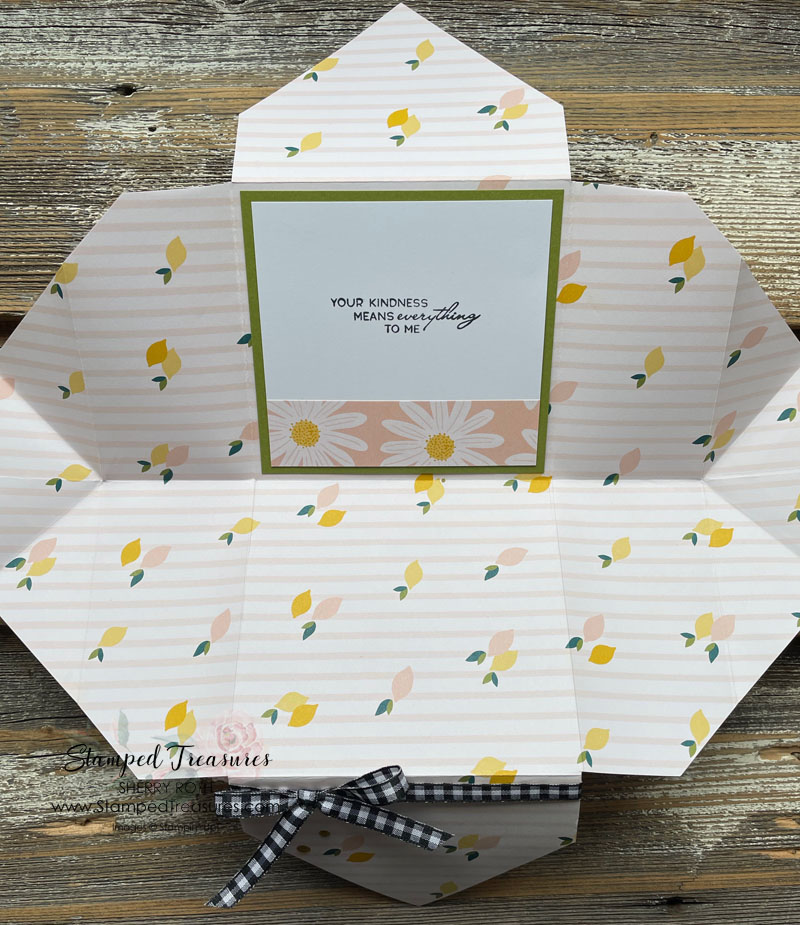
Here’s a look at the card open.
Measurements for inside pieces:
- Old Olive: 4″ x 4-1/4″
- Basic White: 3-3/4″ x 4″
- DSP: leftover piece
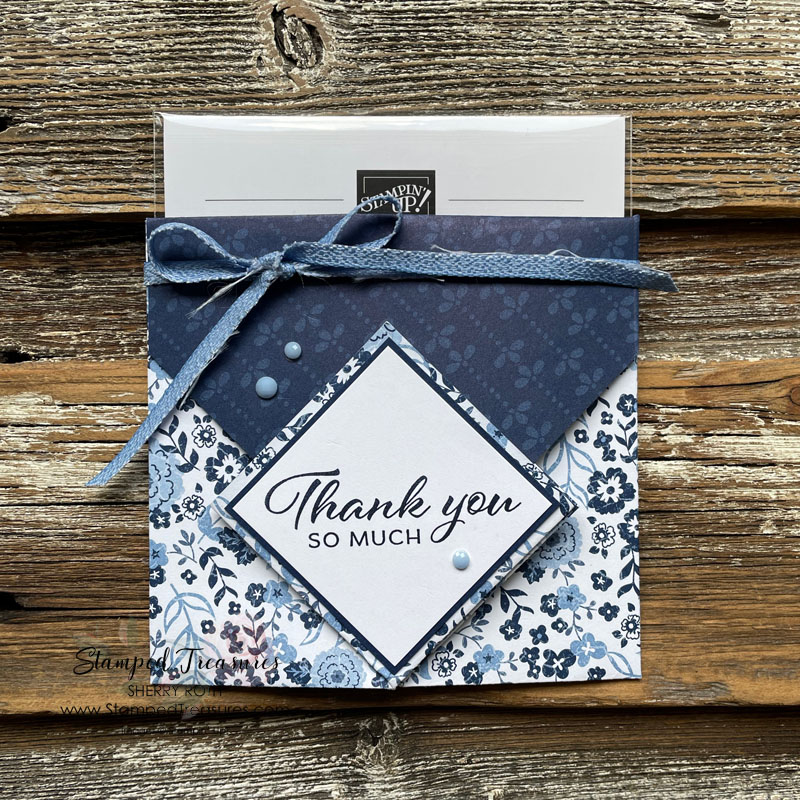
For the pocket, I simply adhered the back triangle and wrapped the ribbon around all the layers instead of just the flap.
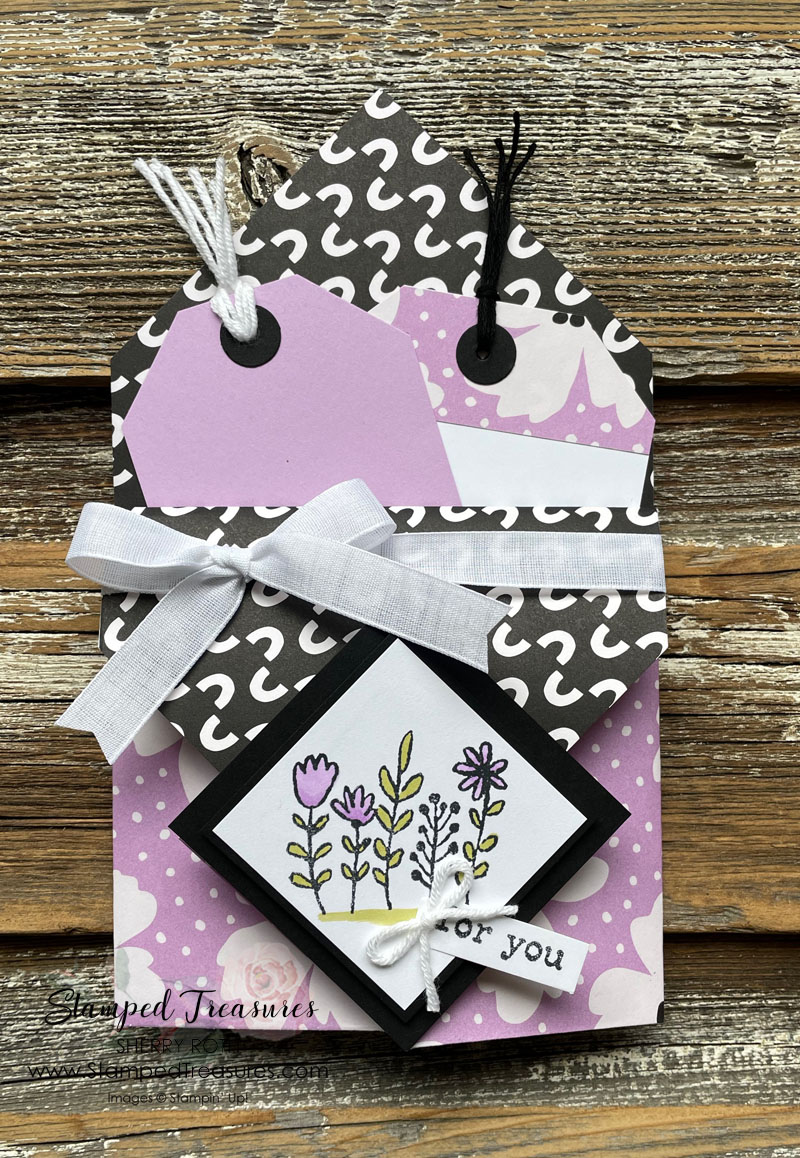
The mini album is kind of a combination of both. I left the back flap up and used it as a pocket for some tags.
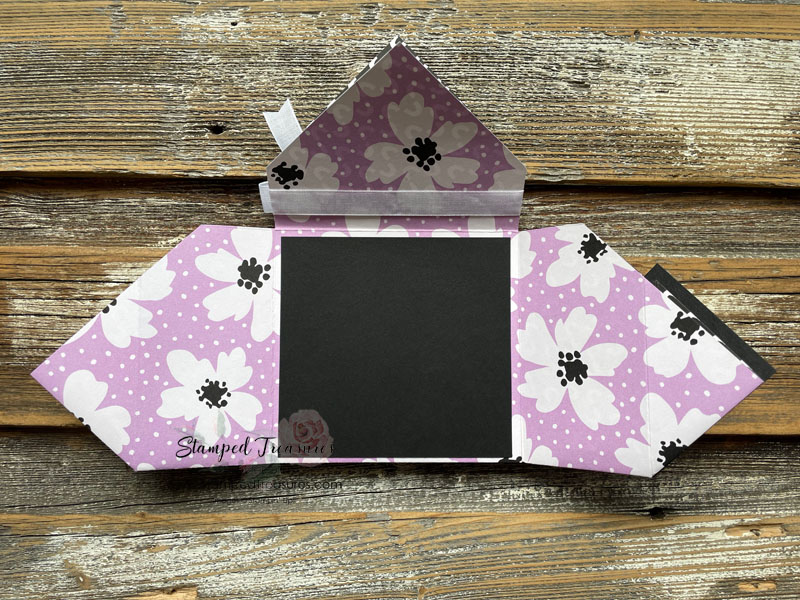
But then it also opens up to reveal some mats for photos. Here’s a look with the top and side flaps open.
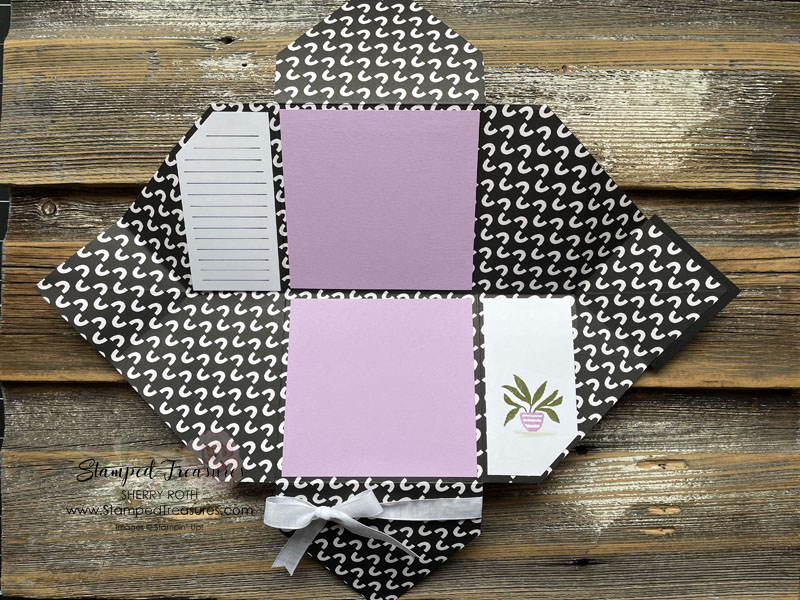
And then all the way open.
I walk you through how to this fold works in the video below. If you recreate a project using this fun fold idea, I’d love to see it! Tag me on Facebook @stampedtreasures or on Instagram @sherrystamps.
Until next time,

Supply List
Click on any of the images to shop my Canadian online store or to find out more information about any of these products.




Leave a Reply