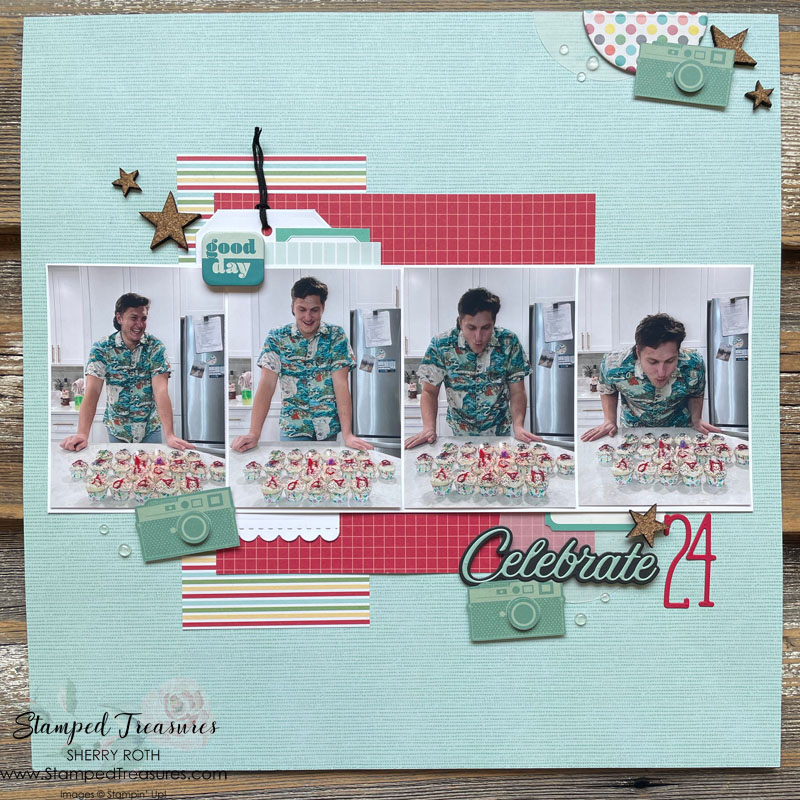
I’m kicking off a new summer long series with this Celebrate 24 layout. This summer is going to be one where I tackle my stash. If you’d like to follow along on this journey, be sure to join me every Monday, from now until the end of August. I’ll be sharing projects created using my stash right here on my blog.
Many of the products in my stash are older, retired or non Stampin’ Up! products. There may be some products that I can’t reference, or don’t know where they are from. However, I will always include a supply list at the bottom of each post with a reference to the products that I know.
Let’s jump right in…
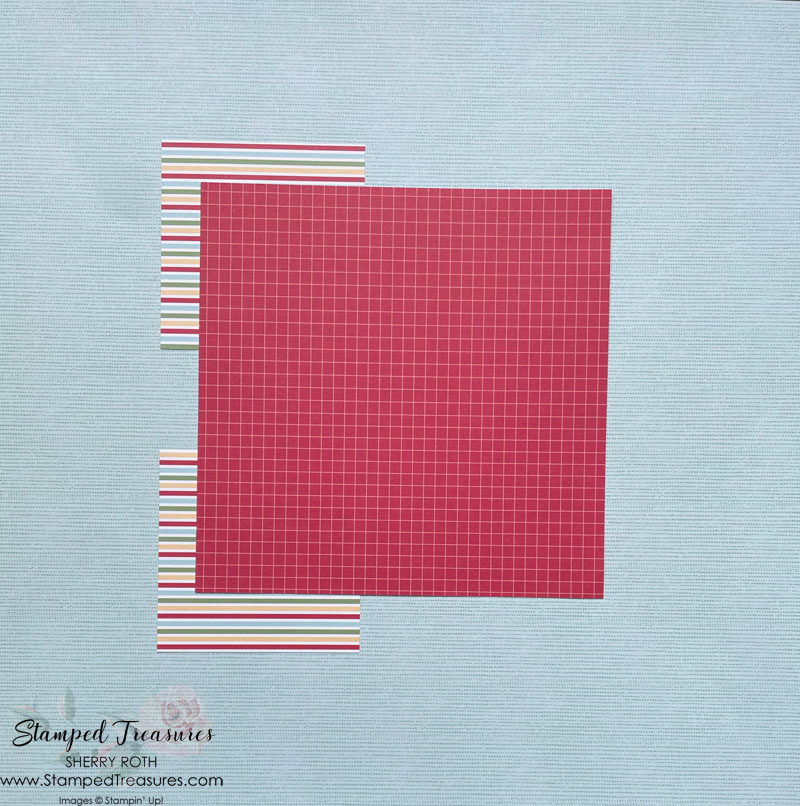
Here are the patterned papers that I pulled out for this weeks layout. One piece of 12″ x 12″ and some scraps of patterned paper – some of it old SU! patterns and some from other manufacturers. As you can see the scraps are in various sizes. My first tip is to not discount scraps – they can go a long way!
I’m documenting four 2-3/4″ x 3-3/4″ photos from my son-in-laws 24th birthday celebration. Colour inspiration was drawn from his bright, colourful shirt.
Whenever I’m working through my stash I try to make a point of using patterned paper as a background. It’s not something I do often but it feels so good to use up a whole sheet of paper that you’ve had for awhile!
TIP: a great way to ‘stretch’ a scrap is to cut it apart. I wanted the striped pattern to extend above and below the red grid paper but they were the same size. Because I knew my photos were going to go across the centre I knew I could cut the strip in half and leave a gap in the centre and it would appear to be one long piece like in the photo below.
TIP 2: keep a bin of leftover bits and pieces and check that bin when you sit down to pull out supplies for a layout. I keep punched, die cut and stamped shapes or images in this bin. Leftover Paper Pumpkin pieces or ephemera that isn’t worth keeping it it’s original packaging also makes it into this bin. This can save you some time when you are creating.
For this layout, I pulled out a die cut white tag and a couple vellum circles from the bin.
The Details…
- I didn’t want to loose the scallop detail at the bottom of the tag so I ‘stretched’ it like the striped patterned paper.
- Some patterned papers have great images to cut out and use as embellishments. Instead of using the camera patterned paper as a strip, I cut out a few of the cameras and used a 1/2″ circle punch to punch the lens and popped it up with dimensionals. This gave me a great embellishment that I could repeat in my embellishment clusters.
- Smaller patterned paper scraps (like the white and pale pool striped pattern), and labels are great for little tuck ins.
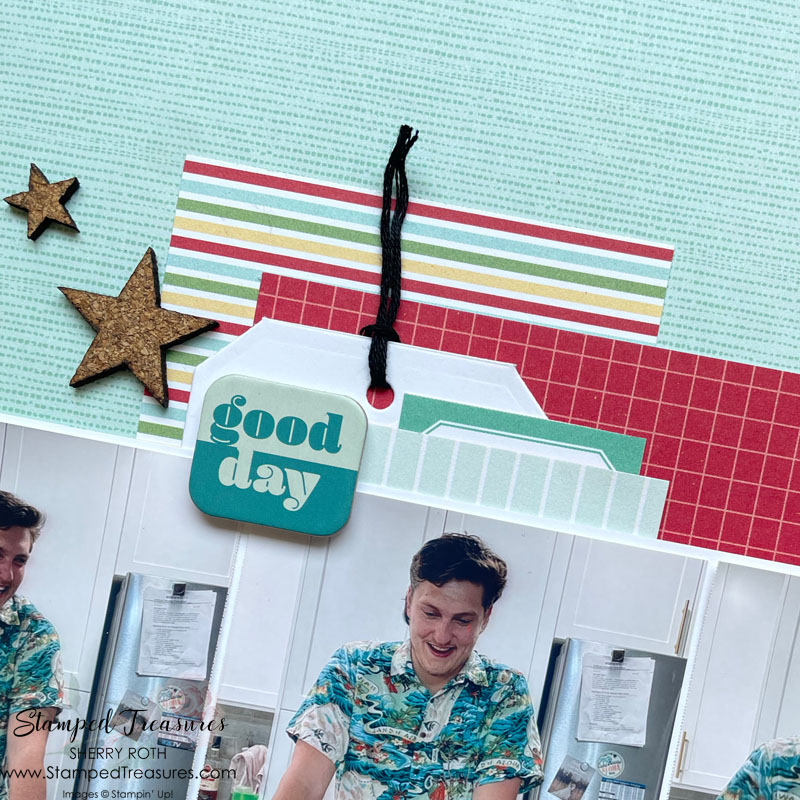
- The ‘good day’ and polka dotted semi circle are chipboard pieces leftover from a kit I received years ago (maybe from Freckled Fawn?)
- Cork stars were gifted to me from my friend Nicole – it was time to put them to use!
- Of course I had to include some current items from my stash as well – the Wanted to Say dies were perfect for the ‘Celebrate’ and then the Alphabet a la Mode dies for his age.
I always find that creating a layouts from a smaller amount of supplies goes so much faster. So I spent some time creating a little kit before I started working on the layout.
I hope you decide to join me on this summer long journey scrapbooking through my stash! If you decide to play along, be sure to share your projects by tagging me on social media.
Until next time,

Supply List
In addition to the supplies listed below, I’ve used cork stars from Studio Calico; Polished Dots (retired); 1/2″ circle punch (retired) and some scraps of patterned paper. Click on any of the images below to shop my Canadian online store or to find out more information.


Leave a Reply