Today I’m kicking off my month long one card idea three ways series. The idea came to me after I went through the enormous number of cards that I have. These are cards that I’ve created over the years for classes, videos, blog posts, etc. cards that were sent to me and some swaps that I’ve gotten.
These cards are perfect starting points when I sit down to craft. I thought it would be fun to share how I use them. Every Friday for the month of August I’ll choose a project, it could be a new one or an old one, and share some ideas on how you could use it to inspire a crafting session.
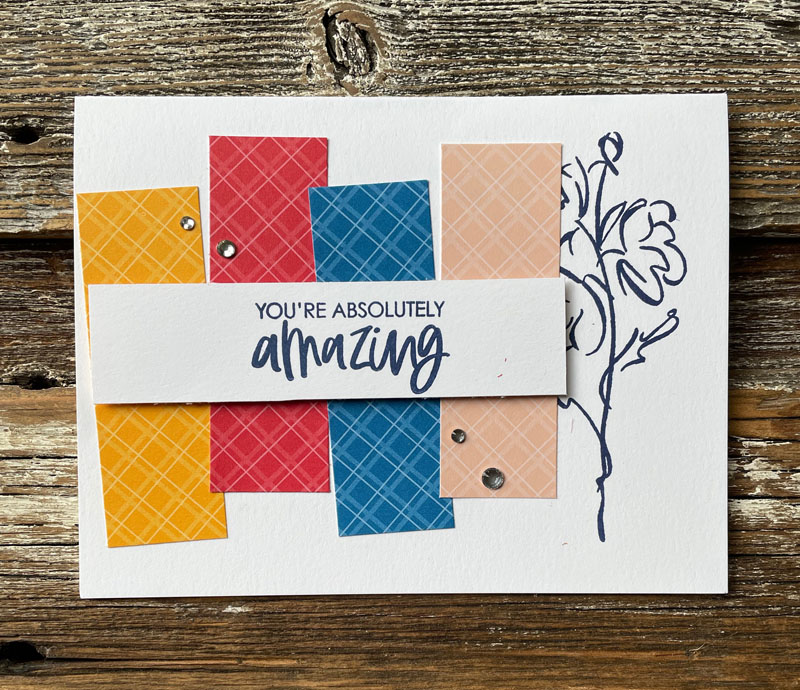
We are kicking it off with this card that I recently received from Dale, our now retired, Canadian Stampin’ Up! DDM.
The first thing I do is determine what I like about it. There are two things – the simplicity – great for mass production and the strips of dsp. Then I decide if I want to copy the design or alter it in some way. I decided to do both. The next step is deciding what product to use.
Thank You Card
If you are CASing a project pretty closely, you want to choose images that are similar in size and shape. There’s this beautiful flower in the Wonderful World bundle from the SAB brochure that I absolutely love that I knew would be perfect. And because it has dsp to coordinate I didn’t have to think too hard.
Measurements:
- Thick Basic White Card Stock: 5-1/2″ x 8-1/2″ scored at 4-1/4″
- DSP Strips: 1″ x 3″ (4 of them)
- Basic White: strip for greeting
- White Twine: 8″
There are no greetings in this set so I thought about what cards I would need coming up and decided on some thank you cards. I looked through my collection of greetings and this ‘thank you’ from the Making Plans stamp set was perfect. The only change to the design that I made was the addition of some texture with a bakers twine bow. Iridescent pearls finished off the card nicely.
You can see that I stuck pretty closely to the layout of the card. Simply changing up the supplies gives it a completely different look. This is one great way to use card designs and also the easiest.
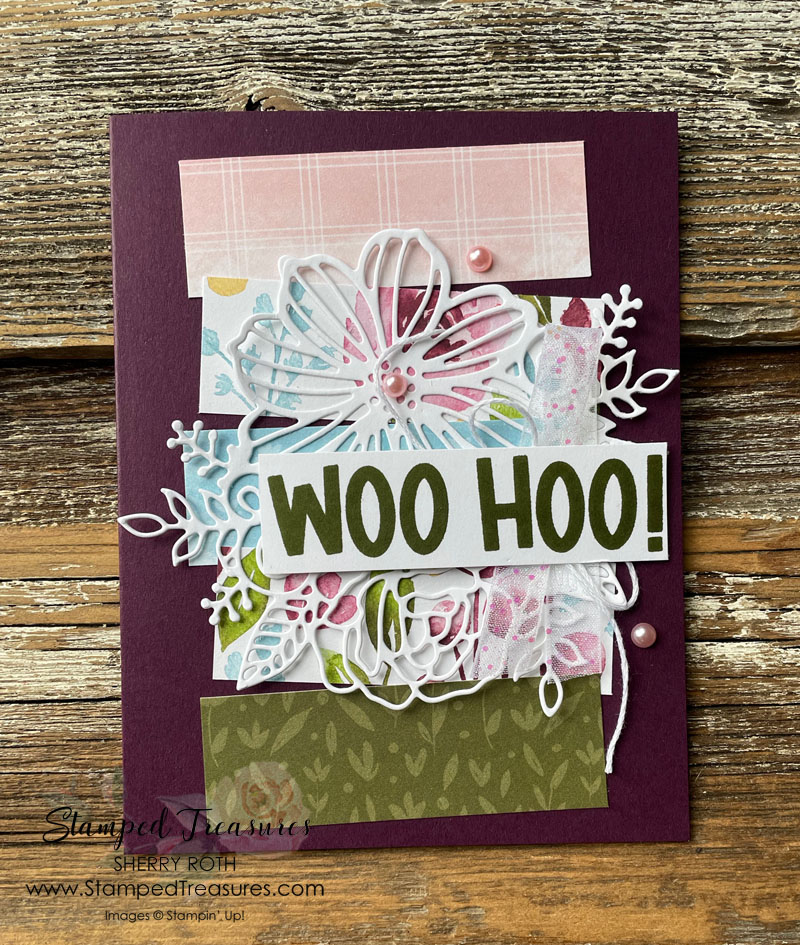
Woohoo Card
For the second card, I wanted to keep the dsp strips but step up the design a little. Not too much though because I wanted to make these as recognition cards for my team and needed quite a few.
First up I changed the orientation from landscape to portrait. In doing so, it felt like it needed a 5th strip of dsp. Instead of stamping the card front like the first two, I decided to add a die cut piece, some ribbon and a bakers twine bow behind the greeting. I love all the layers and texture. Finishing off the card are some Pastel Pearls.
You can see that this card was inspired by the initial card but ended up completely different.
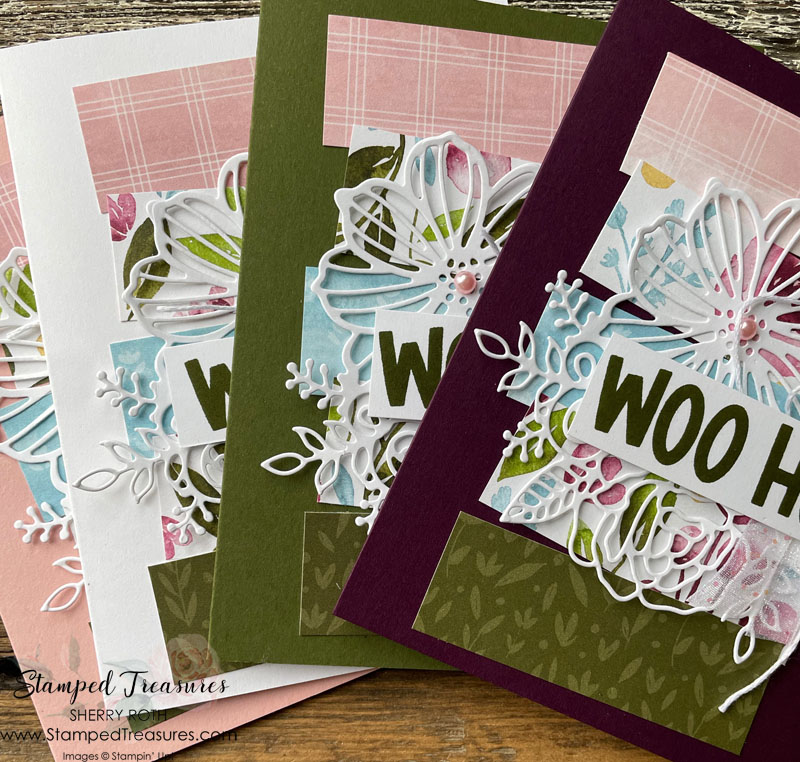
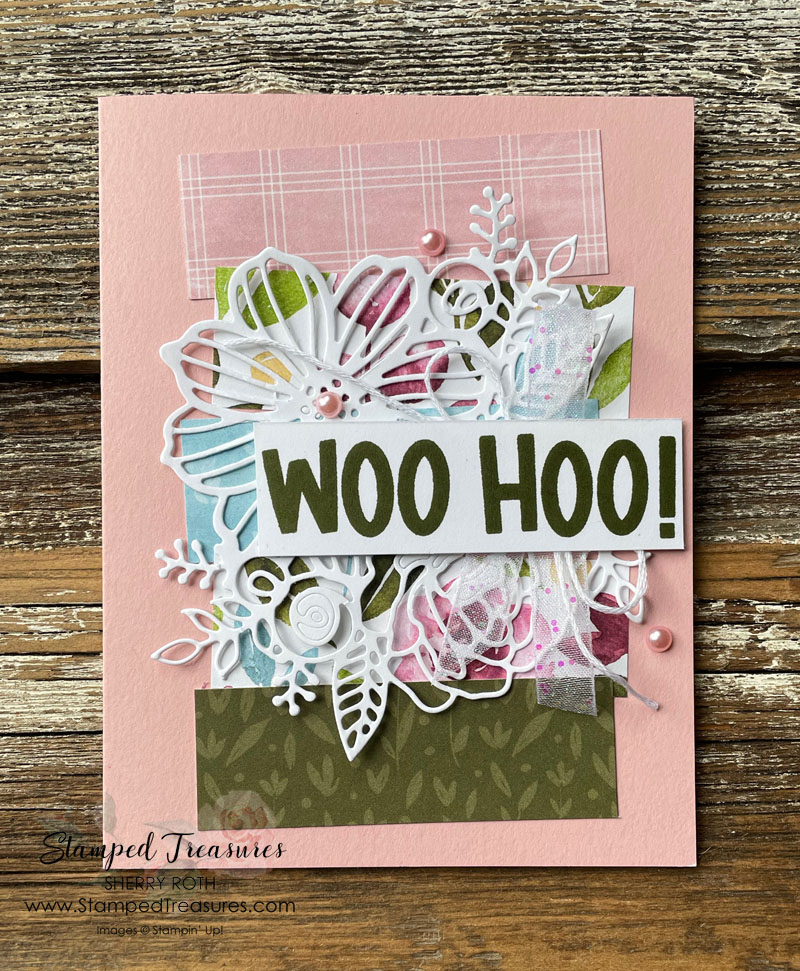
I loved this card so much and thought it would work well in different colours so I gave it a try. The first one is Blackberry Bliss, this one Mossy Meadow.
This one is Blushing Bride and the last one is Basic White. Which one is your favourite?
I’ve included a supply list for each of the cards below and you can even catch the video replay below.
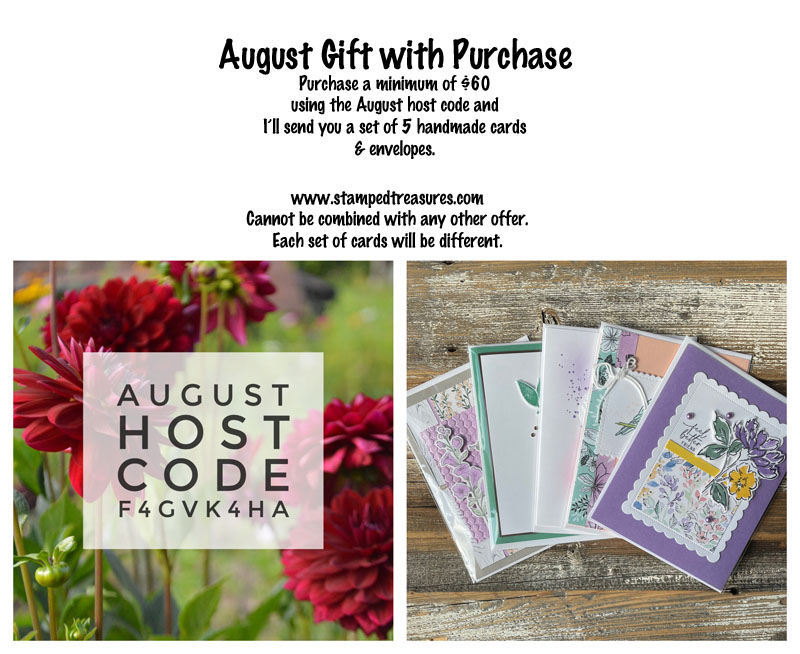
To provide you with some inspiration, I’m giving away 5 free cards to anyone who orders $60 or more, from my online store, using this months host code F4GVK4HA.
Until next time,

Inspiration Card Shopping List
Thank You Card Shopping List
In addition to the supplies listed below, I also used the Making Plans stamp set (available for free when you purchase the starter kit until the end of August 2022).





Leave a Reply