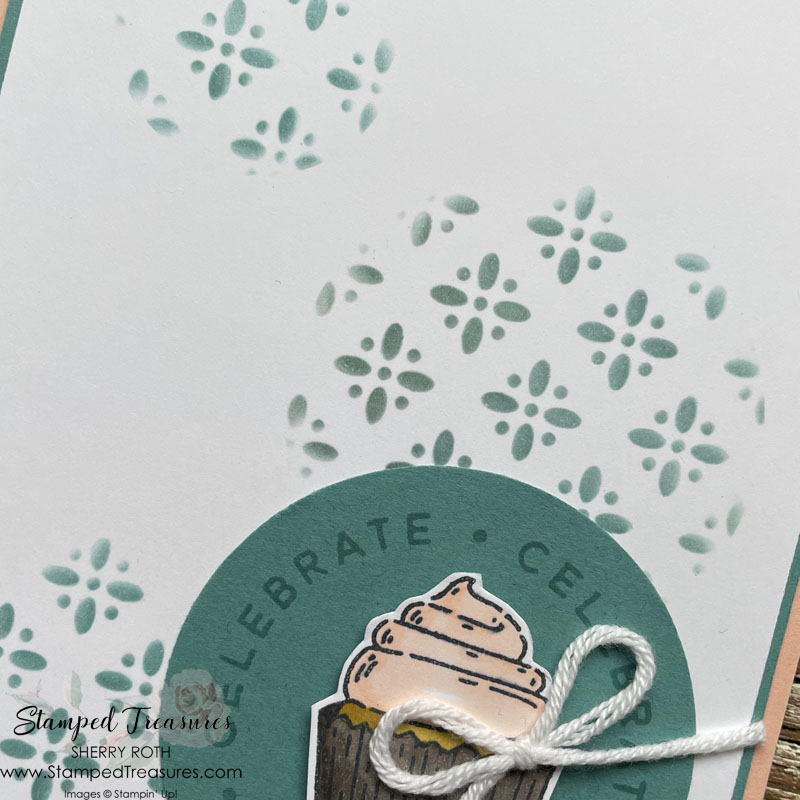
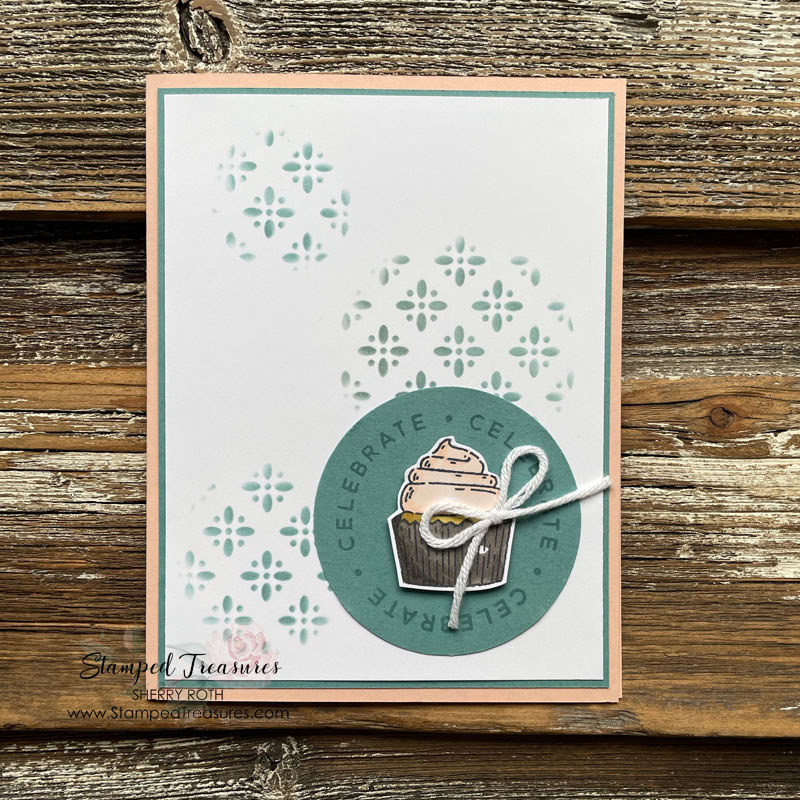
In this weeks ways to use stencils – part 3 post, I’m sharing a simple way to create a fun background using your stencils and a template.
If you missed the previous stencil videos I shared, I’ll link the blog posts below.
How to Use Stencils – the Basics – Part 1
I created my own template using several of the circles from the Stylish Shapes dies and a piece of scrap card stock. Then place the template over a piece of card stock and your stencil on top of that. Now it’s time to add your ink.
When you remove the stencil and the template, you’re left with pattern only where the holes were in your template. Think about the different patterns you could create!
Measurements:
- Petal Pink: 5-1/2″ x 8-1/2″ scored at 4-1/4″
- Lost Lagoon: 4″ x 5-1/4″ and 2-3/8″ circle
- Basic White: 4″ x 5-1/4″ (inside); 3-7/8″ x 5-1/8″ and 2″ x 3″ for stamping
- White Twine: 6″
You can catch the video showing you how this card comes together below.
If there’s anything you’d like to order, and live in Canada, when you shop with me, I’ll send you a little gift. Here’s a peek at the gift for orders of $60 or more between May 12 and 29th, 2023. Be sure to use host code 2M74RC4K in order to qualify for the gift.
Until next time,

Shopping List
Click on any of the images to shop my Canadian online store or to find out more about any of these products.


Leave a Reply