
For this weeks memory keeping Monday I wanted to do a virtual album retreat recap. Last week Stampin’ Up!® held their first 3-day virtual retreat where participants had the opportunity to create 12 2-page scrapbook layout using a kit put together for the event.
I’ve never participated in anything like this before and wasn’t sure what to expect but it was not what I experienced. I thought I’d like it but didn’t think that I’d love it. It was so well done and worth the cost.
Over the course of the 3-days I managed to complete 9 2-page spreads with photos and journaling and 3 more that need photos and titles. That’s a lot of stories documented!
Initially I thought the event price of $340 (in Canada) was a bit steep. However, now that I’ve experienced the event, I thought I’d share my thoughts on why, I think, you get more than your moneys worth.
What’s Included
- Your purchase of the kit which includes everything you need to complete the 12 2-page spreads except adhesive, inks and a few other tools, gets you access to the private Facebook group and all the videos.
- The supplies are precut and sorted (for the most part) for you. This makes it so easy to gather the supplies you need to put the pages together.
- TWO exclusive stamp sets! And these are stamp sets I will use over and over – especially the alphabet set.
- No die cutting involved! There are two sheets of die cut elements that coordinate with the stamps so all you need to do is stamp onto the coordinating die cut piece.
- These are involved layouts – but not enough to overwhelm even the newest scrapbooker.
- The videos could be paused at any time – even if you were watching live.
- Each layout is taught as a separate class and by different ‘teachers’.
- The videos will continue to be available, even after the event. So if you weren’t able to watch live, you can go back and catch up at any time.
- The stories, and tips, shared during the classes were amazing. So many great tips were shared , whether it was from the instructors, the panel of people responding to comments or the people watching.
- The flexibility of the layouts – I changed up many of my layouts to work with the photos I printed.
- The instructor walks you through slitting your page protectors for any of the interactive pages!
- I can reuse the layout designs over and over with different products and the layouts will look completely different.
For all of these reasons, I will participate in every one of these events that SU! holds.
Did you miss out?
Are you sad that you missed out? You can still participate! Simply purchase the Month by Month Album Retreat kit and you’ll receive an email with an invitation to join the Facebook group where you’ll find all of the videos.
The kit is meant to be used as a month by month kit. So a 2-page layout for each month of the year. However, I’ve chosen to use it to document photos that I wanted to scrapbook and not be tied to the month. To make it work for me, I simply changed out the titles. I’ll use the month die cut pieces for another project.
Let’s take a look…
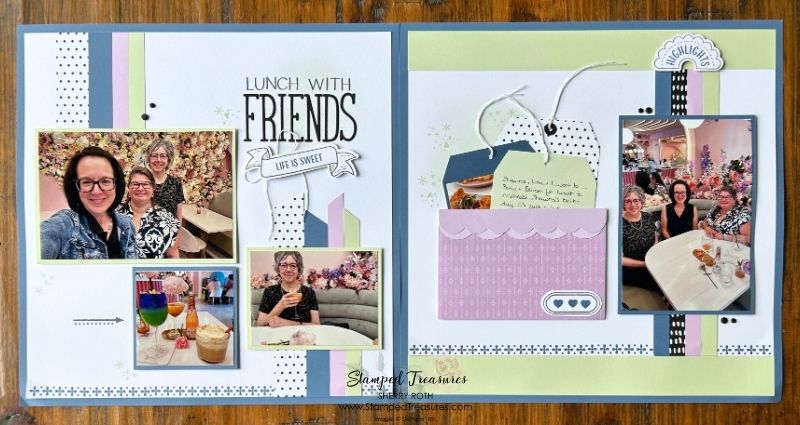
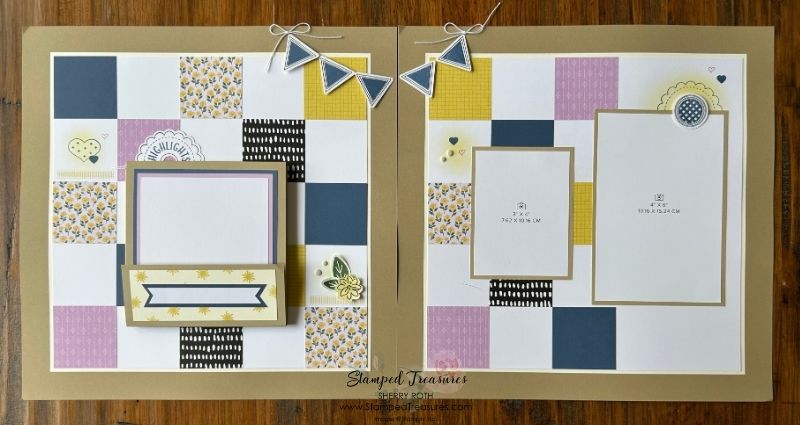
I shared January’s layout above. Here’s a look at February.
For this one I changed out the hearts for flowers.
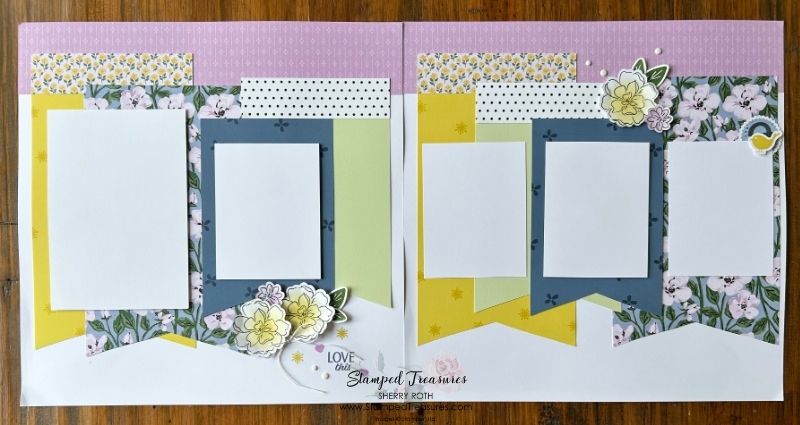
March was one of the layouts I don’t have photos for. Since I didn’t have any photos I chose to leave the title off until I decide what photos to use.
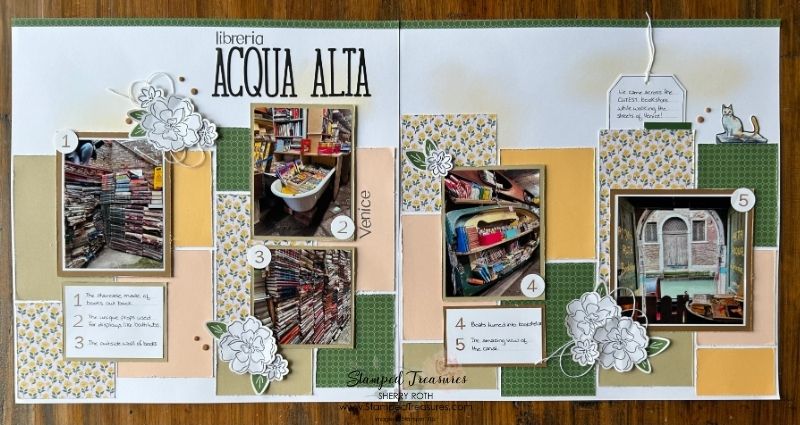
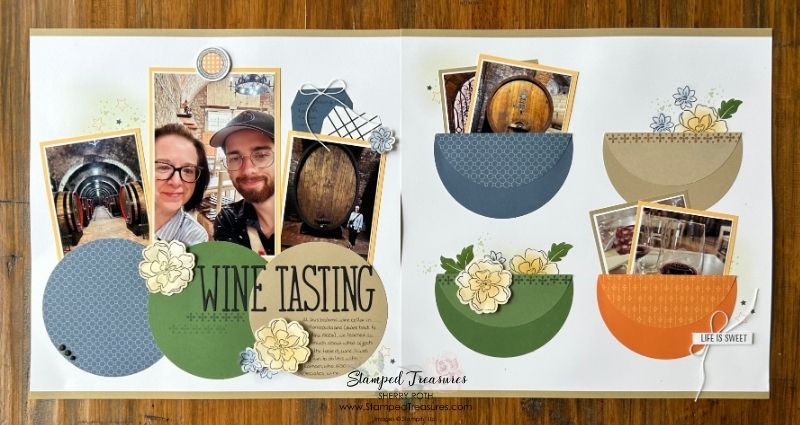
For April I documented a trip to a fun bookstore in Venice.
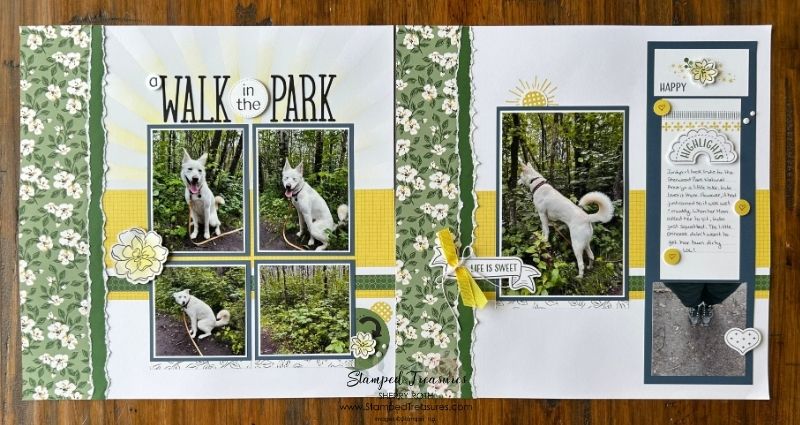
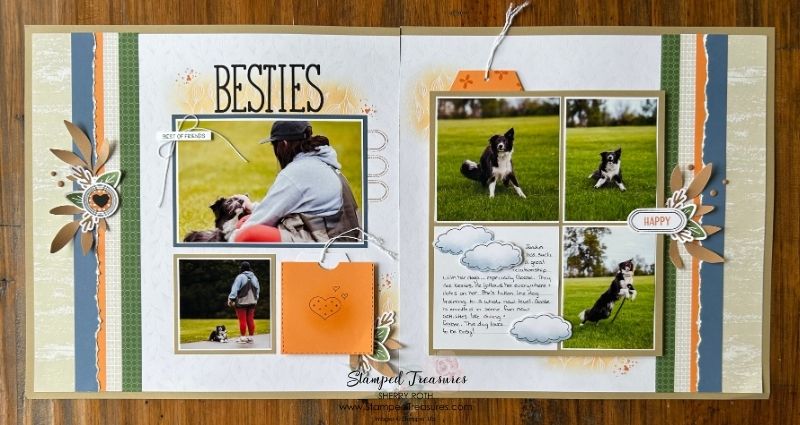
I ended up scrapbooking quite a few grand puppy photos on my layouts:) They are just so cute! I made a few changes to this layout like switching out some of the blue for green because of all the green in my photos.
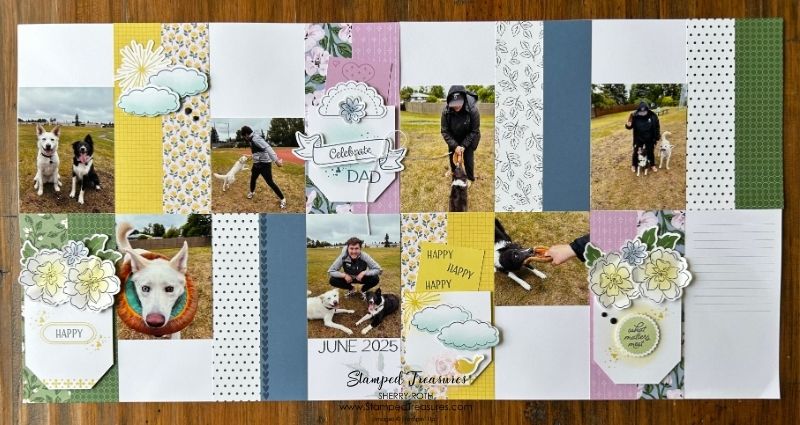
This one still needs some journaling but I’m going to have my daughter add the journaling. I may also add a larger title at the top.
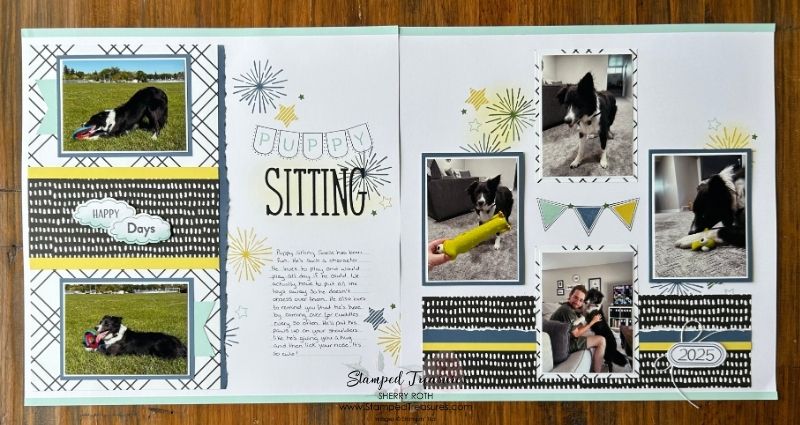
This is July’s layout. More puppy photos!
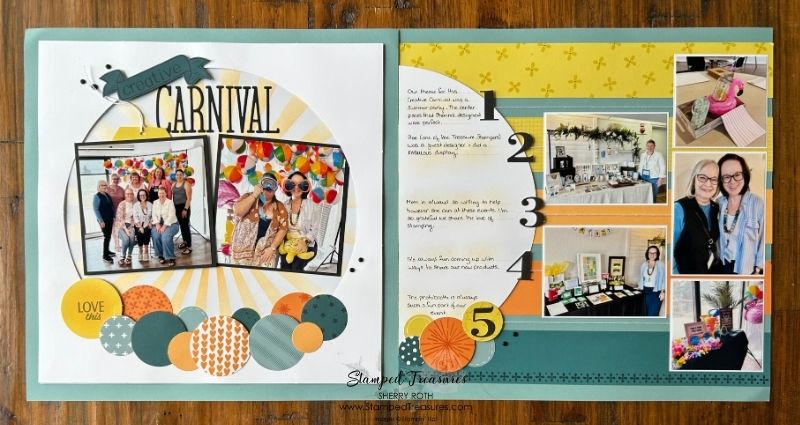
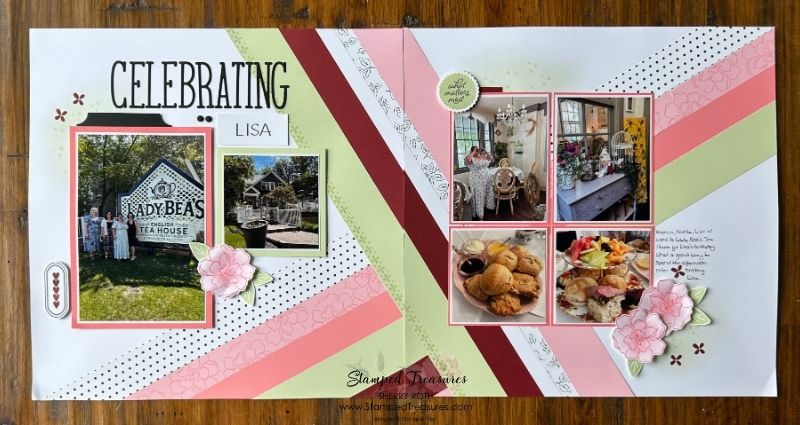
I love how the August layout turned out. I also learned a new way of journaling as well. Use some baker’s twine and numbers to indicate the journaling that goes with the photo.
Layout 9 is super interactive. The centre bit on the left page is almost like an explosion element! See the video in this post for a closer look. Because I don’t have photos for this one, I also chose to leave the title off.
The October layout is one of my favourites. I love the circle pockets!
We learned about hidden journaling/tags and how to include them on your layouts on the November layout.
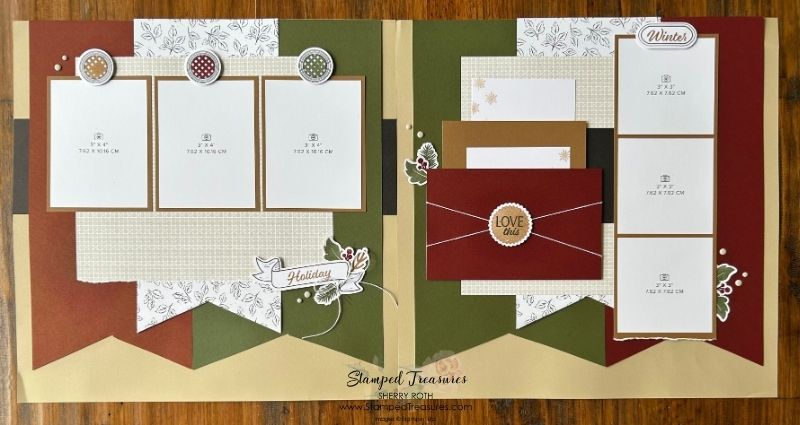
My December layout also needs photos and a title. But it’s all ready for some Christmas photos!
In this video I share a closer look at the layouts and the layouts I created using the Make a Memory scrapbook kit.
I love how much I managed to accomplish during this event. I didn’t get it all done during the event but spent a few hours afterwards catching up so I could share my thoughts with you.
Until next time,


Leave a Reply