In today’s post I’m sharing some wedding cards I created using the packaging technique. I’ve also included a video that walks you through the technique step-by-step.
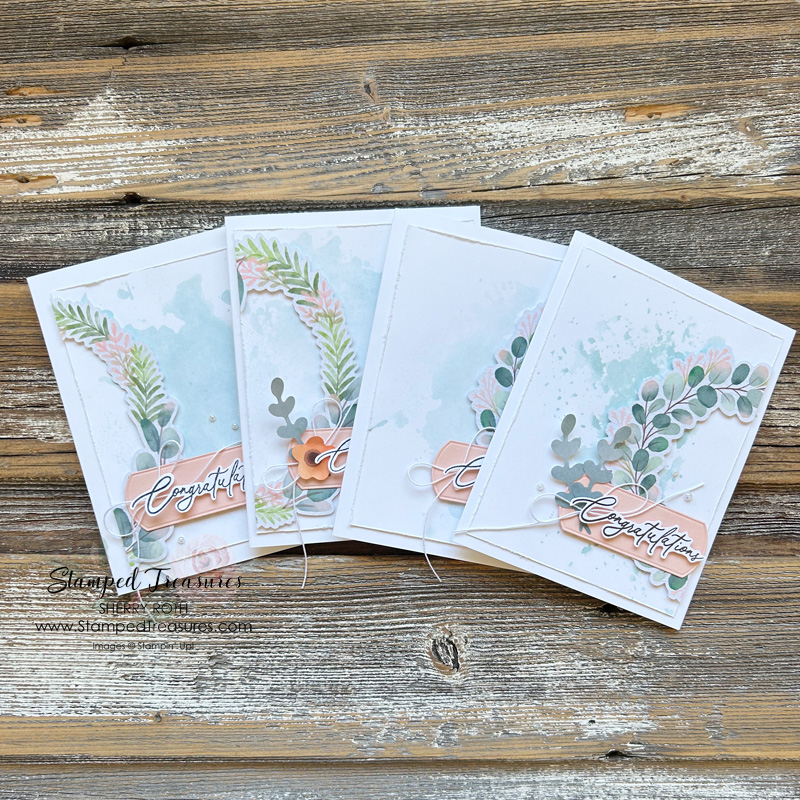
All 4 cards are similar in style with just minor modifications because of the supplies I had left from the Frames & Flowers package. I’ve shared several other samples using this specialty dsp. I’ll link the blog posts below. I still have a few more projects to share with you using this fabulous collection.
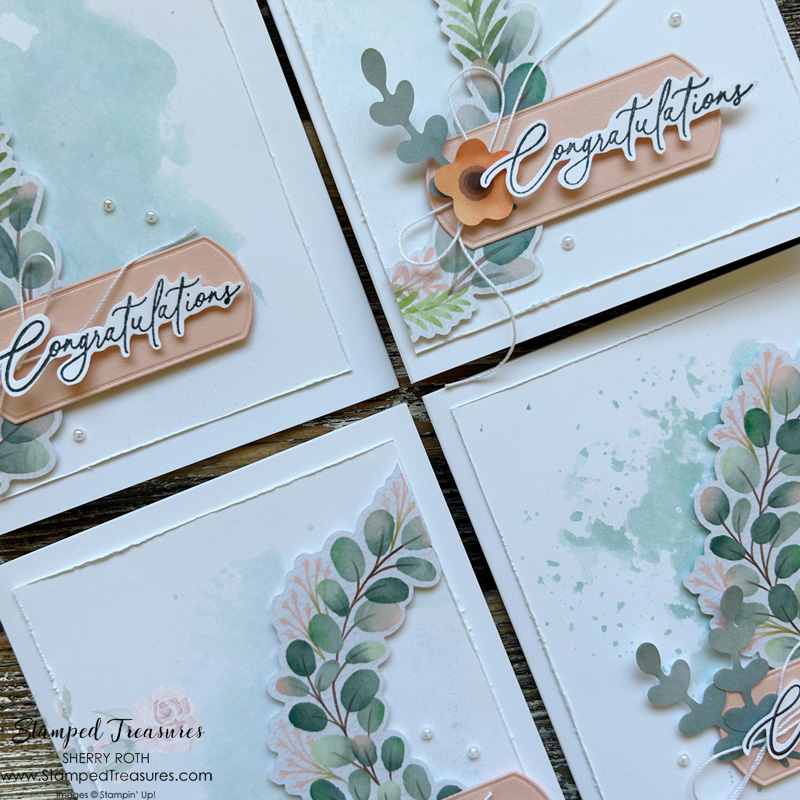
Here’s a look at the 4 cards…
The Details
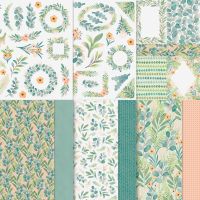
I really needed to create a few wedding cards but didn’t have a lot of time so I turned to the pieces I had left from the Frames & Flowers Specialty dsp pack. This pack includes 3 double sided pieces of pattern paper and 3 sheets of laser cut images. It really makes creating all sorts of projects so quick & easy!
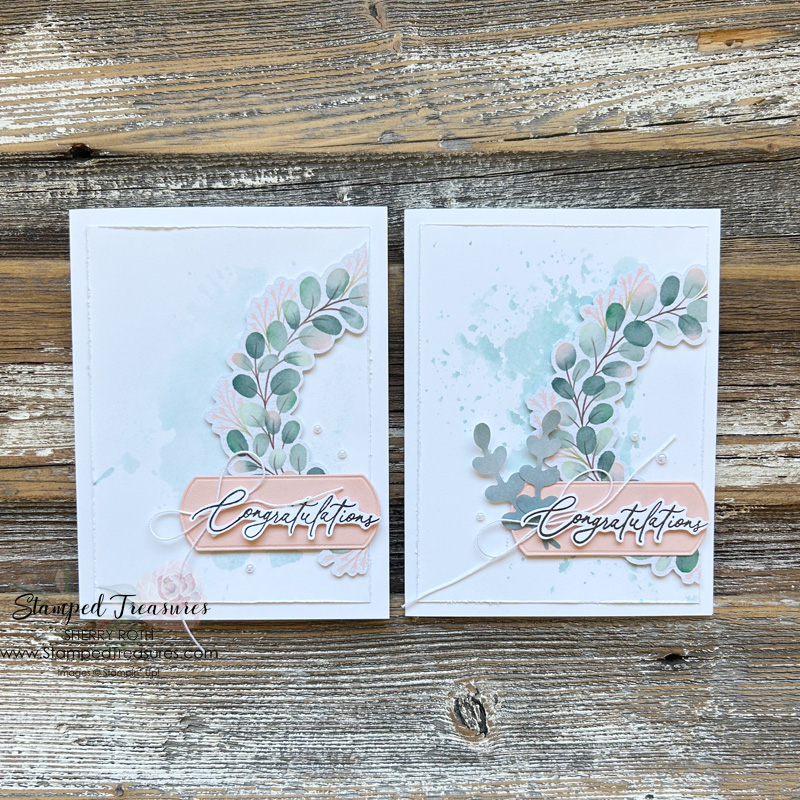
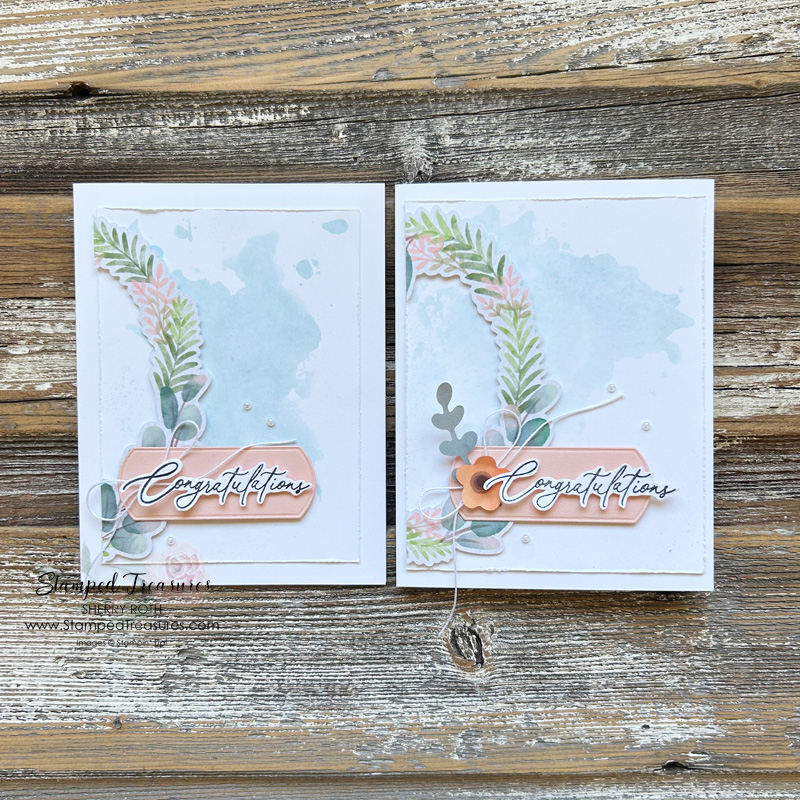
Each set of cards uses one of the wreath laser cut images that I’ve cut in half, or close to half.
I think the card would look great even without the bit of ink in the background but that messy ink splatter just really steps the card up a notch. See how it’s done in the video below.
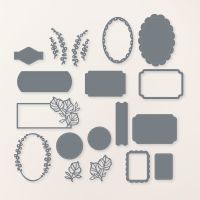
Because I used a different wreath for the third and fourth cards, I positioned them on the left side of the card so the leaves weren’t upside down. You’ll notice that some of the cards have leaves and one even has a flower. That’s simply because I ran out of them. You could add some die cut leaves though if you prefer the look with something to the left of the greeting.
I hope you enjoyed today’s project. You’ll find a full supply list linked below. Thanks so much for stopping by!
Until next time,

Shopping List
Click on any of the images to shop my Canadian online store or to find out more information about any of these products.




Leave a Reply