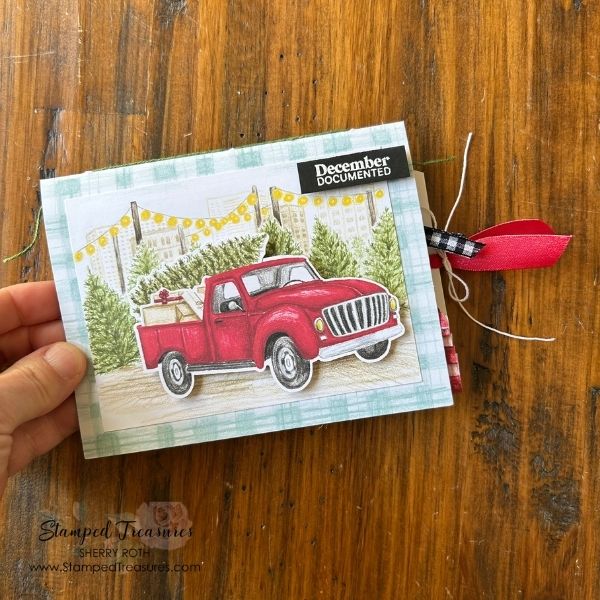
In this blog post I’m sharing how to turn a greeting card into a mini album or junk journal. Although I’ve used a card made from the Road to Christmas card kit, these little albums could be made using any of the cards – handmade or store bought that you receive, purchase or make. An they are perfect for using up products from your stash.
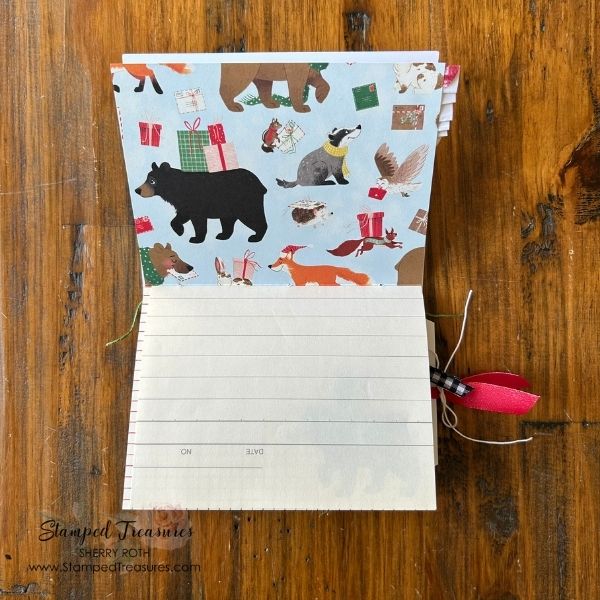
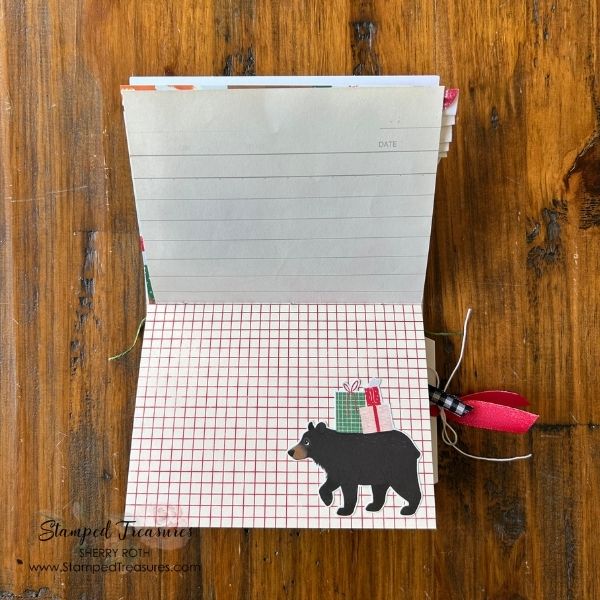
To create the inside pages, I used a trimmed envelope, paper bag, some pattern paper and some lined paper from an old notebook. You can use whatever you have on hand – grid paper, ledger paper, watercolour paper, vellum, brown paper, book paper, music paper, etc. This is the perfect opportunity to put to use some of the items you’ve had laying around for awhile.
I’ll try to explain the assembly of the album but I walk you through it in the video linked below.
Once you’ve gathered all the supplies for your inside pages, you’ll want to trim them down to just a bit smaller than the size of your card. If you’re card base is 5-1/2″ x 8-1/2″ you could trim them to 5-3/8″ x 8-3/8″. Then fold them all in half and stack them, one on top of the other when they are open. Your score line will be in the centre. Then fold along the score line and tuck them into your card. If anything sticks out past the card, you can trim it off.
Album Assembly
You can leave some pieces long than others and fold them over to create a pocket. You can also trim bags to create pockets. You’ll want to consider all this before you stitch your pages together.
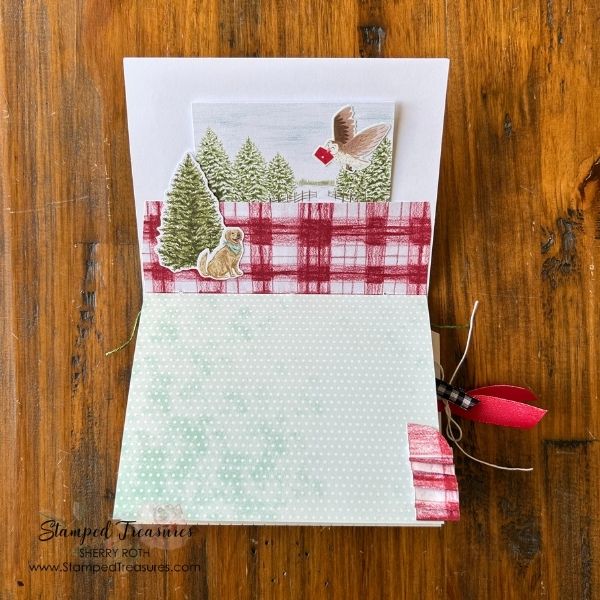
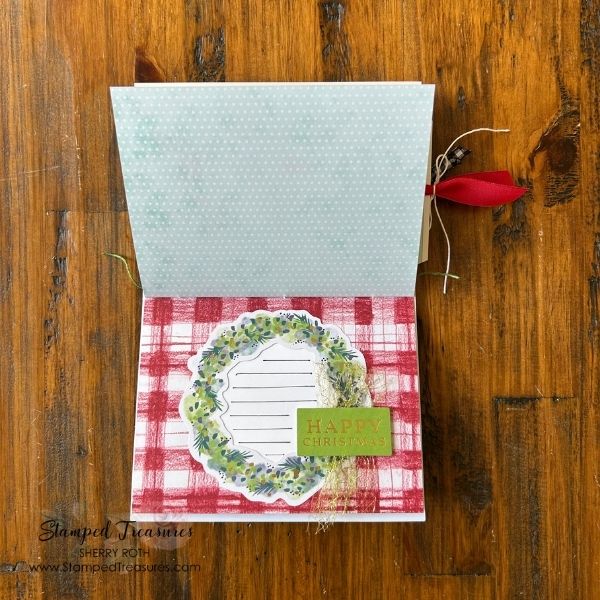
The envelope I chose to use was patterned on the inside and the same size as the card so I opened it up and trimmed it down to fit. The plaid pattern you see in the photo below is the envelope flap. I added adhesive up the two sides to create a pocket. You don’t have open and trim your envelope down, you could use it as is but it will be slightly larger than the card base. Or you can choose a smaller sized envelope.
Once you’ve got all your layers in the order you’d like them, you are ready to add holes for stitching. No need for a sewing machine – it’s a simple stitch. Use your paper piercing tool to poke three holes in the spine, making sure all your layers are lined up nicely. I did one about 1/2″ to 3/4″ from the top, another about the same from the bottom and then one in the centre.
Now choose your thread – I used some garden green natural twine, but you could use baker’s twine, crochet thread or linen thread. Feed your twine through a needle (or you can use dental threaders). Feed the needle through the centre hole from the inside of the album to the outside and then back in through the top hole. Now go all the way to the bottom hole and go from the inside to the outside, then back up through the middle.
Both of your ends should be through the centre hole. Ensure that you have a thread on both sides of the thread that goes from the top to the bottom and tie a knot. Trim ends as needed.
Now the fun begins…

Now it’s time to decorate. This is where you can go to town or keep it simple. I like to do a bit of both. This allows for the recipient to use it as a journal, add photos or do a combination of the two.
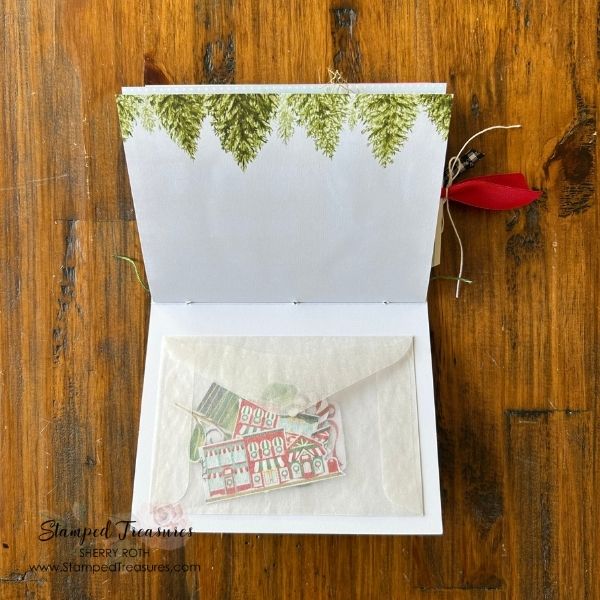
And I always include extra pieces so that they can add a few decorative elements as they work through the album, if they’d like. That’s what’s in this little glassine envelope in the photo below.
I hope you enjoyed this fun little tutorial on how to make a mini album from a greeting card!
Until next time,

Shopping List
Click on any of the images to shop my Canadian online store or to find out more information about any of the products below. In addition to these, I also used the following retired products: 1/8″ handheld punch; Black & White Gingham Ribbon, a brown chevron bag and holiday themed ephemera. As well as some paper and a glassine envelope from my stash.
![Road To Christmas Kit [ 166227 ]](https://assets1.tamsnetwork.com/images/EC042017NF/166227s.jpg "Road To Christmas Kit [ 166227 ]")
![Keeping Traditions Photopolymer Stamp Set (English) [ 166806 ]](https://assets1.tamsnetwork.com/images/EC042017NF/166806s.jpg "Keeping Traditions Photopolymer Stamp Set (English) [ 166806 ]")
![Perennial Postage Dies [ 162607 ]](https://assets1.tamsnetwork.com/images/EC042017NF/162607s.jpg "Perennial Postage Dies [ 162607 ]")
![North Pole Delivery 12" X 12" (30.5 X 30.5 Cm) Specialty Designer Series Paper [ 165837 ]](https://assets1.tamsnetwork.com/images/EC042017NF/165837s.jpg "North Pole Delivery 12\" X 12\" (30.5 X 30.5 Cm) Specialty Designer Series Paper [ 165837 ]")
![Real Red 1/2" (1.3 Cm) Shiny Ribbon [ 165876 ]](https://assets1.tamsnetwork.com/images/EC042017NF/165876s.jpg "Real Red 1/2\" (1.3 Cm) Shiny Ribbon [ 165876 ]")
![Gold 1 1/2" (3.8 Cm) Open Weave Trim [ 165715 ]](https://assets1.tamsnetwork.com/images/EC042017NF/165715s.jpg "Gold 1 1/2\" (3.8 Cm) Open Weave Trim [ 165715 ]")
![Baker's Twine Essentials Pack [ 155475 ]](https://assets1.tamsnetwork.com/images/EC042017NF/155475s.jpg "Baker's Twine Essentials Pack [ 155475 ]")
![Clear Wink Of Stella Glitter Brush [ 141897 ]](https://assets1.tamsnetwork.com/images/EC042017NF/141897s.jpg "Clear Wink Of Stella Glitter Brush [ 141897 ]")
![Versamark Pad [ 102283 ]](https://assets1.tamsnetwork.com/images/EC042017NF/102283s.jpg "Versamark Pad [ 102283 ]")
![Basics Wow! Embossing Powder [ 165679 ]](https://assets1.tamsnetwork.com/images/EC042017NF/165679s.jpg "Basics Wow! Embossing Powder [ 165679 ]")
![Heat Tool (Us And Canada) [ 129053 ]](https://assets1.tamsnetwork.com/images/EC042017NF/129053s.jpg "Heat Tool (Us And Canada) [ 129053 ]")
![Take Your Pick [ 144107 ]](https://assets1.tamsnetwork.com/images/EC042017NF/144107s.jpg "Take Your Pick [ 144107 ]")
![Stampin' Pierce Mat [ 126199 ]](https://assets1.tamsnetwork.com/images/EC042017NF/126199s.jpg "Stampin' Pierce Mat [ 126199 ]")
![Stampin' Cut & Emboss Machine [ 149653 ]](https://assets1.tamsnetwork.com/images/EC042017NF/149653s.jpg "Stampin' Cut & Emboss Machine [ 149653 ]")


Leave a Reply