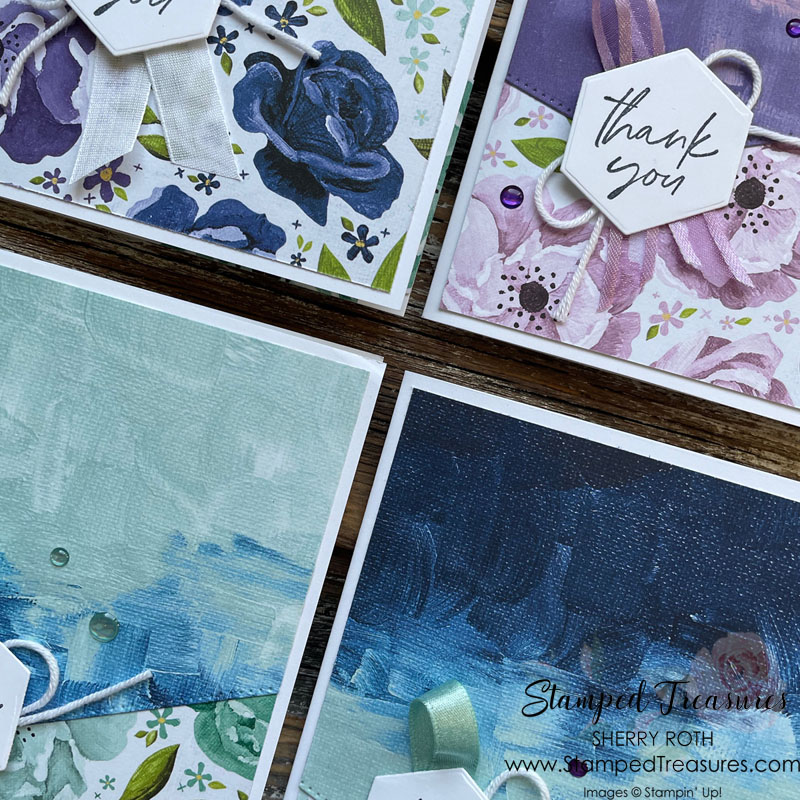
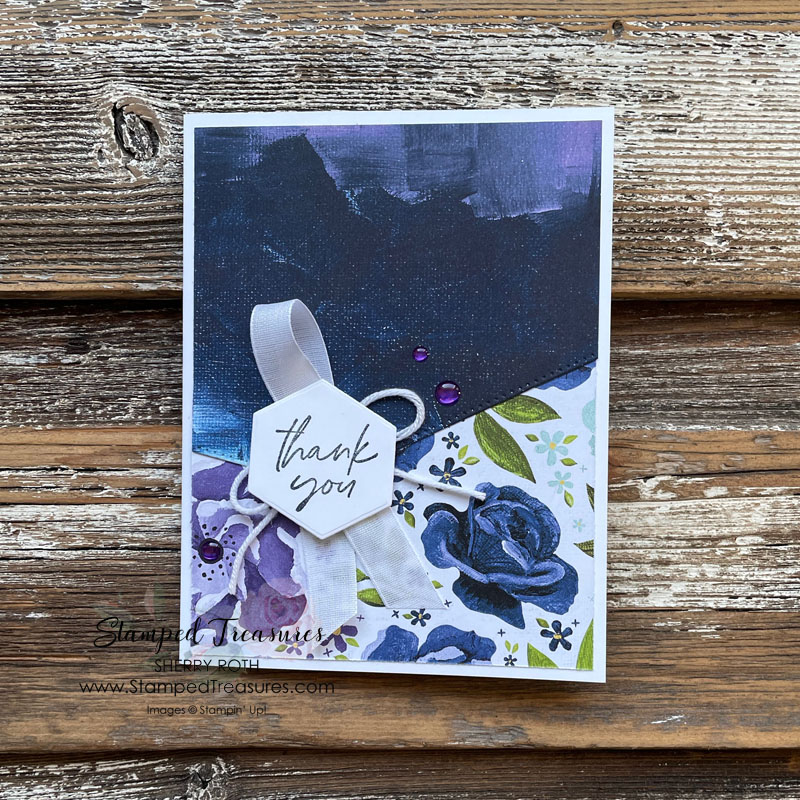
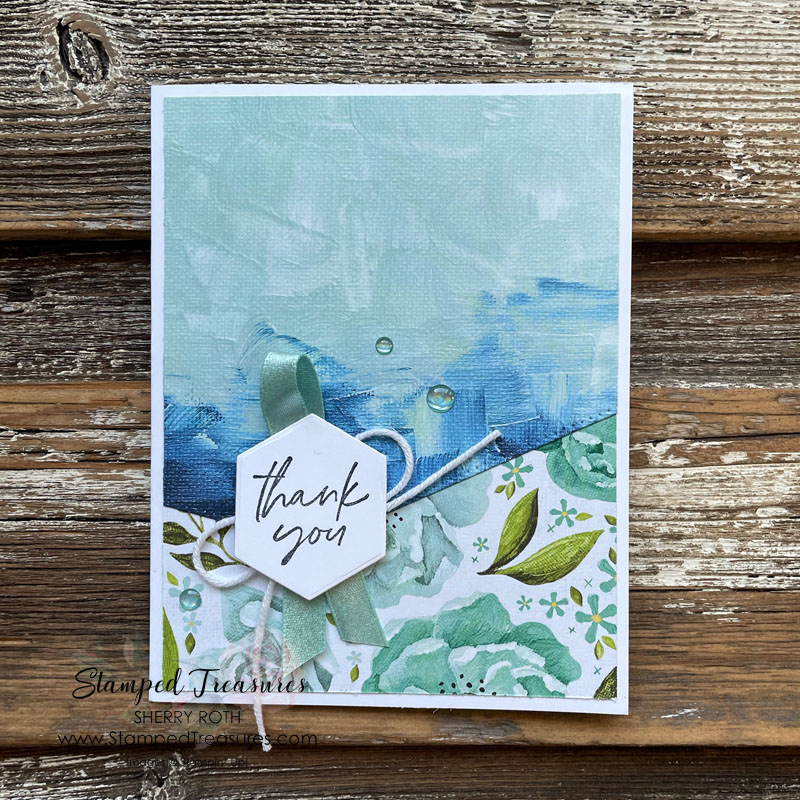
In todays post I’m sharing how you can create 4 cards from 1 piece of patterned paper. If you choose the right patterned paper, you can do it with very little waste.
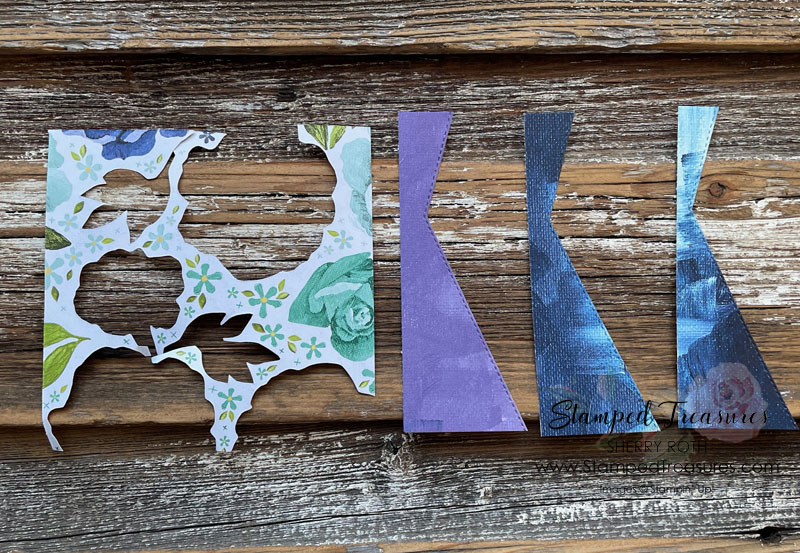
After completing my 4 cards, this is all I had left. It feels so good to know that there is very little waste and that such a pretty patterned paper got put to good use.
The Details
The first thing you need to do is choose your patterned paper. This card design is great for those patterned papers where you love both sides because it highlights both.
I chose a piece that has a busy pattern on one side and a more subtle pattern on the other. The busy pattern can be fussy, or die cut which works even better. You then want to cut it into three 4″ x 12″ strips. Once that’s done each strip will be cut down at 5″ (4″ x 5″), 3″ (4″ x 3″) and then you’ll have a 4″ x 4″ piece remaining. I found it easier to work with one strip at a time.
The first card uses one of the 4″ x 5″ pieces and one of the 3″ x 4″ pieces. Cut the larger piece using the basics border dies. The leftover piece gets trimmed down and added to the inside of the card. Check out the video below to see how it all comes together.
Repeat the same process for the second and third cards.
The fourth card, uses two of the 4″ x 4″ pieces that are leftover from the first two strips that you cut. Simply repeat the steps with the smaller pieces.
Each of the cards is also decorated with scraps of ribbon from my scrap jar, a bit of baker’s twine and some glossy dots.
Use up those Scraps
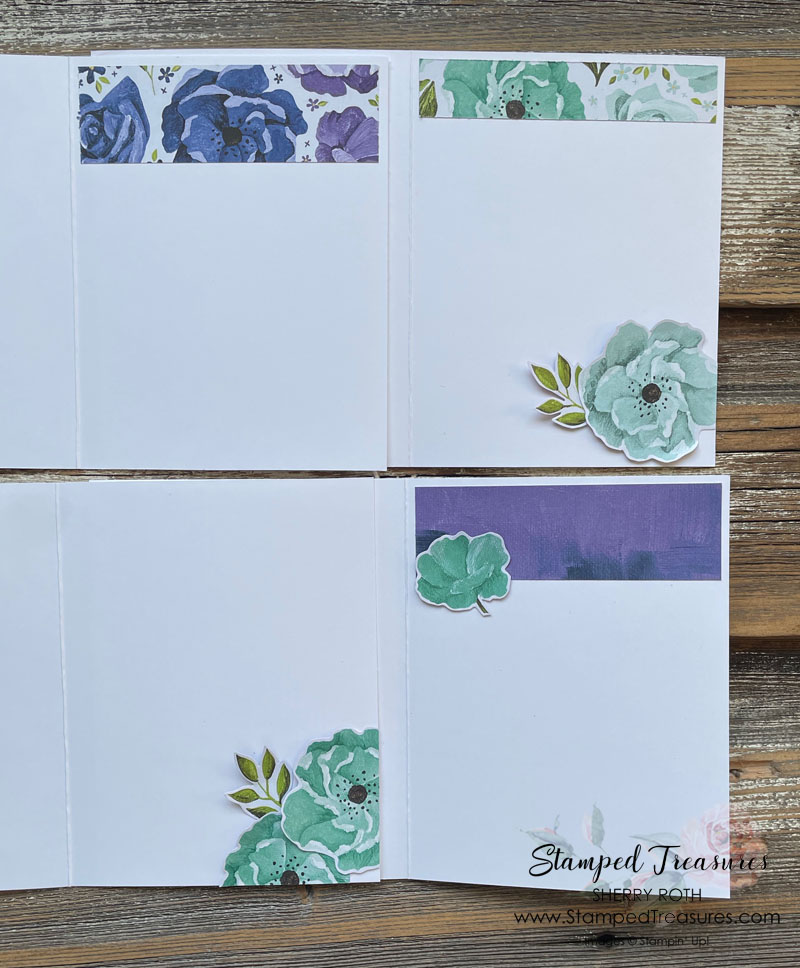
You’ll end up with a 4″ x 4″ piece of patterned paper. Have a look at that patterned paper. How can you use it up rather than add it to your scrap bin? The pattern that I chose lent itself to being cut apart so I used it to decorate the insides of my card. Don’t discount the flowers around the edges – they are great around the edges of the inside of your cards.
These are the types of projects and tips that I’ll be sharing more of in my upcoming Scrap Your Stash class. If you think this is something you’d be interested in, you can find all the details at the link below.
Until next time,

Shopping List
Click on any of the images below to shop my Canadian online store or to find out more information about any of these products. In addition to the supplies listed below, I also used some coordinating scraps of ribbon.




Leave a Reply