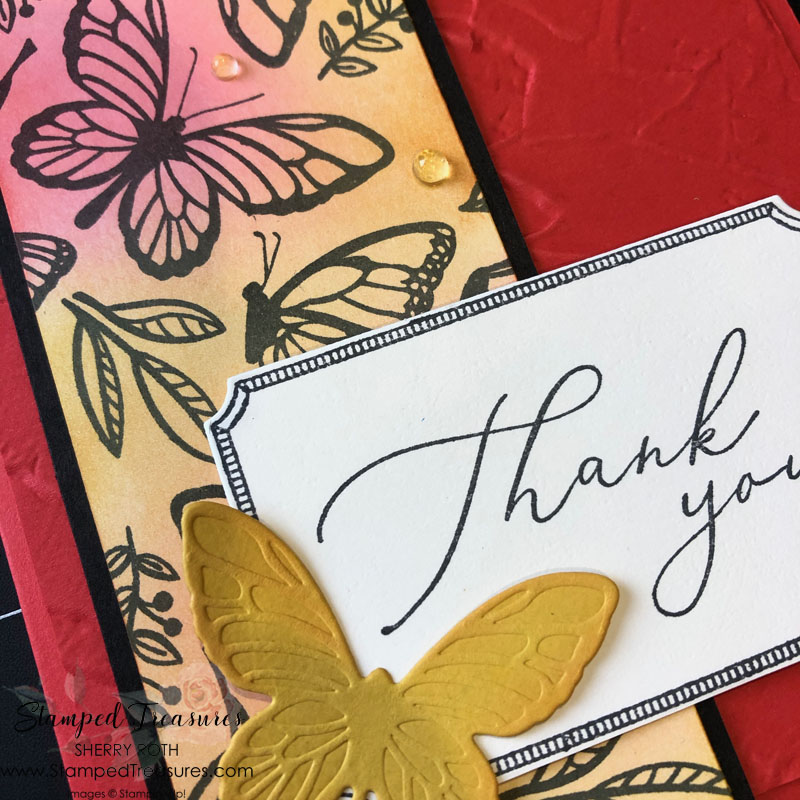
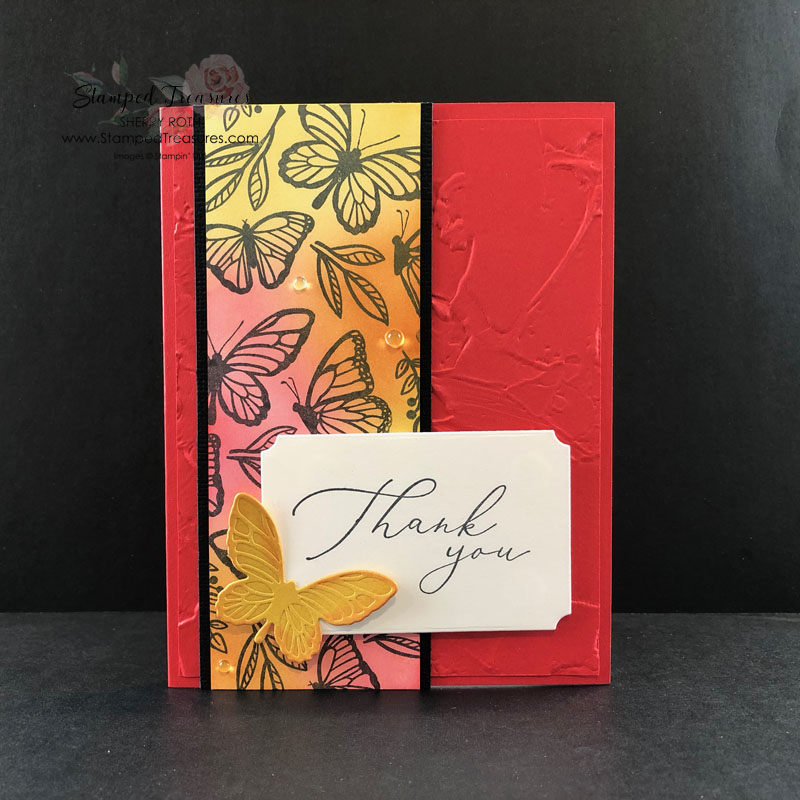
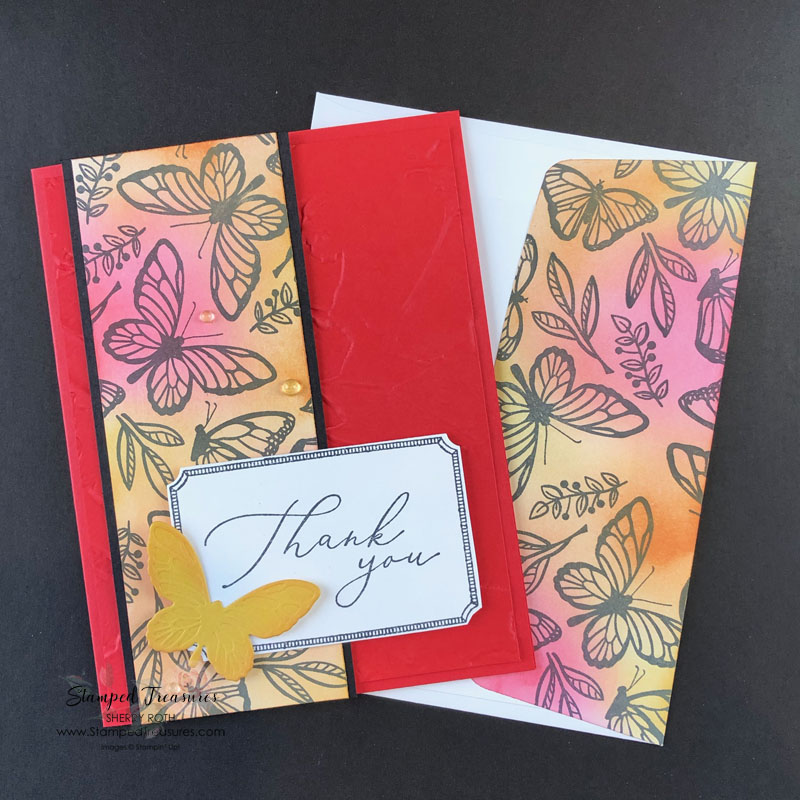
In todays post (with video) I’m sharing how to create your own patterned paper using the Floating & Fluttering stamp set from Stampin’ Up!
You’ll find that this might come in handy when you can’t seem to find the right patterned paper for a project. Maybe it’s not the design you are looking for, or the right colours. With a few stamps and some ink – you can completely customize your own. Today I’m sharing just one way to use supplies that, as a stamper, you likely already have on hand.
- Stamps
- Ink
- blending brushes or sponges
This card actually highlights three different stamping techniques: creating your own patterned paper; using the blending brushes and the torn edge technique. You’ll find a link to the video towards the bottom of this post.
Measurements:
- Poppy Parade: 5-1/2″ x 8-1/2″ scored at 4-1/4″ and 4″ x 5-1/4″
- Basic White: 4″ x 5-1/4″ for the inside, 2″ x 5-1/2″ and scrap for label shape
- Basic Black: 1/2″ x 5-1/2″ (x2)
- Bumblebee: scrap for butterfly
You can find another project where we created our own patterned paper here.
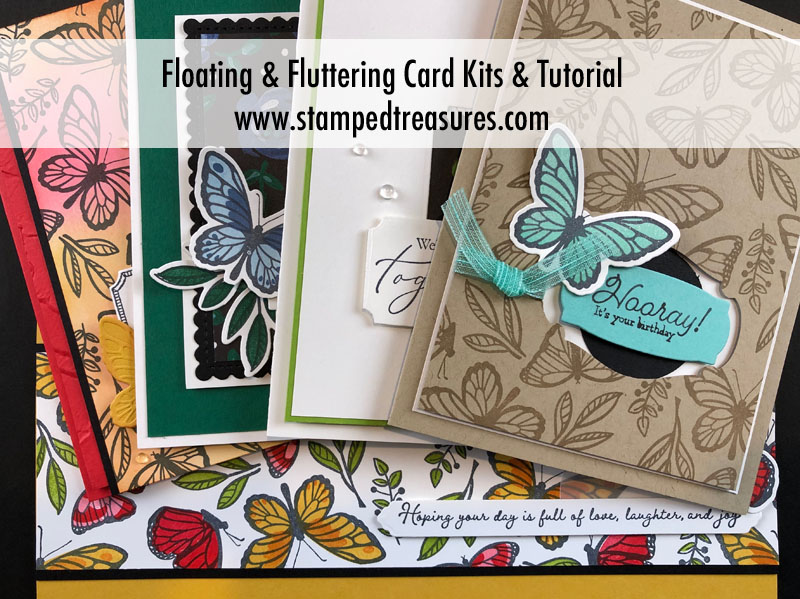
Place an order of $60 or more (online or with me by email), before shipping & taxes, between now and January 31st, 2021 using host code JRPANT3X and you’ll receive the card kits to create all 5 of the projects I shared this week mailed to you for free, along with the link to the tutorial that includes measurements, photos and links to all the videos.
Have a creative day!

Shopping List
Click any of the images below to find out more or to shop my Canadian online store.


Leave a Reply